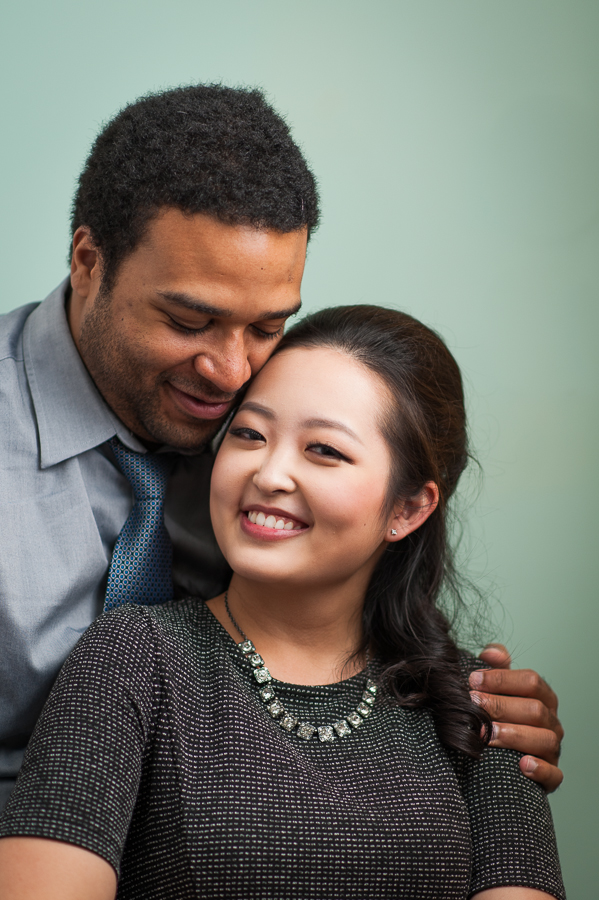
Like many other photographers, I love the Oliphant backdrops, but they cost a fortune to rent or buy, so I tried to create a DIY version.
My Photography Equipment List (Which Lenses I Use and Why)
Here’s an updated equipment list of the current lenses and cameras I use and why.
If you’re just starting out, realize that today, you can’t really buy a bad camera. It’s just a matter of knowing which features you want. Canon and Nikon are considered the best options for DSLRs - I just happen to be with Nikon because it was on sale when I bought my first camera. Note that non-DSLRs are becoming more and more of an option now, especially with Fuji’s resurgence. Let’s start with a quick list of all the gear. Then I’ll break it down below.
Camera body: Nikon D700 Lenses: 28mm 1.8, 50mm 1.4, 85mm 1.8, 70-200mm 2.8
Camera Body
Nikon D700. Nothing much to say here. When I press on the button it takes a picture. It’s great for photographing low-light environments, such as wedding receptions or inside a whale. (I also went through the Nikon D40, D90, and D7000)
Lenses
1. Nikon 50mm 1.4G: portraits, weddings, lifestyle, low-light, close-ups, blurry backgrounds, everything really.
I use it for pretty much everything, from low-light indoor spaces to non-macro nature and detail shots, to portraits that show a bit of the environment the subjects are in. I use it a lot while travelling or just documenting everyday life. When I photograph groups of up to 5-6 people, I try to use this lens to avoid distortion. It’s a versatile standard focal length that is neither too wide nor too telephoto. And because it has 1) a wide aperture, 2) not too wide of a focal length, and 3) can focus relatively close to subjects, I often use this lens to create soft, blurry backgrounds.
When I only carry one lens with me, this is usually the one (it’s thus the first lens I’d buy if I were just starting out). Note that I’m not referring to the 1.4G specifically. Its predecessor (50mm 1.8D), which I also used a lot before upgrading, is almost as good. It’s smaller, and (relatively) ridiculously inexpensive at < 150$.
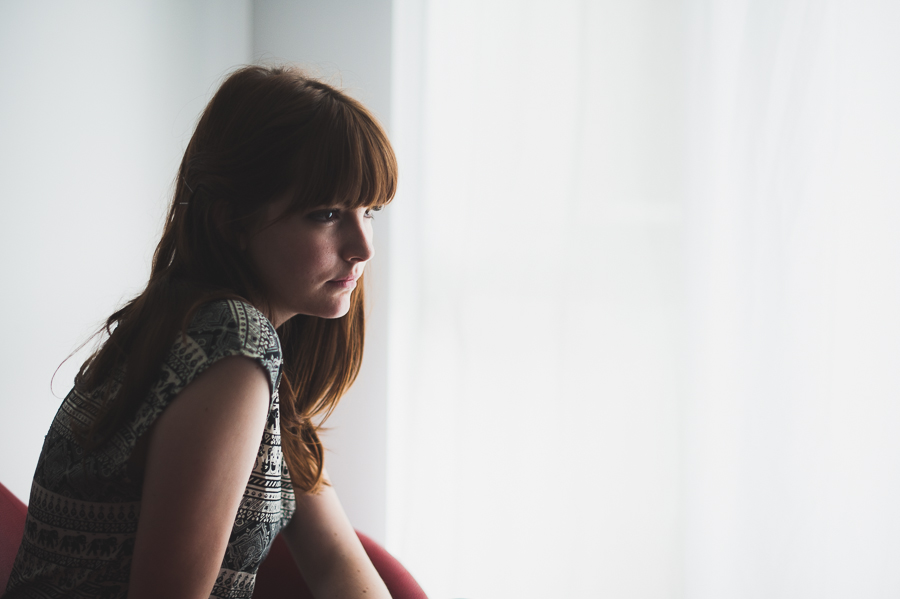
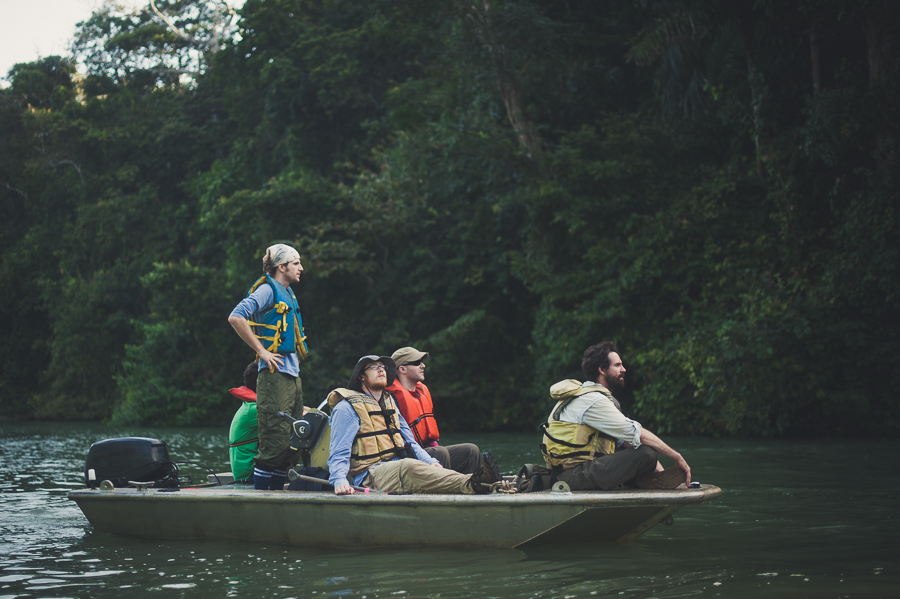
2. Nikon 28mm 1.8G: group shots, architecture, indoors, environmental portraits, some landscape
I’ll mostly use this lens when the 50mm isn’t wide enough. For example, if it’s a large group, and I don’t have enough space to back up and take a group portrait with the 50mm, then I switch to this one. If I want to show the entire church architecture at a wedding ceremony, I use this lens. But I also like to use this to show a bit more context in an environmental portrait. It’s also used a lot in events when I need to photograph people interacting with each other (cocktails, conferences, people around a dinner table, etc.). I get in close and sort of “join the circle” so that I don’t just see the backs of heads.
Wider lenses include more in the frame and it’s therefore harder to exclude distracting elements from shots. They also have more distortion, so I try to avoid having people placed on the edges of the frame when using this lens. Camera manufacturers often associate wide lenses with landscape photography, but I prefer doing the opposite and using telephoto lenses to compress the background.
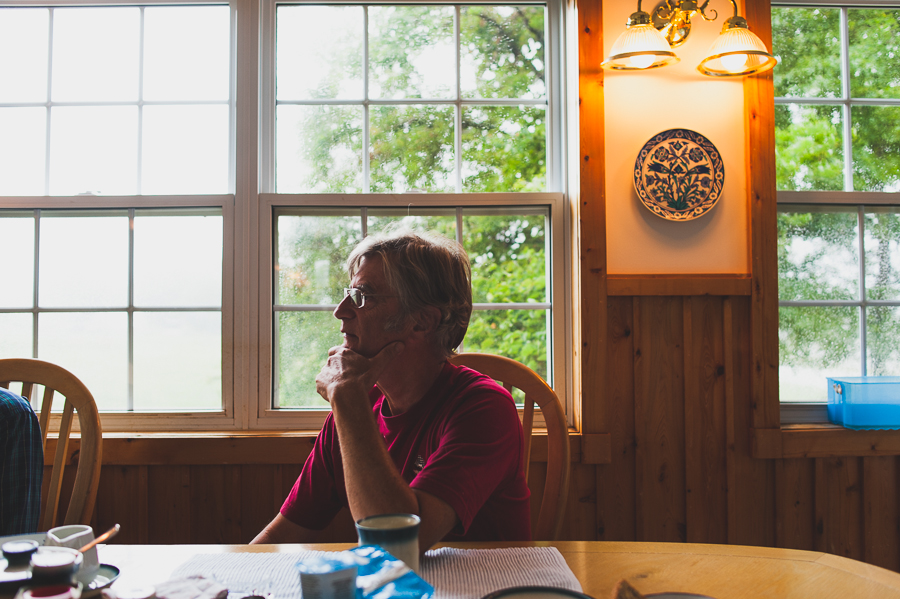
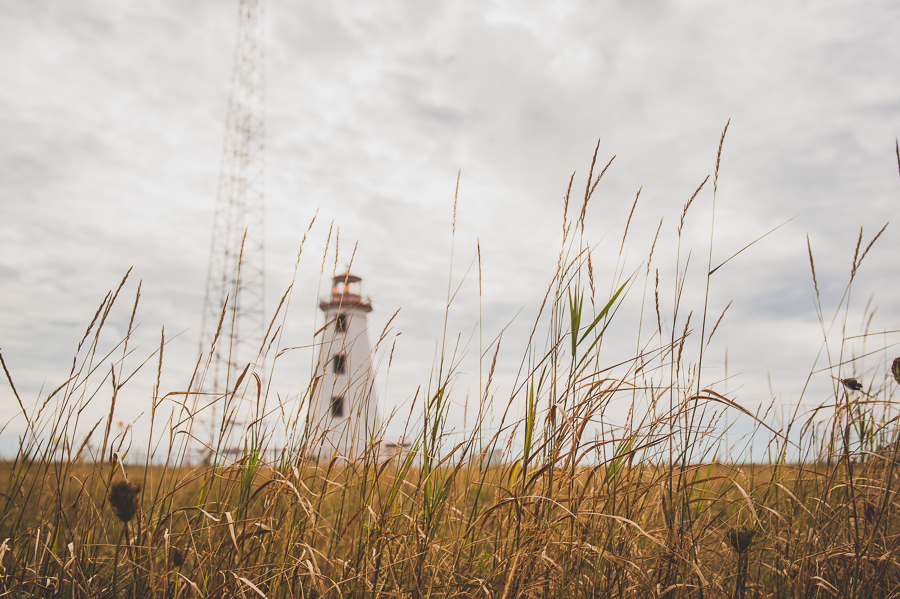
3. Nikon 85mm 1.8G: headshots, tight-portraits, beautiful blurry backgrounds, landscapes, outdoors
I love this lens. It can create even creamier backgrounds than the 50mm, but you need space to use it. I mostly use it for headshots and tight portraits now, and it does a great job at it. When I started out and photography was still just a hobby, I bought an 85mm and sold it shortly after since I wasn’t using it much, but it’s now back in the regular rotation. I also like to use this lens to isolate elements within a landscape. As a carry-around every day lens, it's a bit too long (telephoto). It can be used a lot outdoors, but indoors it may be too tight.
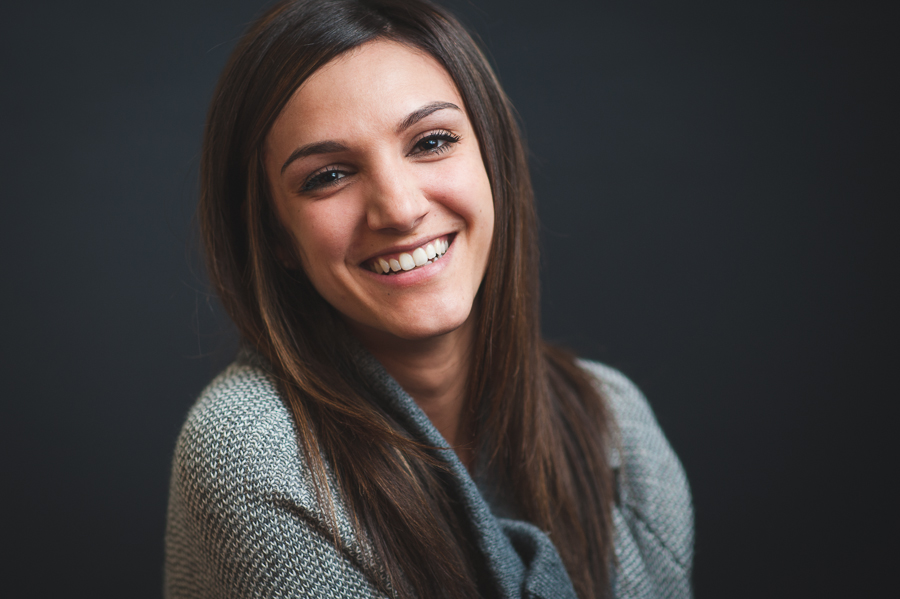
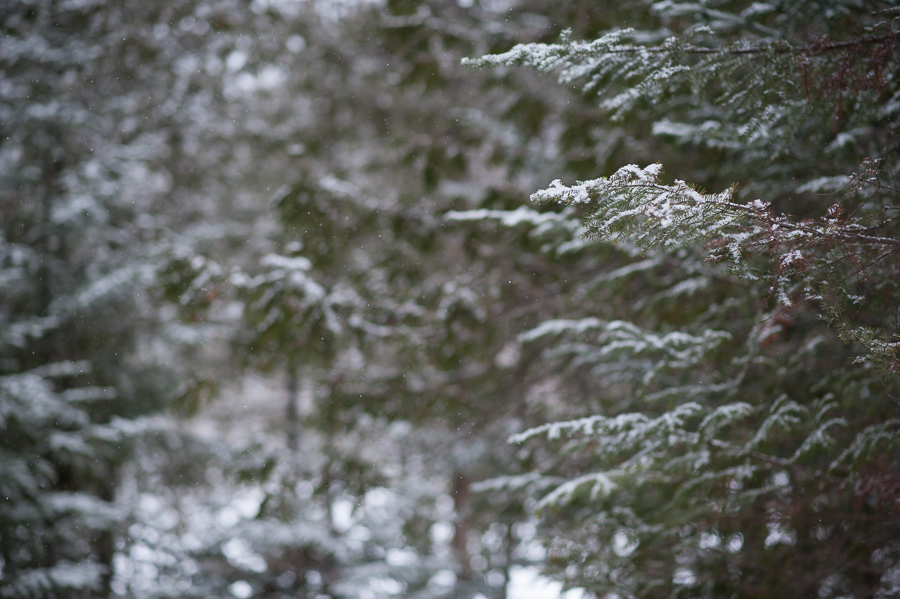
4. Nikon 70-200mm 2.8G: things (usually people) that are far away
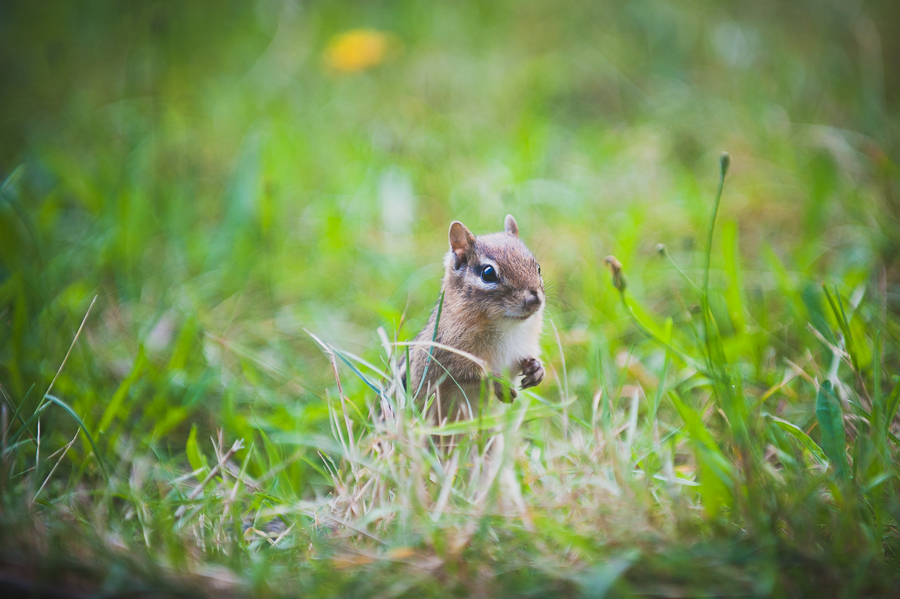
A massive and expensive lens that I hate to carry around, but it's great for what it does. I only use it when I really need it, when I want to photograph something far away and can't get closer. Most of its uses for me are in weddings and events, when I need to capture someone's face/emotion/reaction from far away. This is also the lens I use when the random raccoon climbs up on the neighbour's roof.
Let me know if you have any questions!
In a follow-up post, I'll talk about the photography equipment that REALLY matters to me: lighting equipment!
Talk to you soon!
What to prepare before a headshot or portrait photo session
Here's a quick guide for subjects / models before a photoshoot.
I thought I’d share what I usually tell my subjects when they ask me how to prepare before a headshot or portrait session. Who knows, maybe one of you out there is about to be photographed. Or you can just keep this link somewhere and refer back to it when needed. These are just my general recommendations - you’re more than welcome to break any rule in here if you think it would work for you.
What clothing to wear for a portrait / headshot session
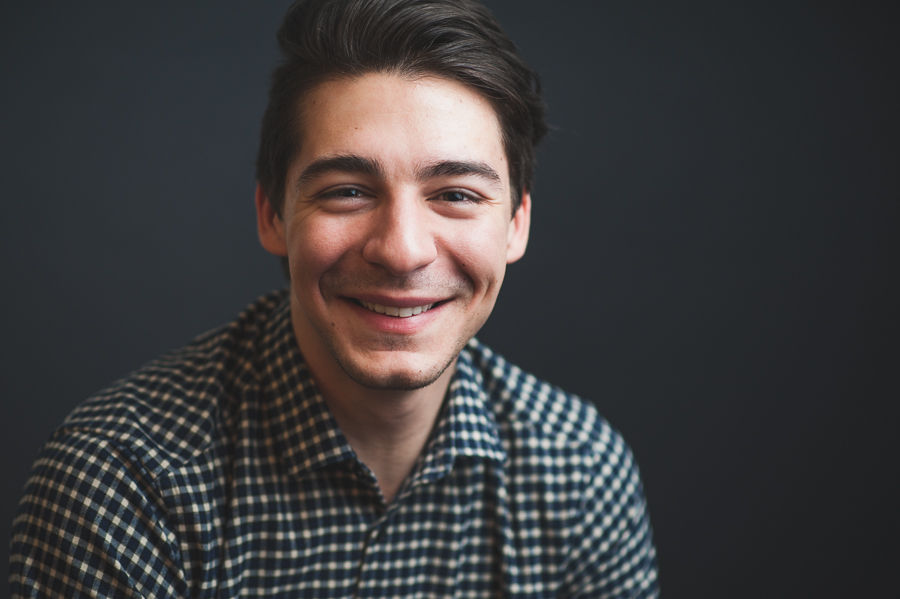
1. Simple clothes: For typical portraits, I recommend clothing without any typography, graphics, recognizable brand logos, really vibrant colours, or distracting patterns. Feel free to bring different sets of clothing if you’re not sure what to wear or if you want multiple options. For headshots especially, when bringing alternate clothing options, think of bringing clothes with different necklines.
2. Ironed clothes: Think of what you want to wear a few days before the shoot to make sure that it’s clean and ready to go the day of. Don’t forget to iron your clothes. Wrinkles can make portraits look unprofessional and can be tricky to remove in Photoshop. (I have an iron at home if you don’t!)
3. Coordinating clothes as a group: If you’re to be photographed with others, make sure you discuss coordinating clothing beforehand. You don’t all need to match - just make sure you don’t end up with five people wearing black and one wearing red (unless it’s intentional of course).
How to prepare hair and make-up
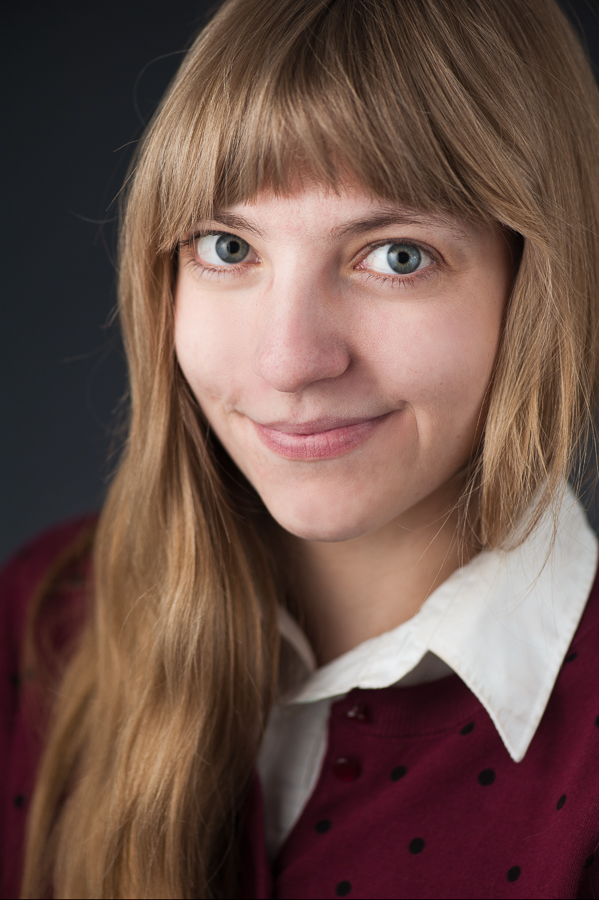
1. Make-up: Generally, for headshots, corporate or promotional portraits, light natural make-up is worn. But I’m leaving this up to you. If you’d like a make-up artist for the shoot, they would be available at an additional cost - let me know.
2. Lips, nails, hands: Make sure you have some chapstick to avoid dry / cracked lips. Gloss photographs well, but make sure it’s not glittery. Make sure your nails are clean and your hands not dry.
3. Hair & facial hair: You should come hair-ready, but bring hair ties / bands if you want to try out different looks. You should also bring a brush or comb if your hair is as out-of-control as mine is when I wake up. Shaving mid-shoot to change your facial hair is possible, bring a shaving kit if you want.
Accessories to wear for a photoshoot
1. Glasses: You’re not sure whether you should wear glasses or contacts? Bring glasses! That way we can do variations with or without.
2. Jewelry: Bracelets, necklaces, and earrings can be distracting - if you decide to bring some, keep it relatively simple.
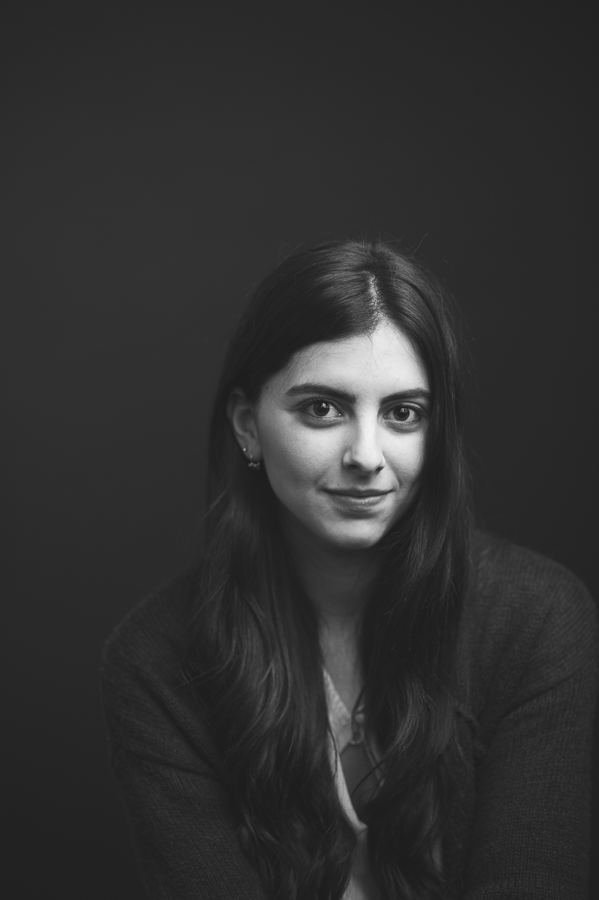
Retouching in portraits and headshots
My goal is to make you look like you on your best day. For me, that doesn’t start with retouching in Photoshop, it starts with my choice of lenses and lighting. Some lenses stretch, others compress. Lighting can be controlled to go from harsh lighting with glare to a soft, even look. Shadows can be used to control what is visible or not. All these decisions are important and come before any Photoshopping.
Now here’s my stance on retouching. I do find it acceptable to remove skin blemishes and pimples that happen to be present on the day of the photoshoot. I am however against most retouching and Photoshopping that we see in magazines. It’s a wide spectrum and everyone stands somewhere on it. I think that as soon as the retoucher’s hand is visible in the photograph, it’s already gone too far.
I also think photographers should speak more openly about it with their subjects. When you come into my studio to have your portraits and headshots taken, we can go through a few of the shots together and you can tell me if there are some things you want me to take care of post-production.
Lastly, if we're having the photo shoot in my home studio
We have an iron, a lint roller, a bathroom, and lots of mirrors. There’s parking in the back! Let me know if you intend on using it, I’ll open the gate for you. Aaaand coffee or tea? :)
Camera Gear for Travel
Picture this. It’s close to 2AM. It’s quiet. Claudia went to bed a while ago already. I’m sitting at the dining table, papers and notebooks all over the place. I scribble something down and almost immediately cross it off. I’m obviously distressed, in agony even. I should go to bed. But I can’t. At least not yet. Not until I figure this out. What on earth is keeping me up? Do I have to hand in something for work tomorrow morning? Did I miss an important deadline? Nope. I just can’t decide what camera gear to pack for my next trip. A few weeks away. Ohhh but if you could only understand the anguish I feel. I want to bring everything, but I can’t. Do I leave my telephoto lens behind and say byebye to the amazing wildlife I’ll be seeing? Or do I bring it and compromise on the beach sunsets and awesome waterfall shots? The joys of travel photography. Analysis paralysis. Maybe I should just stay in Montreal.
If you saw what was going through my head, you’d find it comical, really. Every possible scenario, played over and over. As if life depended on it. What if, while hiking through the big trees of the rainforest, I spot this bug when suddenly a bird flies by?! I would need a wide-angle, macro and telephoto lens! MINIMUM! Bringing these 5 lenses should do it. But hey a flash isn’t that heavy let’s throw that in there. And you know, a light modifier and a few wireless triggers. And a reflector. And my tripod isn’t THAT heavy. Tadaaa! Suddenly I’m flirting with excess baggage fees at the airport. You should’ve seen how ridiculous I looked at the airport. An overpacked mule I was.
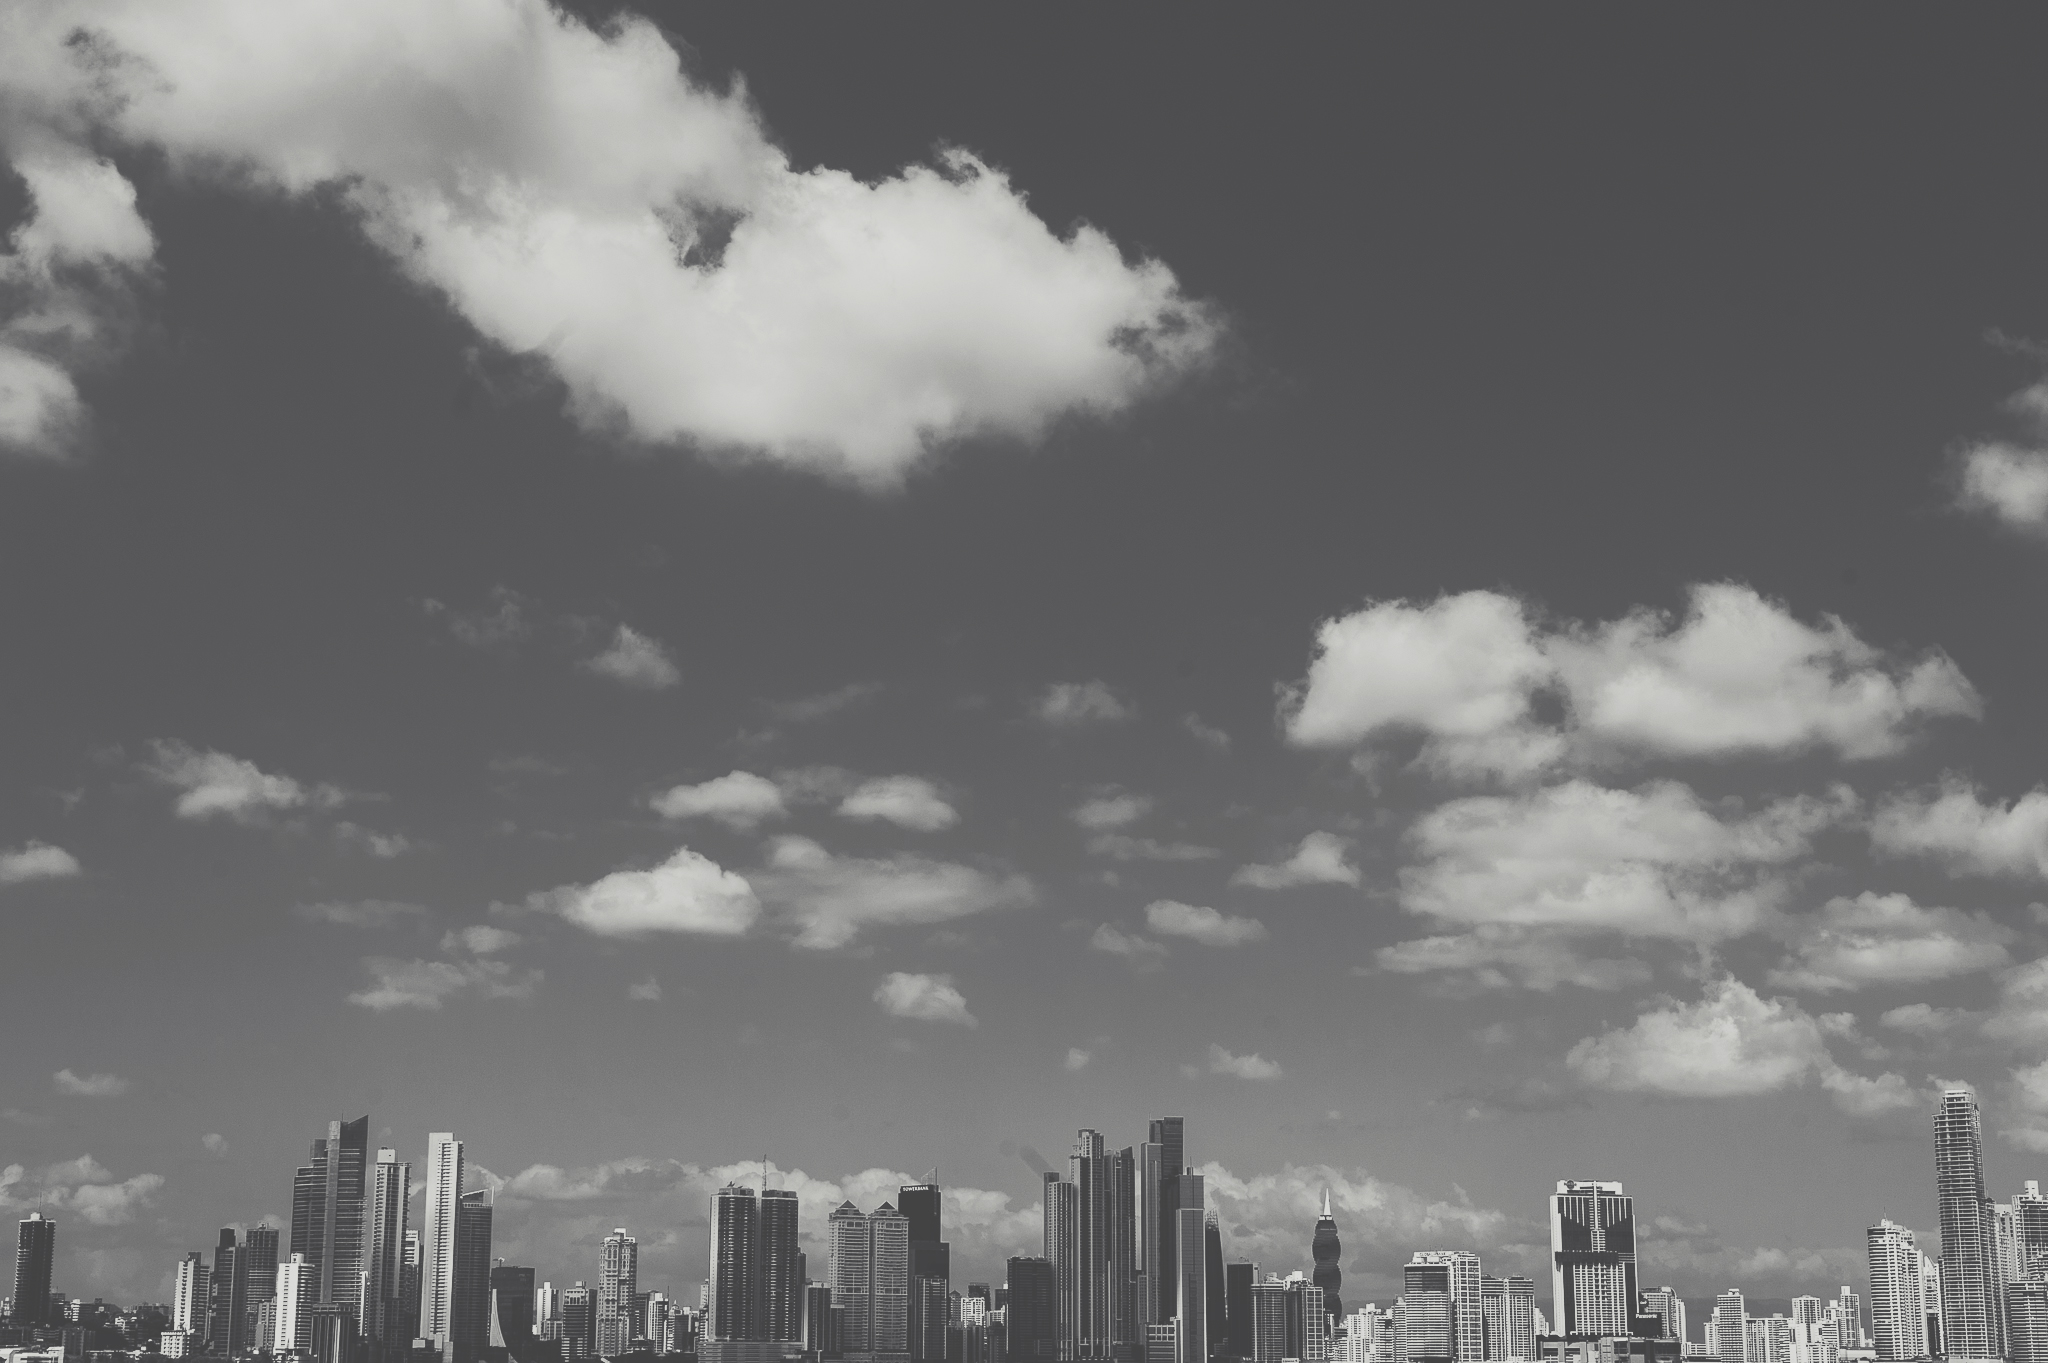
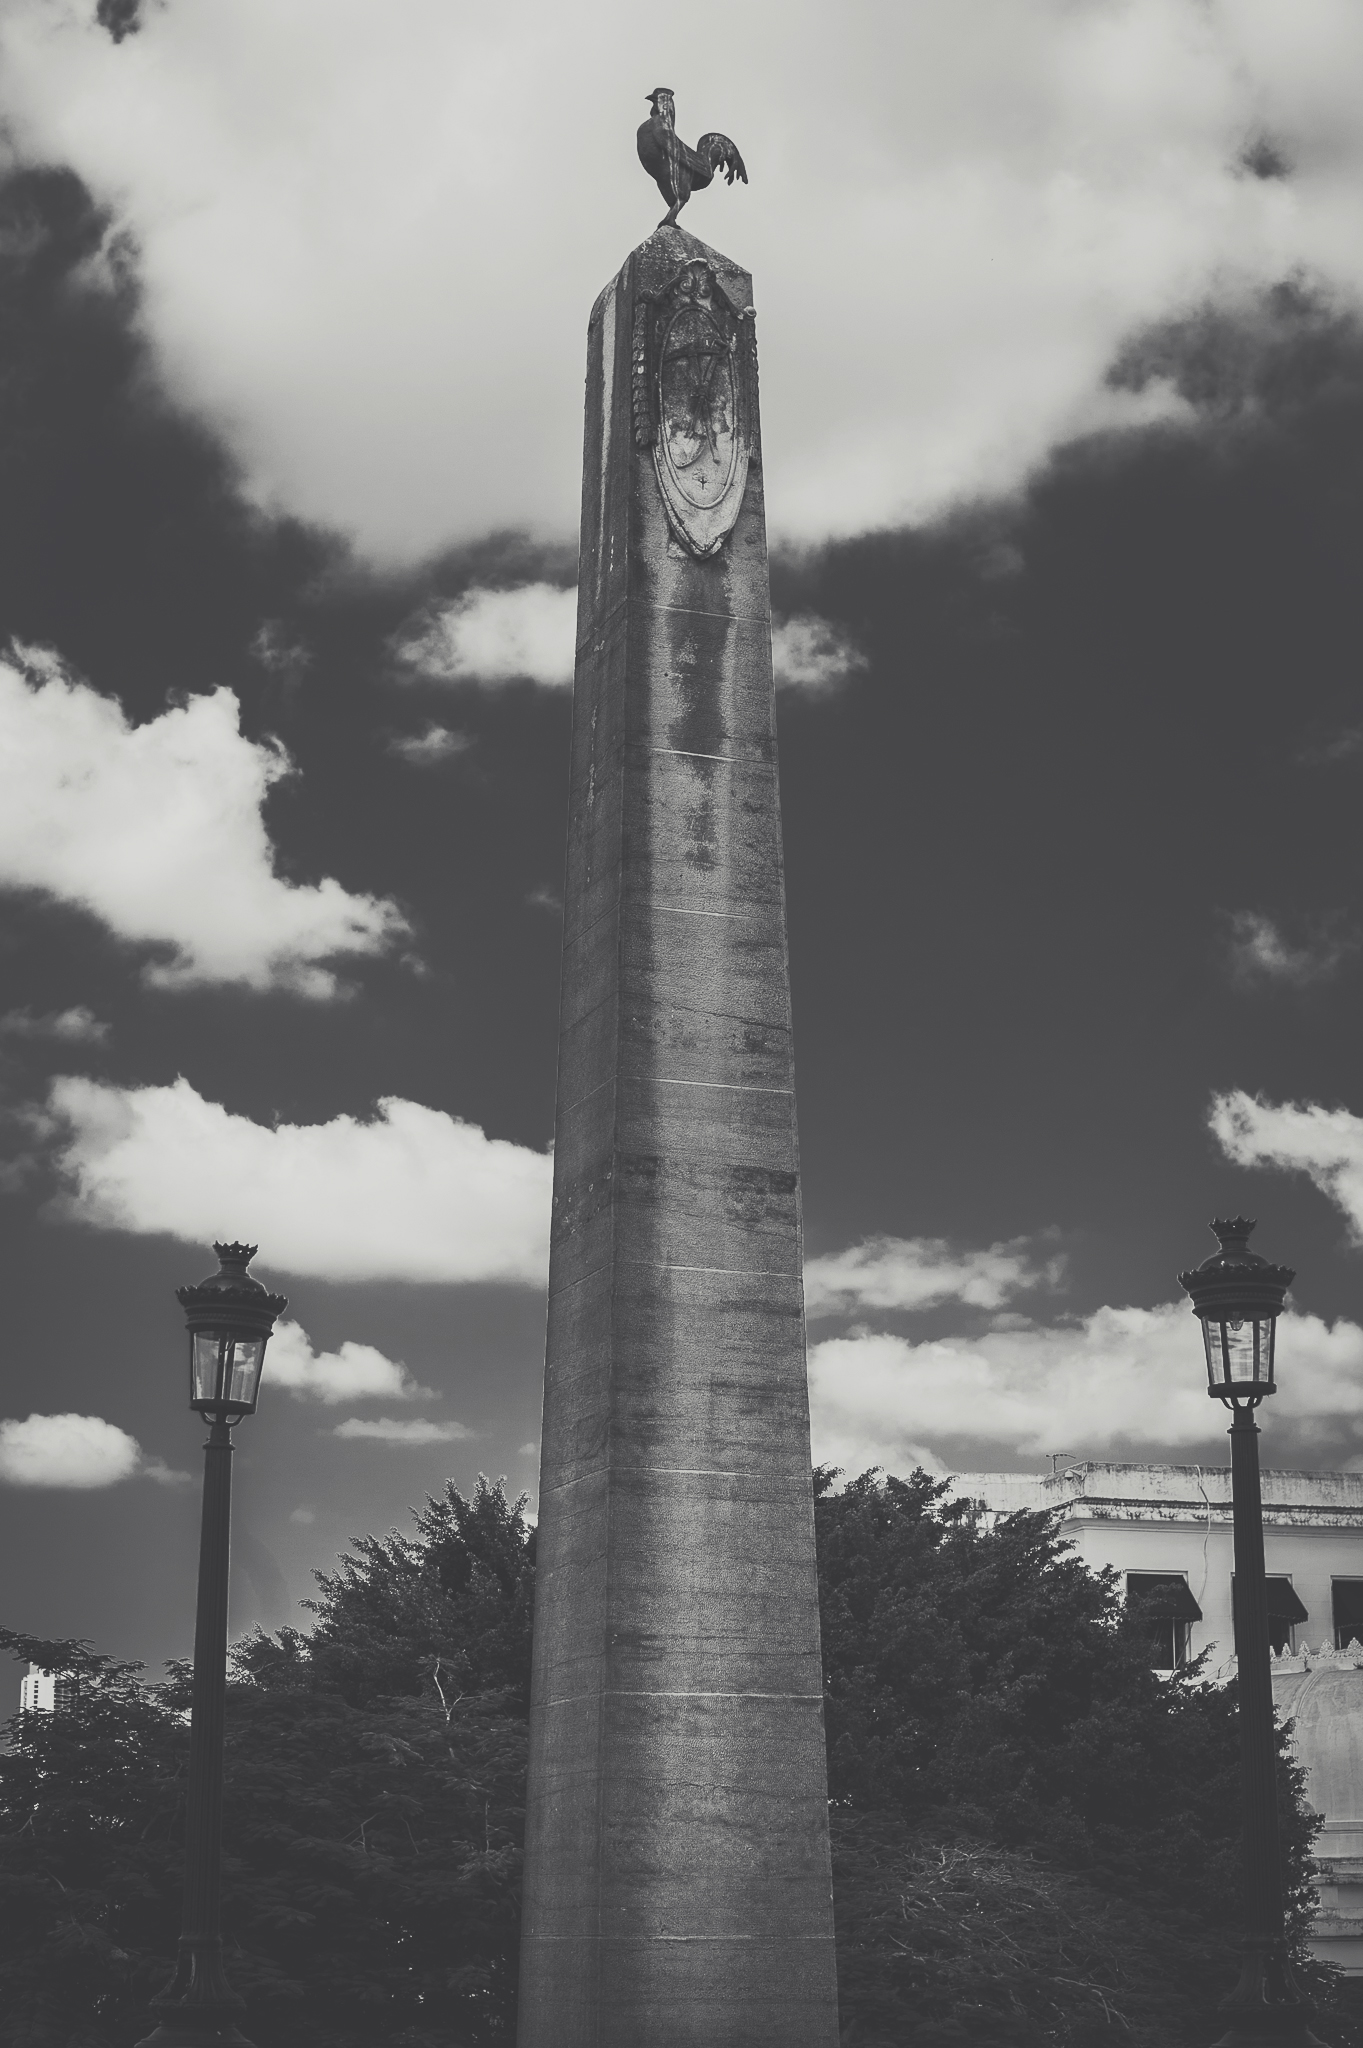
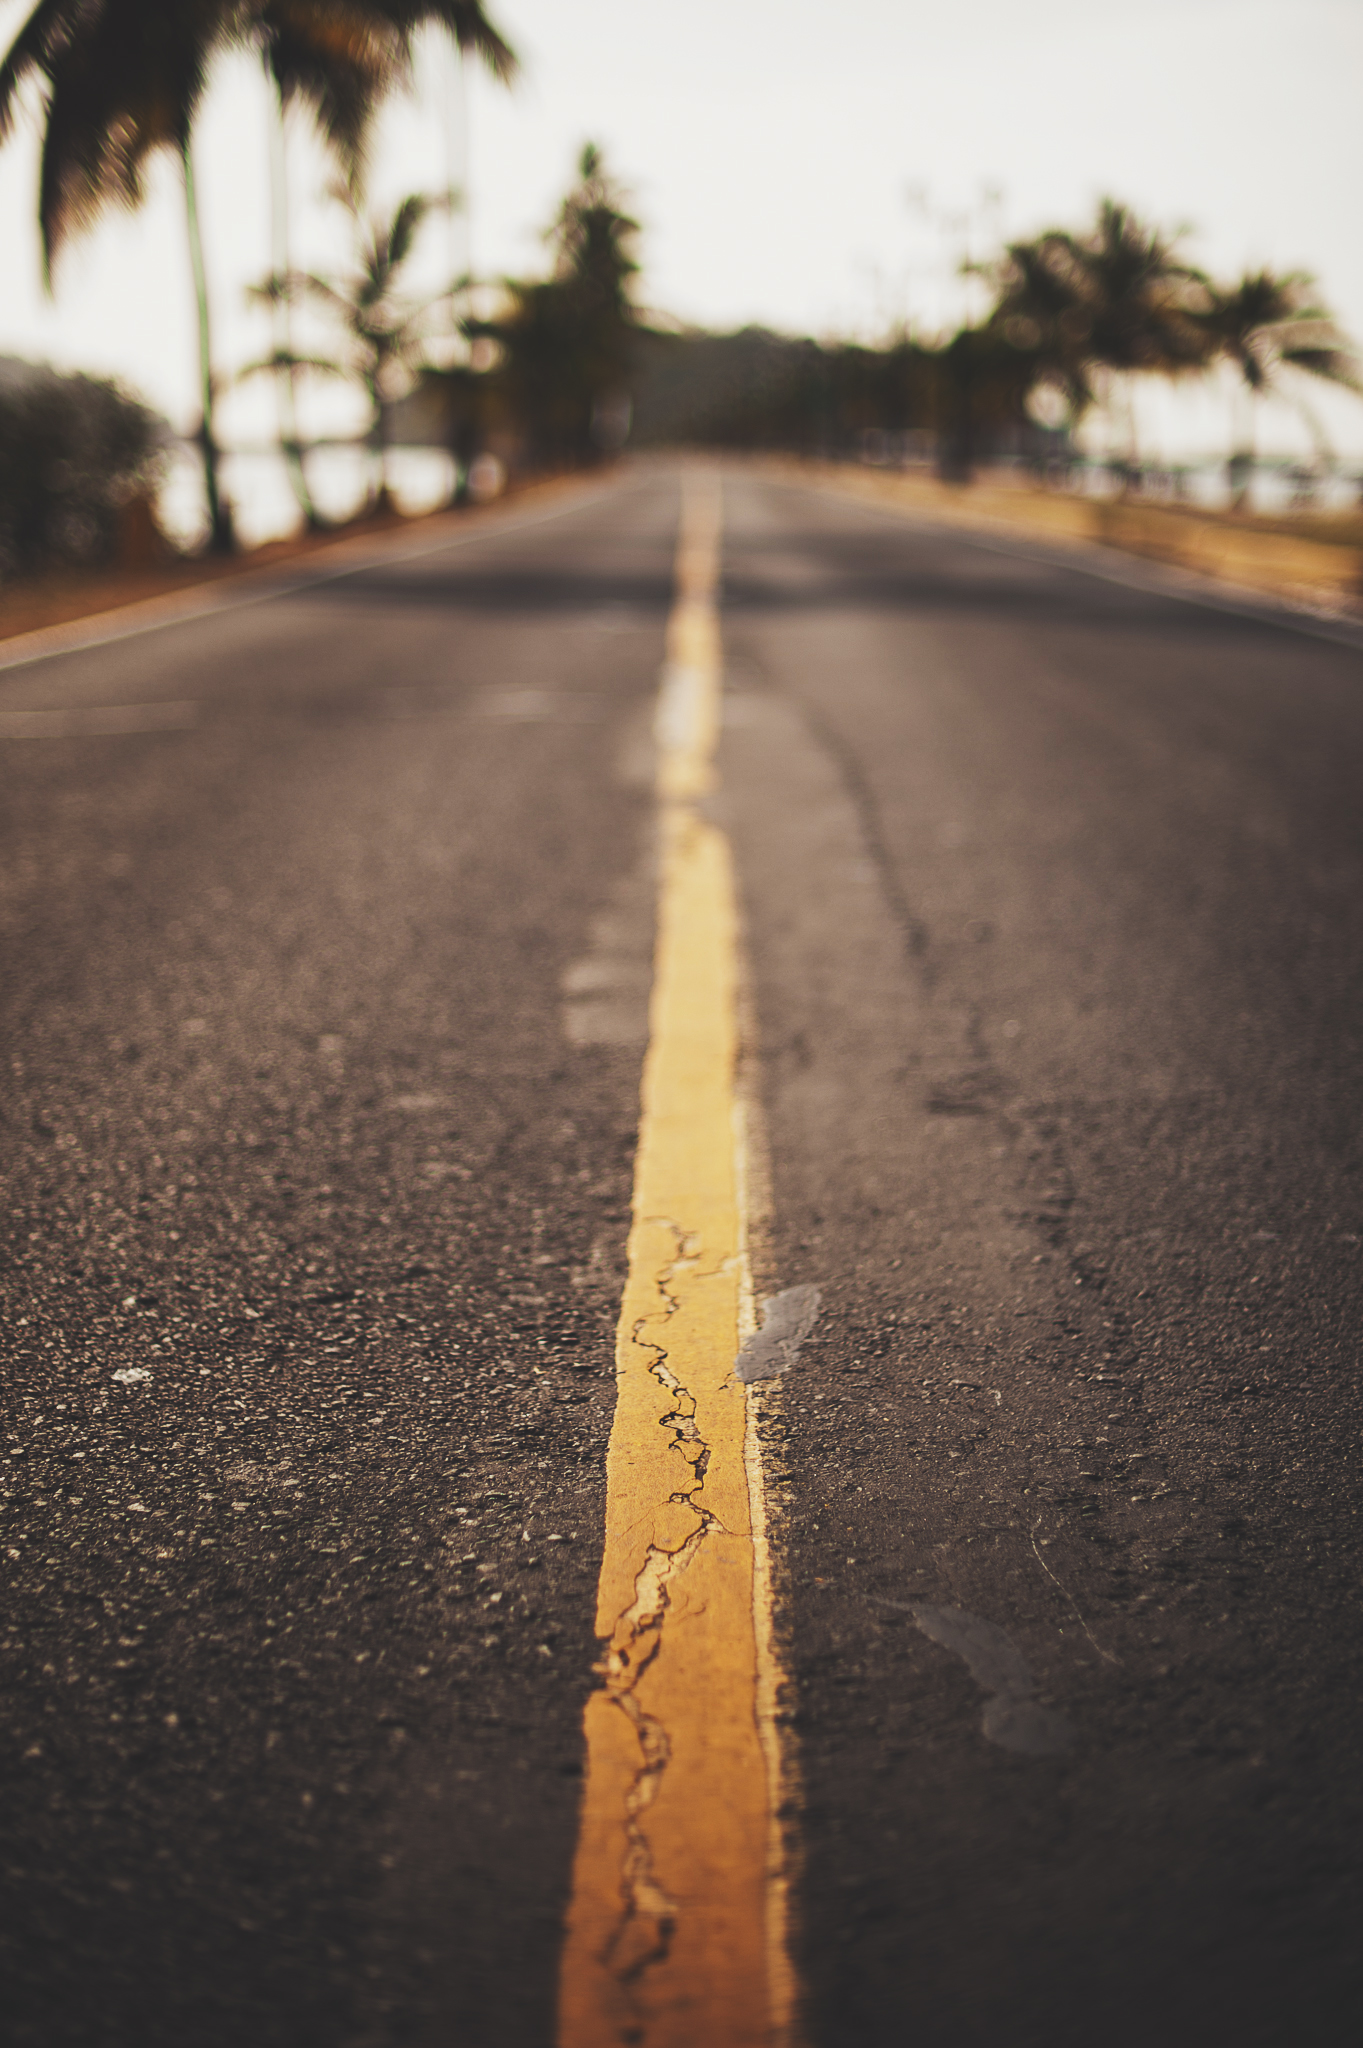
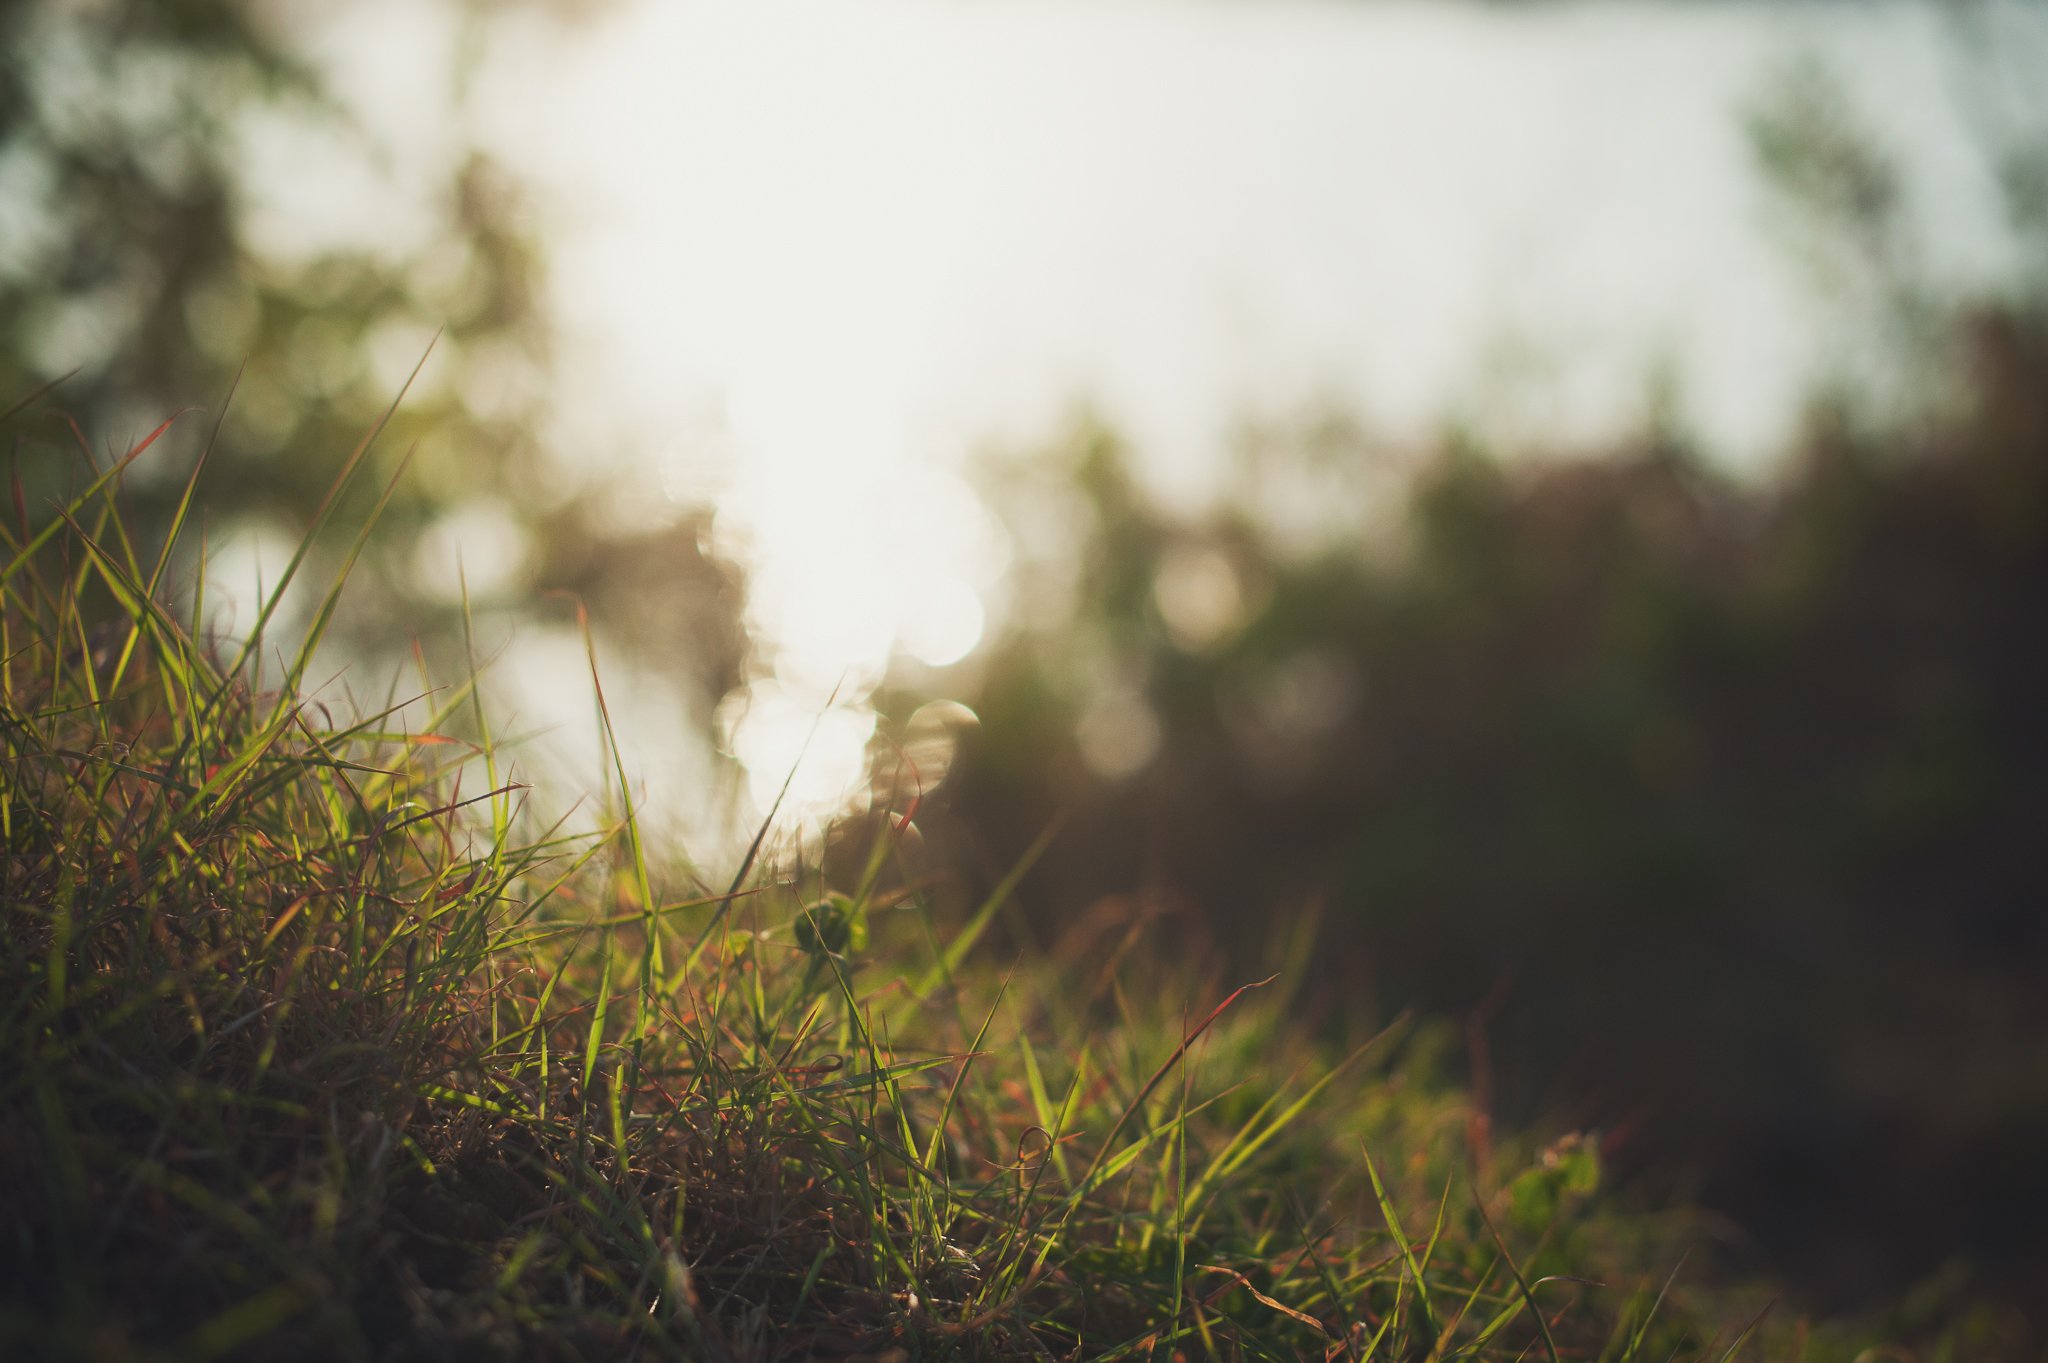
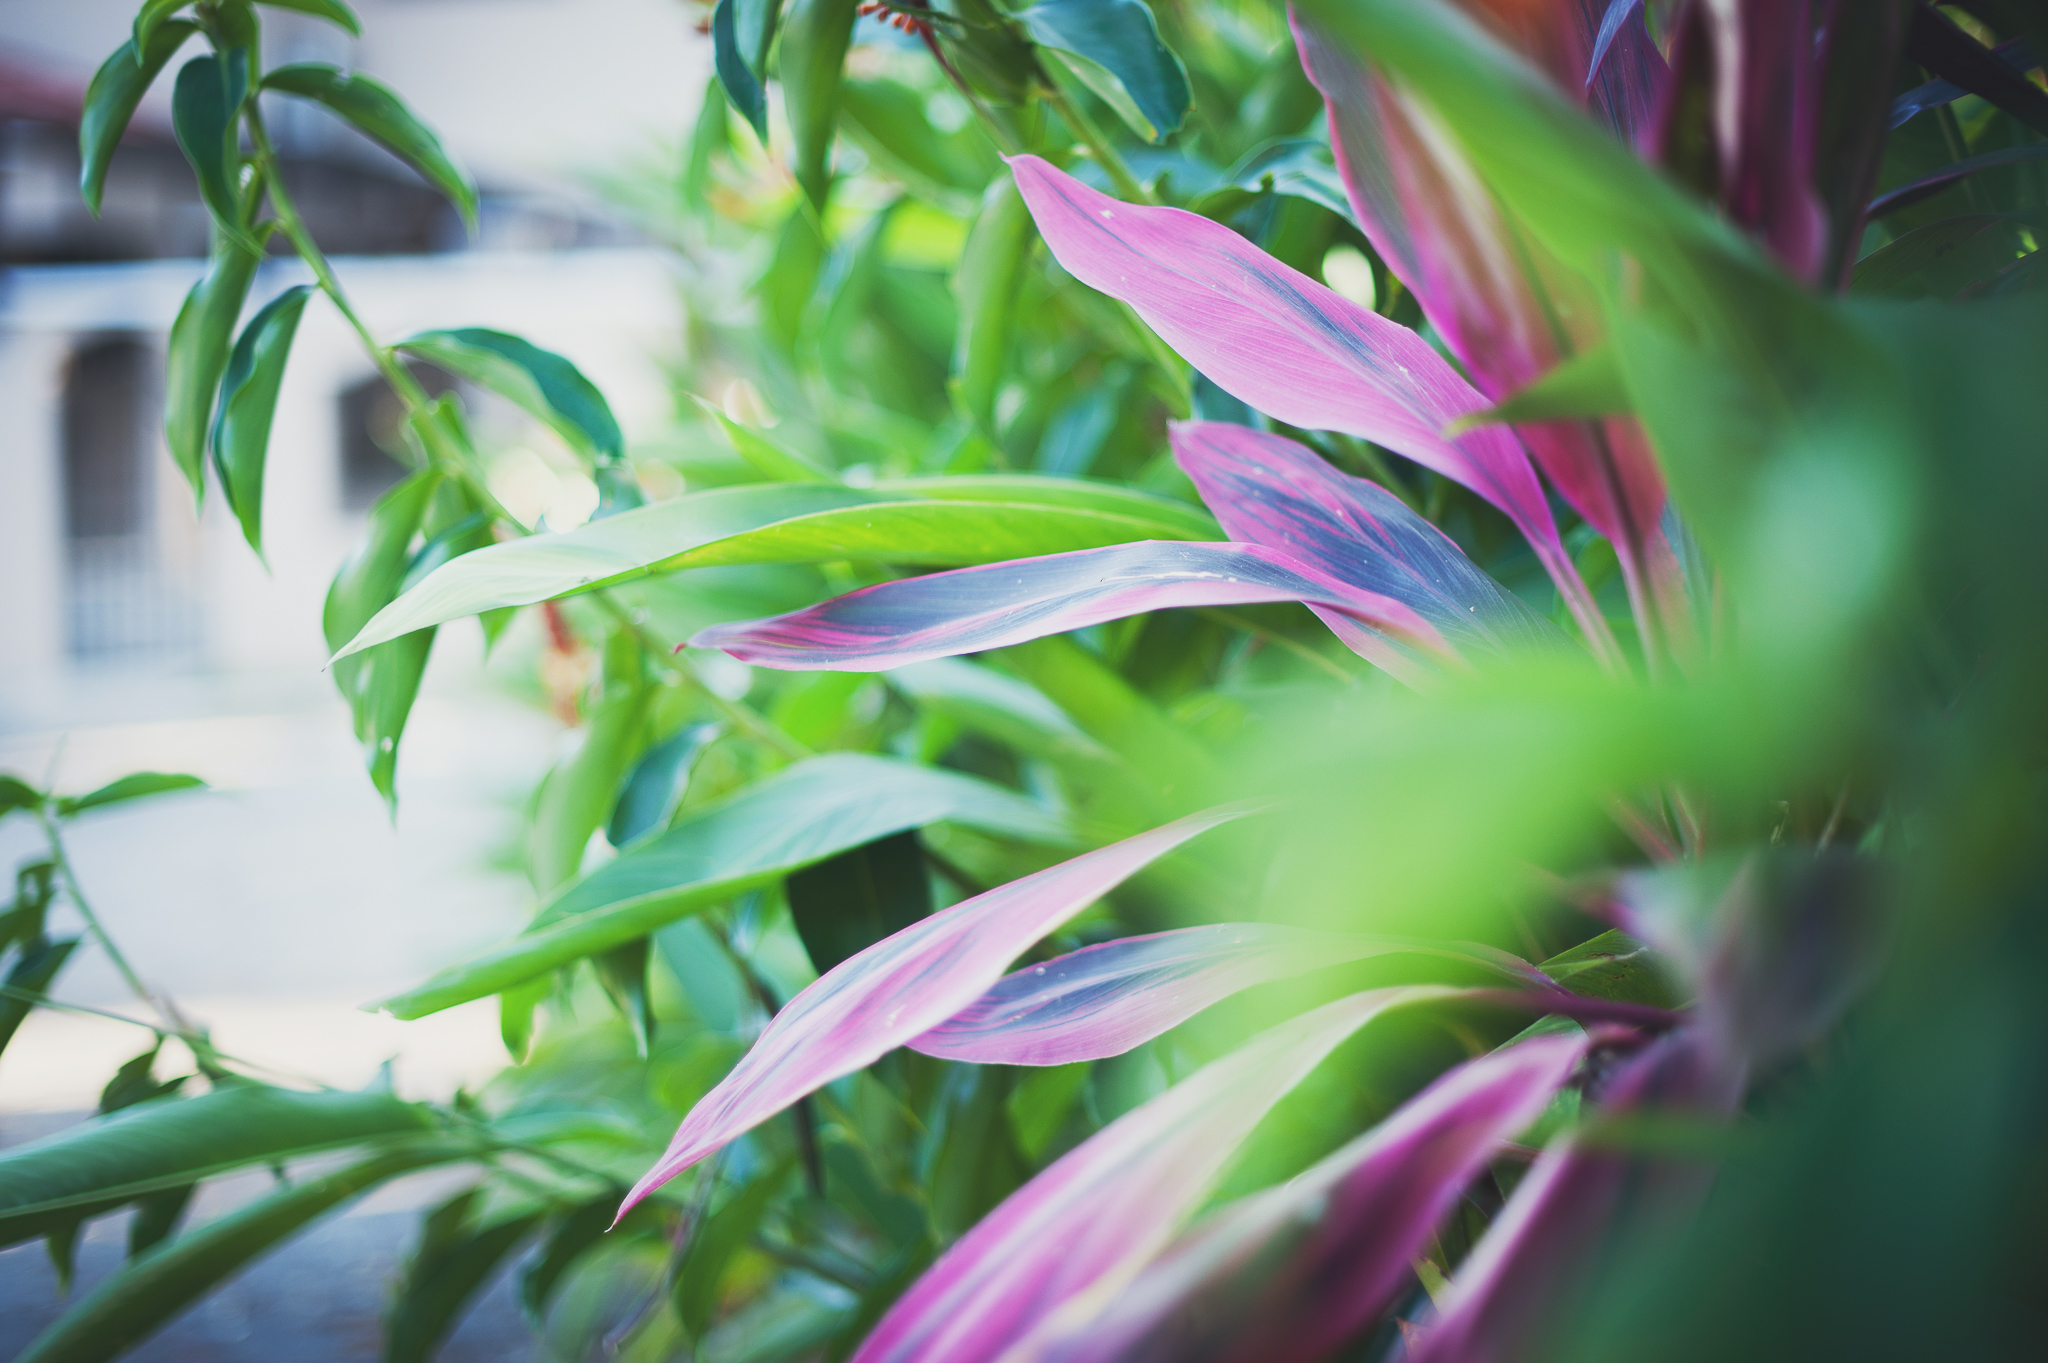
I used to be like that. I think most photographers are like that at some point. Thankfully, I’ve cut down on camera gear tremendously in every trip since. This time I only brought a 50 and a 20. And I almost exclusively use the 50. Free as a bird. In the end it really comes down to what you want to capture. I left behind all those “just in case” lenses. I want to focus solely on documenting my research process and the people I meet. The two small primes will do the job. Don’t worry about the shots you could have gotten, and don’t stay fixated on the traditional roles of each lens. Camera manufacturers often market each lens as if it’s good for one thing only. Wide-angle for landscapes, telephoto for sports and wildlife, blablabla. In the hope of showing you how a single focal length can capture diverse subjects, all the images in this post were shot with the 50. I encourage you to limit the gear your pack for travel. You’ll worry less and enjoy more.
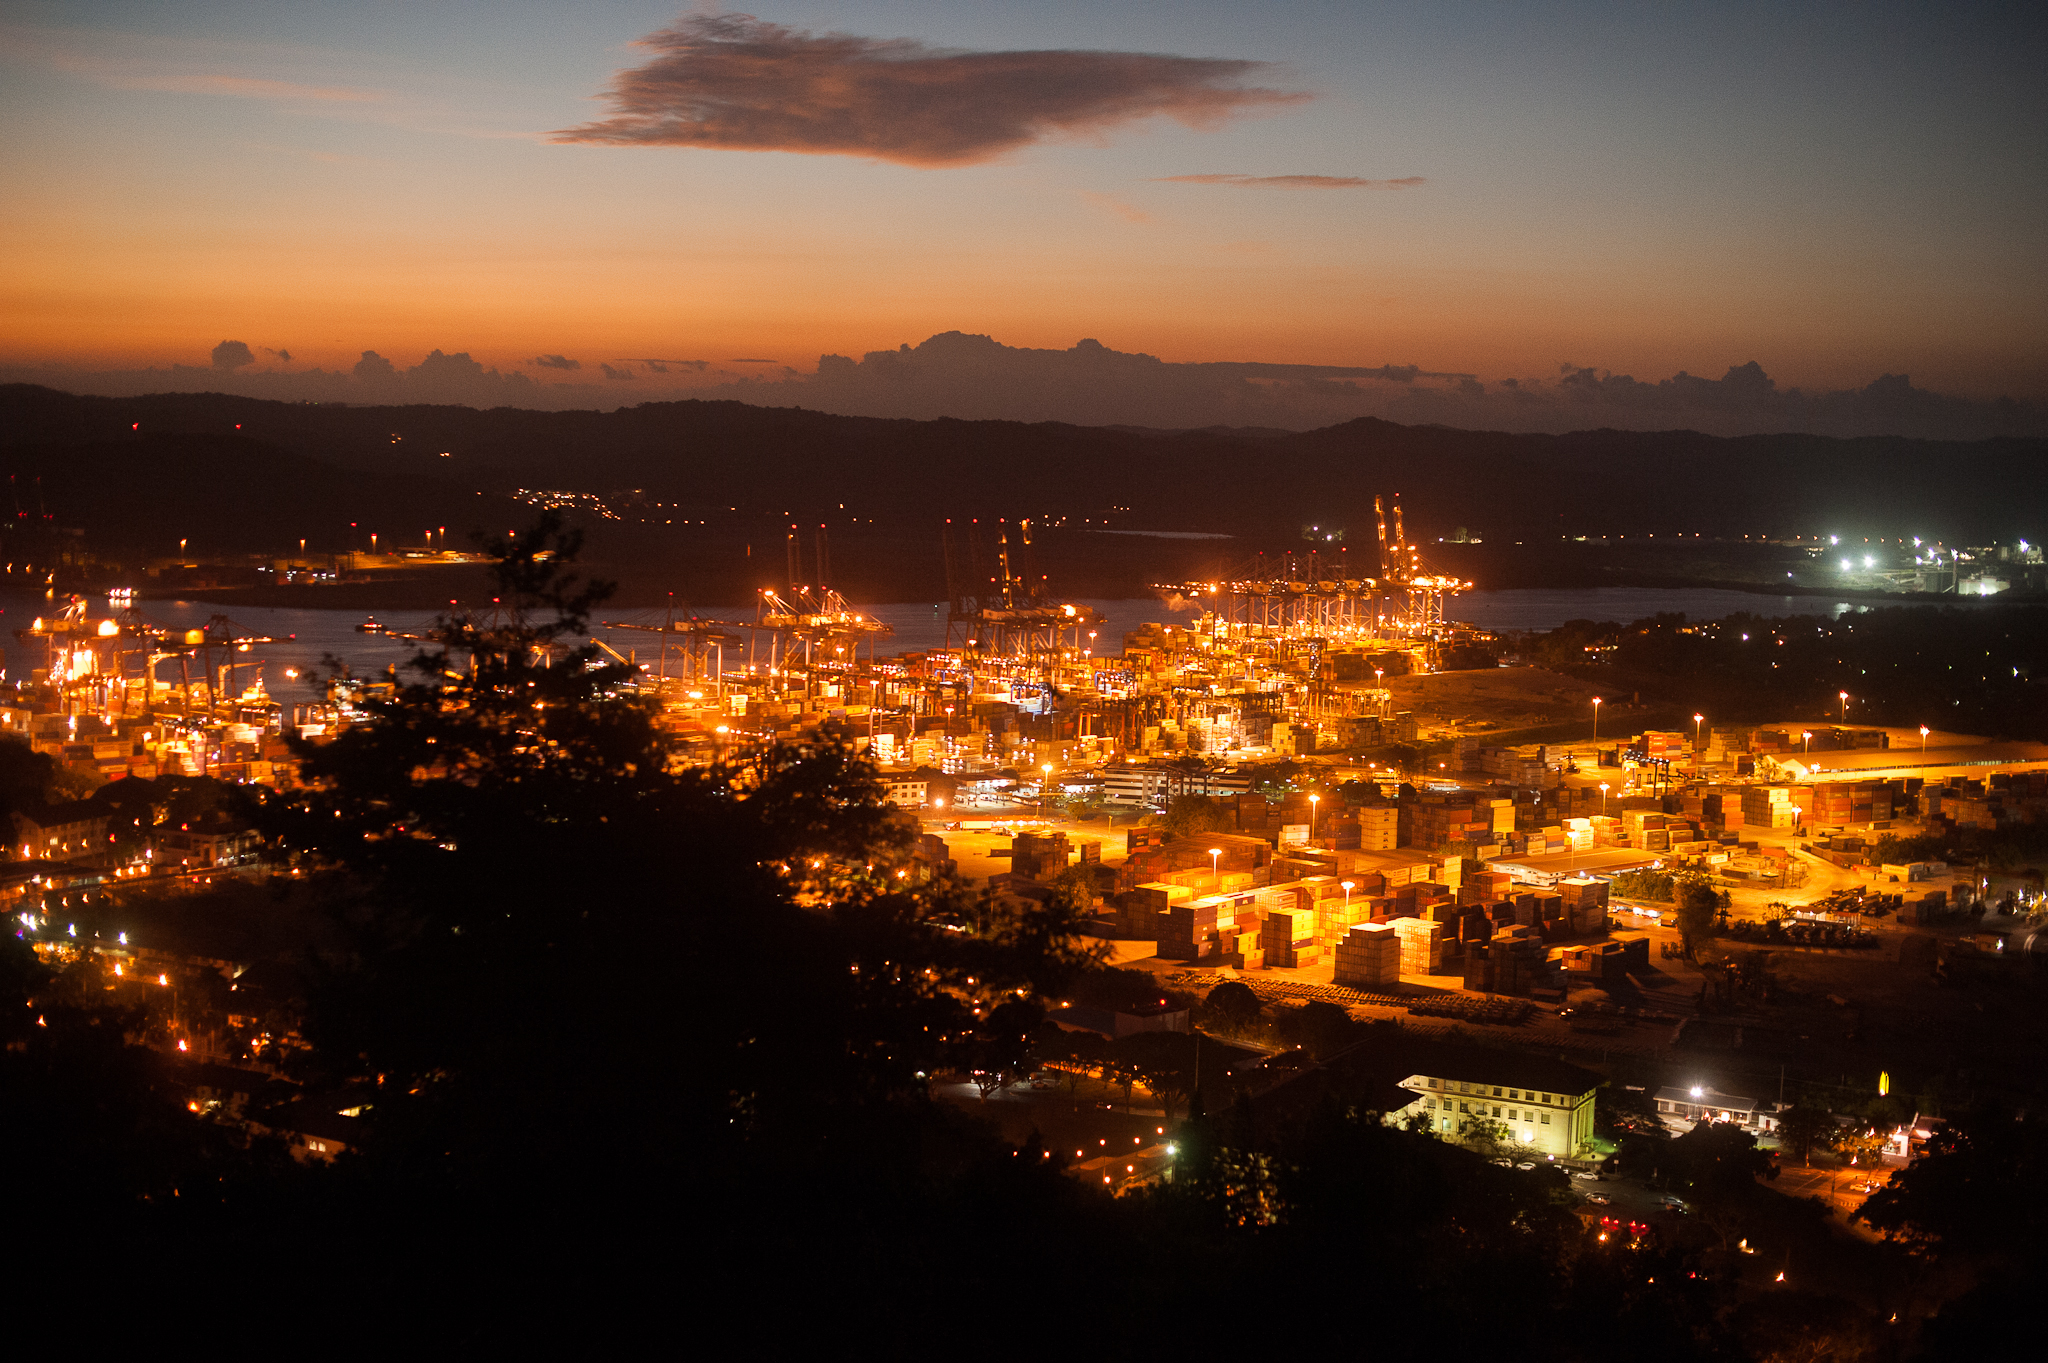
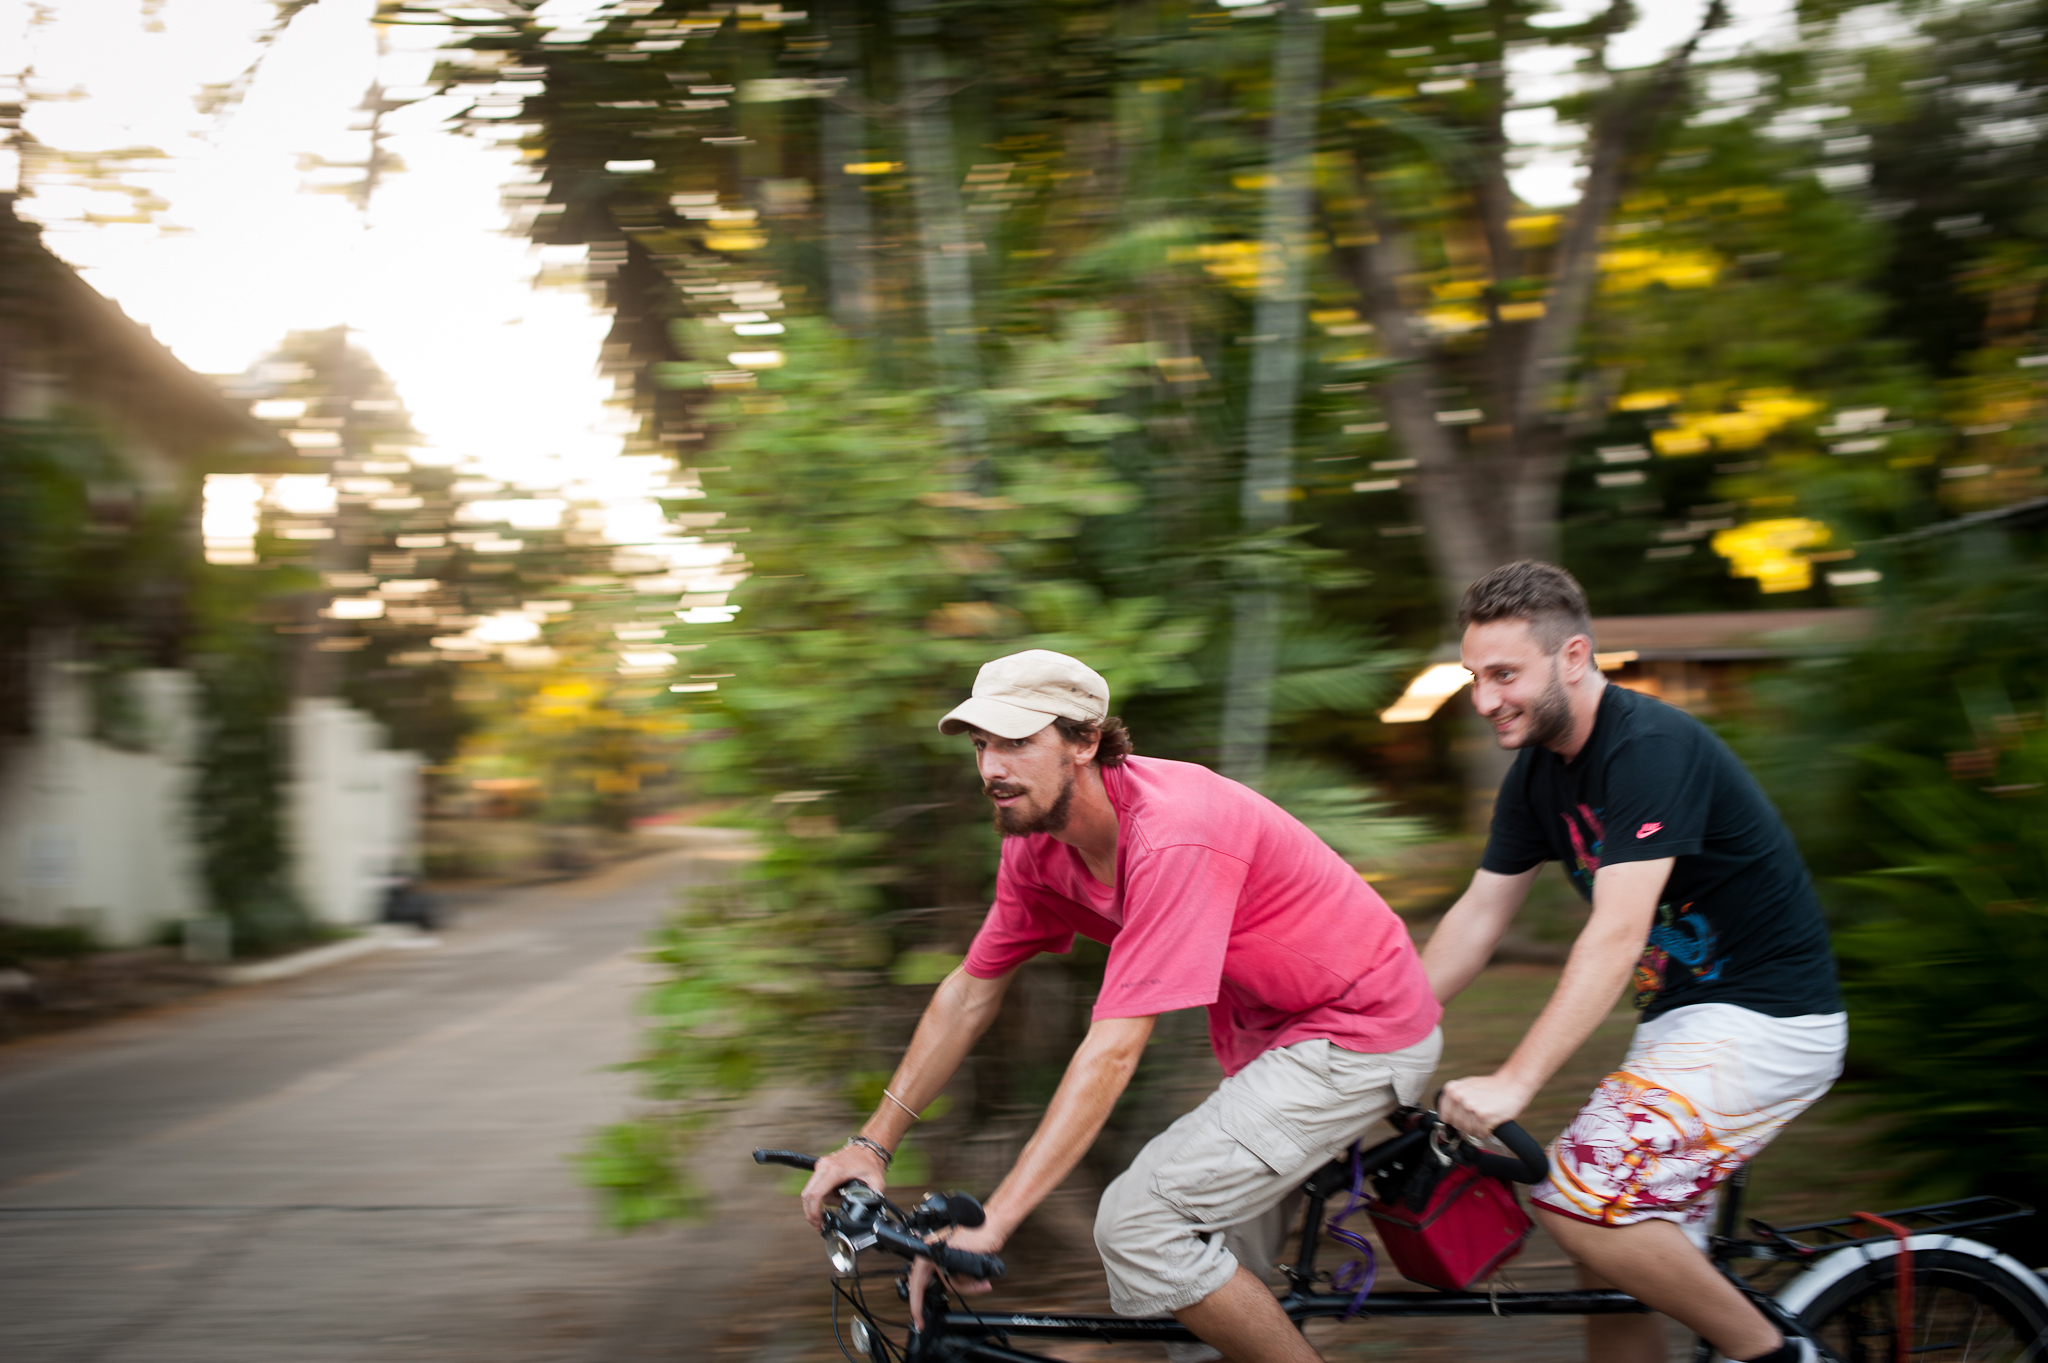
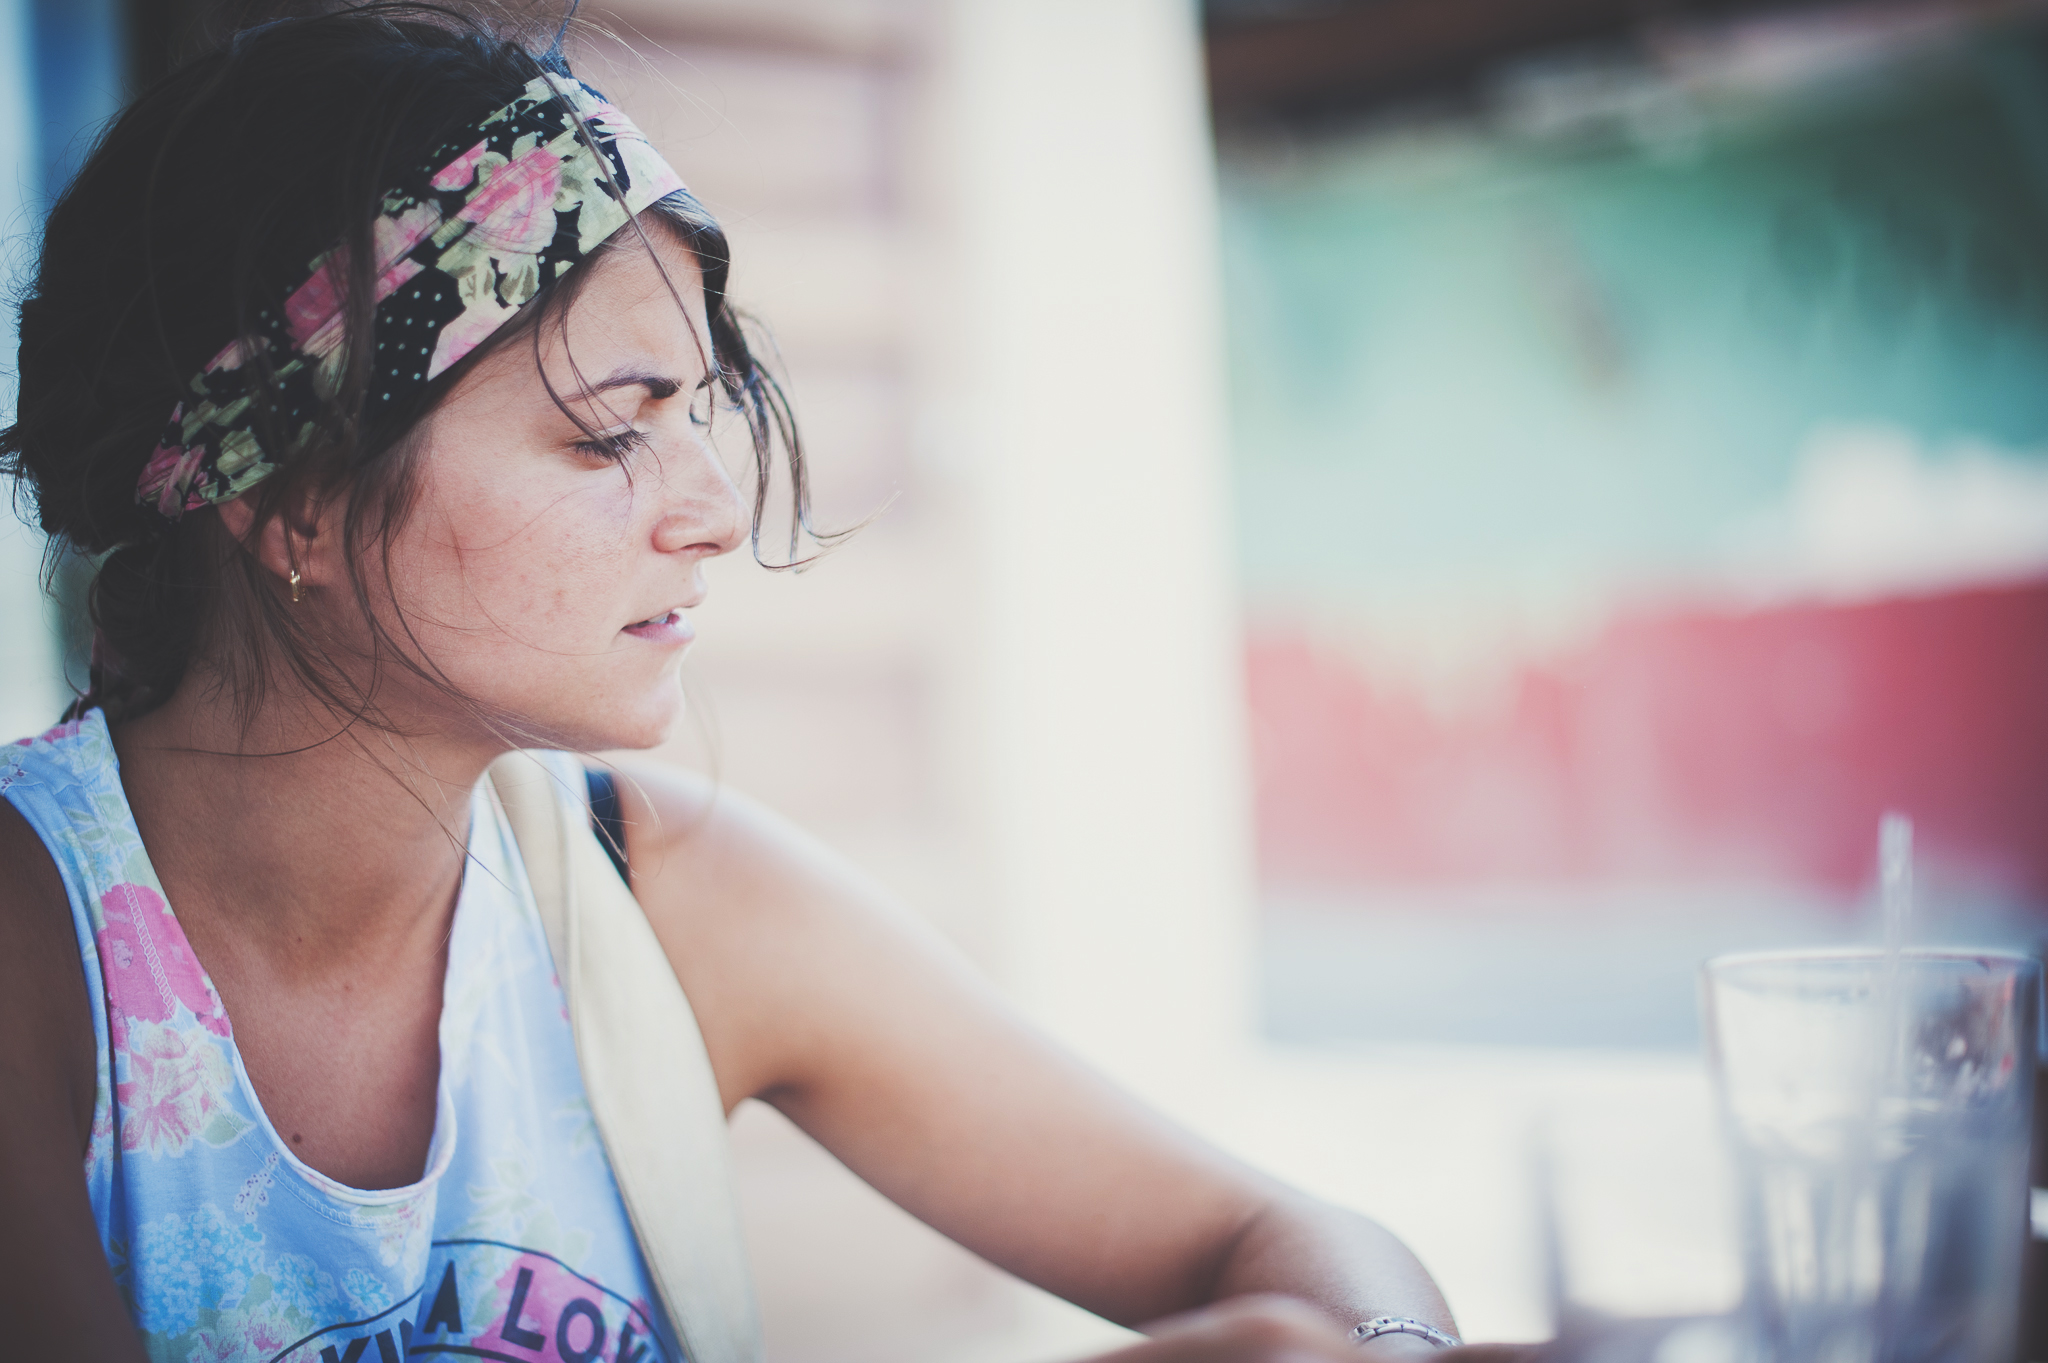
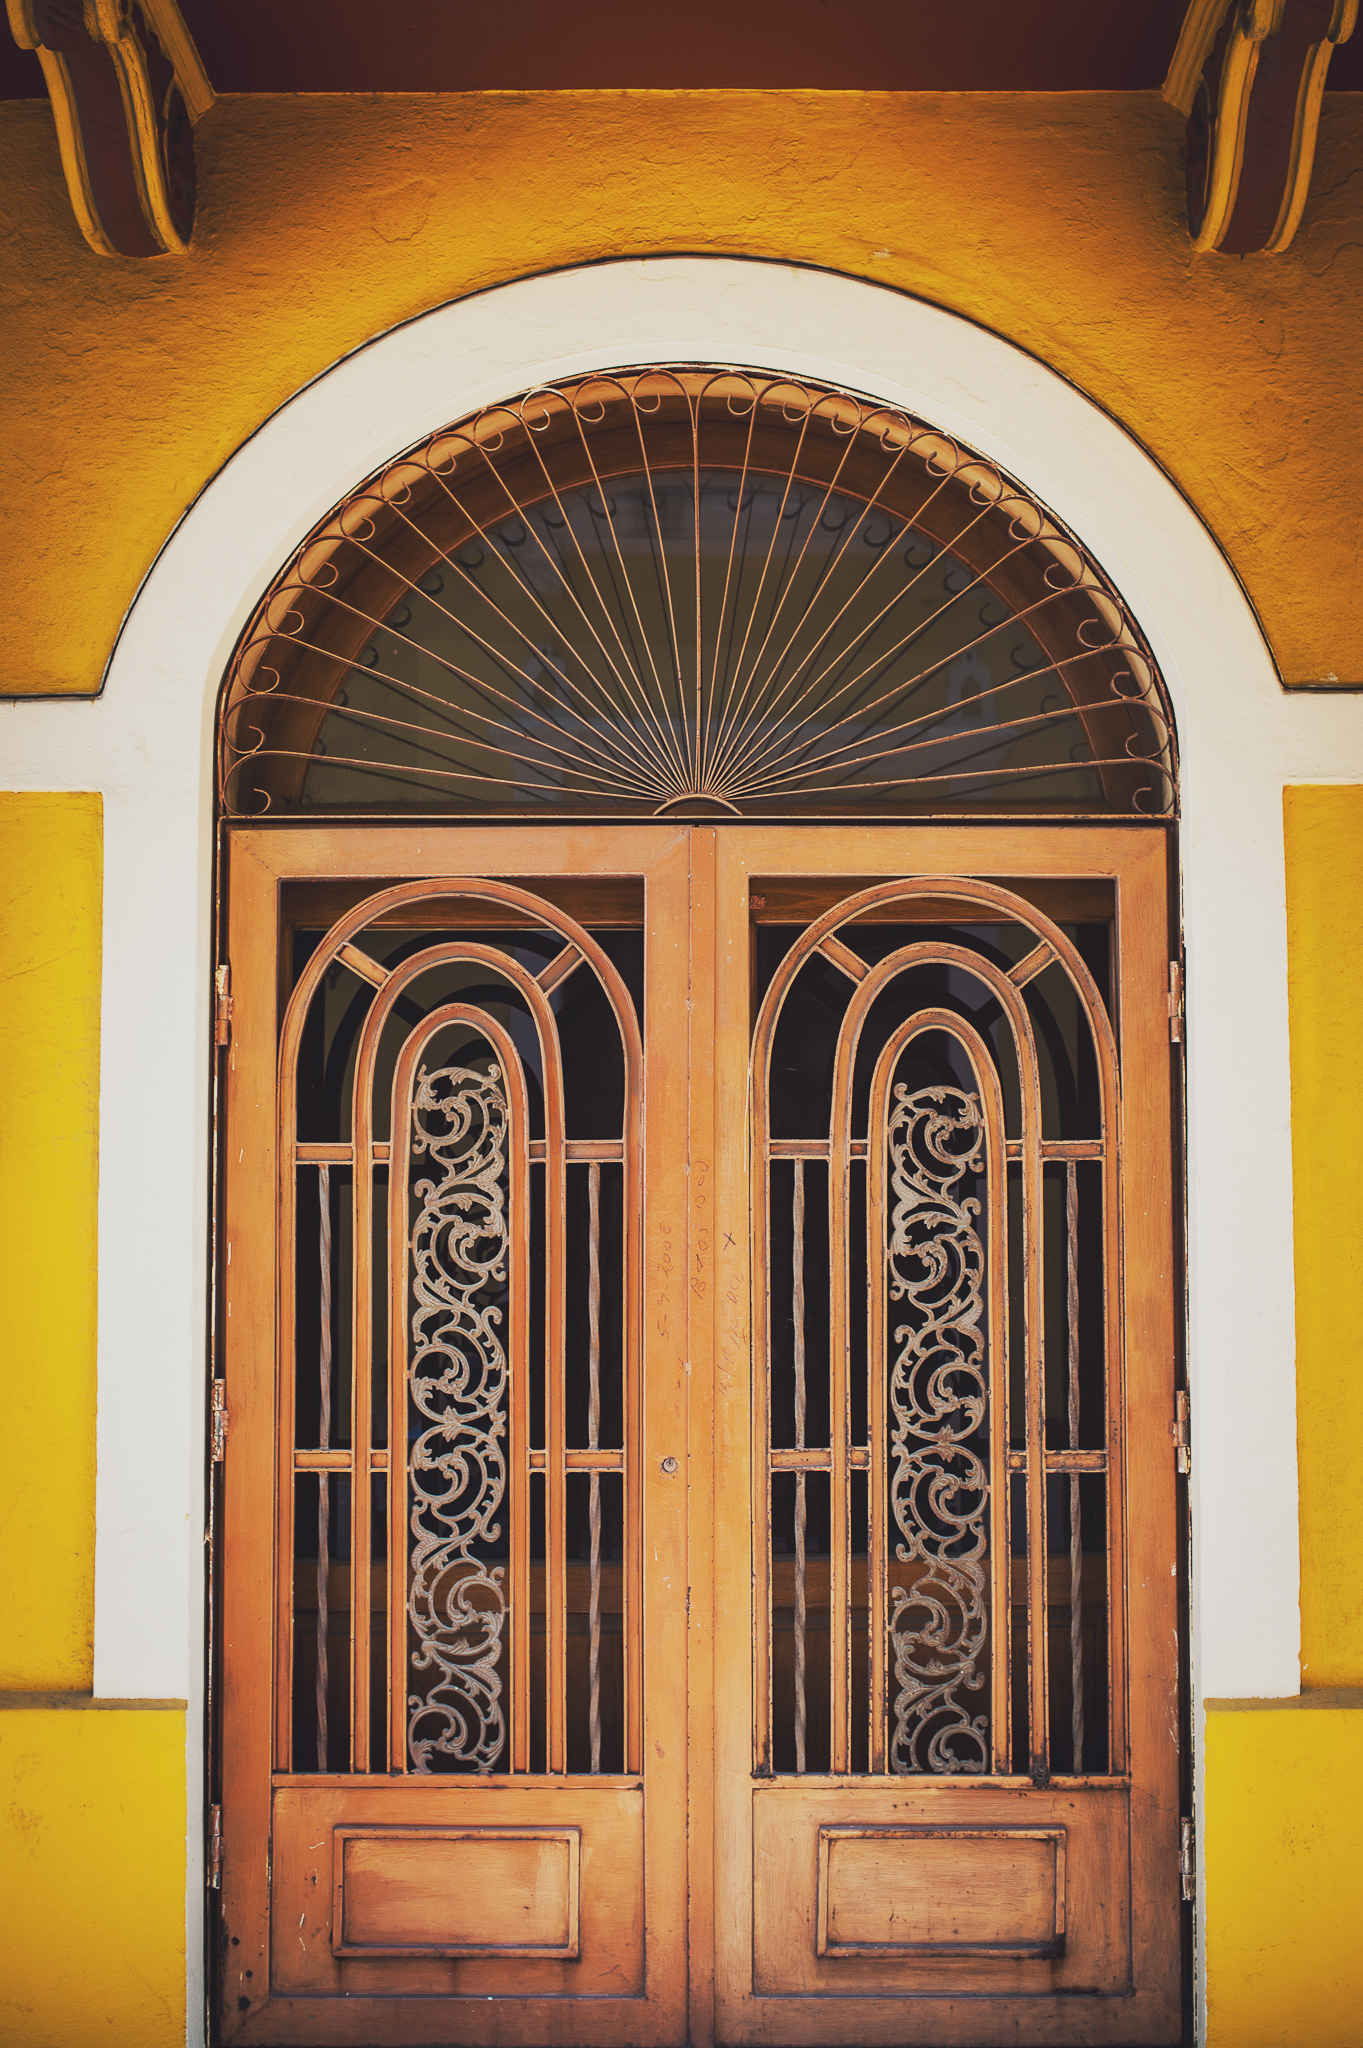
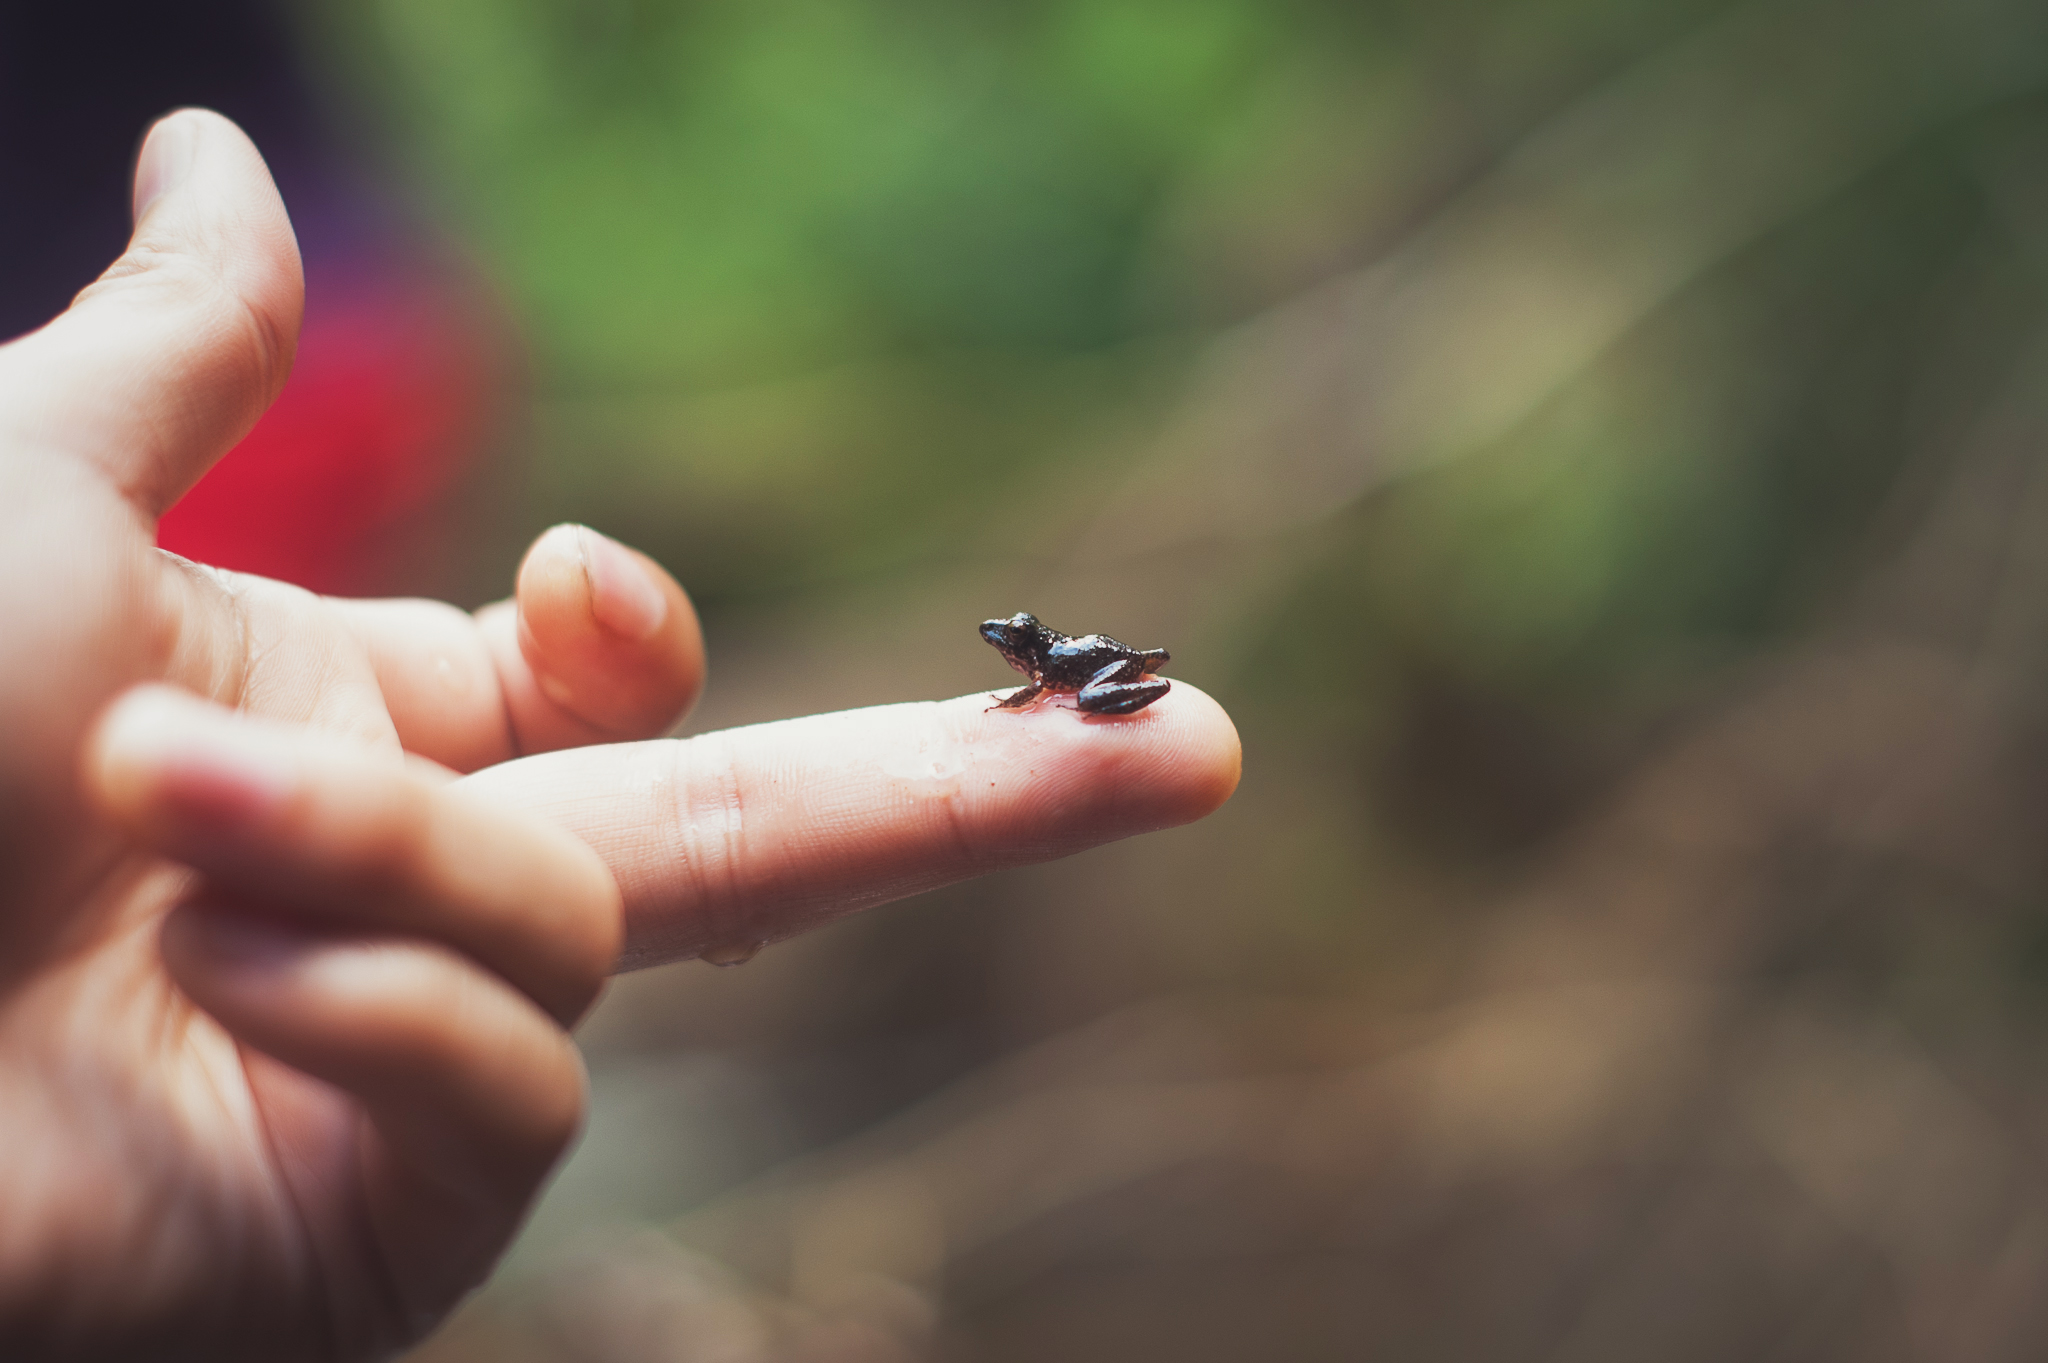

OK maybe this last one requires a bit of explanation. Read the story here.
P.S. I have to admit that lately, I’ve been thinking of getting a more compact camera for travel photography - one that I’d never hesitate bringing with me. Maybe it’s time to venture into the world of mirrorless cameras soon…
Two Simple Ways to Improve Your Photography
Because I’m always trying to improve my photography, I consume dozens of books every year and go through countless photography blogs and articles. It’s not hard to find advice on photography. What’s difficult is getting through the noise and finding the valuable content. You see and hear the same things being repeated over and over. These mantras given as advice are often full of fluff and not actually helpful.
For example: “Be different from others”, “Find your own vision” or “Discover your unique style”. It makes sense, but I don’t find it particularly helpful. Yet anytime you look for photography advice you find this. And it’s worse when you find chapters of photography books dedicated to rephrasing over and over the idea of being different. I doubt that photographers stumble onto this, and suddenly, huge epiphany: “OHHH ok so I have to be original, gotcha. Can’t wait to take some awesome pictures now!”
It can be frustrating trying to find concrete actions to improve your photography, especially after spending lots money on these books.
I want to share with you 2 photography tips - concrete actions you can take - that have helped me and I think can help you. I rarely see these mentioned anywhere.
1. Just show less
Go on Facebook. Or your website. Or your blog. What’s the last shoot/event/album you posted? Odds are that you have some strong shots in there that are being brought down by weak ones. I see so many great photographers that just post too much. And mind you, I’m a victim of this myself, but it’s important to at least be aware of it. For example, say you want to share your travel photographs. It’s hard not to post pictures of every city you went to, but just because you went there and took some pictures, doesn’t mean you need to show them. You have to resist that urge and only post your best. It’ll make your body of work better.
Allow me to demonstrate :)
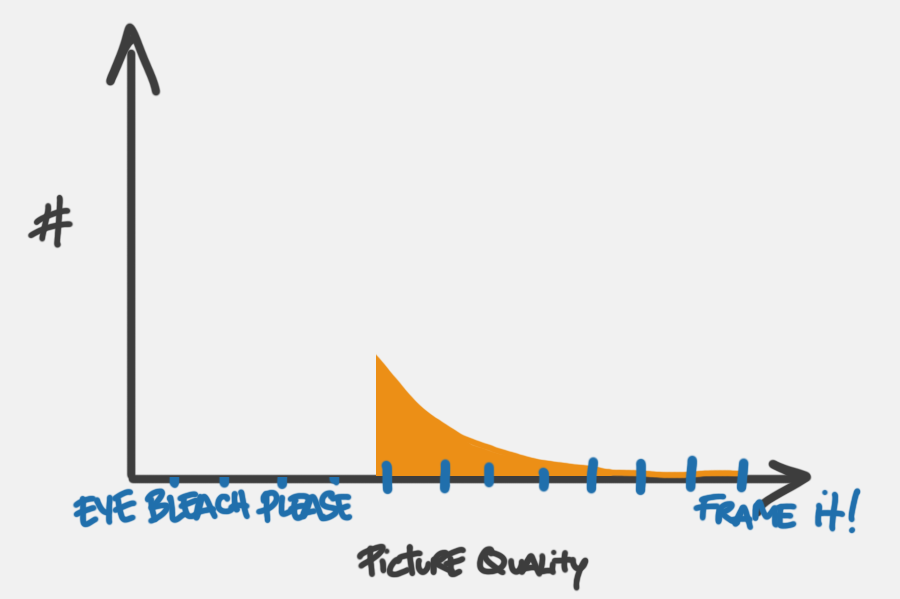
This is so nerdy but bear with me for a second. This graph shows the number of pictures we take in our lives distributed by picture quality. Most of the pictures we'll have taken in our lives will be bad and only a few in comparison will be great. This is graph is more or less true for everyone. The degree of the steepness differs, but the shape remains accurate. In the haystack of crappy pictures, only occasionally will we find pictures we are truly happy with. But now look at how the average picture quality increases by only showing our best work.
The average picture quality is now higher than before. That’s right, you can appear as a better photographer without actually being a better photographer. That’s just one thing. The second, more important thing is that by forcing yourself to show only a small sample of what you took, you develop a critical eye for your own work. By deciding to show this one and not that one, you start identifying specific aspects about your images that you like or don’t like. And only by identifying those aspects will you be able to make conscious decisions in your next photography outing to improve your craft.
Of course there are some compromises that need to be made at times. Sometimes the moment is more important than the actual image and it’s what you want to share with others. That’s fine. This piece of advice is more directed to people who have a photoshoot and then post dozens of variations of the same person in front of the same tree. One of them is the strongest. Just show that one. Be extremely harsh with your own work. Show no mercy. Next album you post on Facebook, select your pictures as you usually would, then only post half.
2. Feed your creative brain
Do you have an RSS reader? If not, go to Feedly.com and sign up for free. It’s what I use and it works for me. And get the Feedly app on your mobile device while you’re at it! Here’s how I use it. I subscribe to a bunch of different photography blogs (and graphic design blogs). Every time there’s a new post, it pops up on the reader. And with sufficient sources, you will have a constantly updating RSS reader that delivers new content daily. Every day on the bus, I take a quick 5 minutes to go through the work of other photographers.
You discover new styles, new techniques. You accumulate possible ideas for future shoots. You start liking things, disliking others. Without realizing it, your own photography style is being molded simply by going through the body of work of others. And if it isn’t your style that is being molded, it is your taste, and identifying what you like is the first step to eventually being able to shoot what you like.
I think it’s important to separate the blogs that you read from the blogs you follow purely for visual inspiration. With Feedly I keep a category for reading and another one just to consume images. I use it as a hub, linking dozens of different tumblr feeds and photographer blogs. The medium isn’t important. Following the right people on Pinterest would also work for example. What’s important is exposing regularly yourself to new work. Bonus points if you use this to draw inspiration not only from photography but from all forms of art.
Until next time!
Portraits of Claudia in a 1x2m studio
I’m leaving in two weeks to start preliminary fieldwork in Panama and am super excited. It’s getting cold here in Montreal anyway. Today I have a mini photoshoot with my girlfriend Claudia to show you!
Claudia is a cute little romanian girl that likes flowers and is obsessed with cats. I also share that obsession slightly. We regularly talk to our neighbour’s cats. We even give them names. There’s Brown Cat, Gray Cat, Dirty Cat, Curious Cat and more. We’re very creative with names. Brown Cat came in the apartment today. Claudia doesn’t think he’s very brown but trust me, he’s brown.
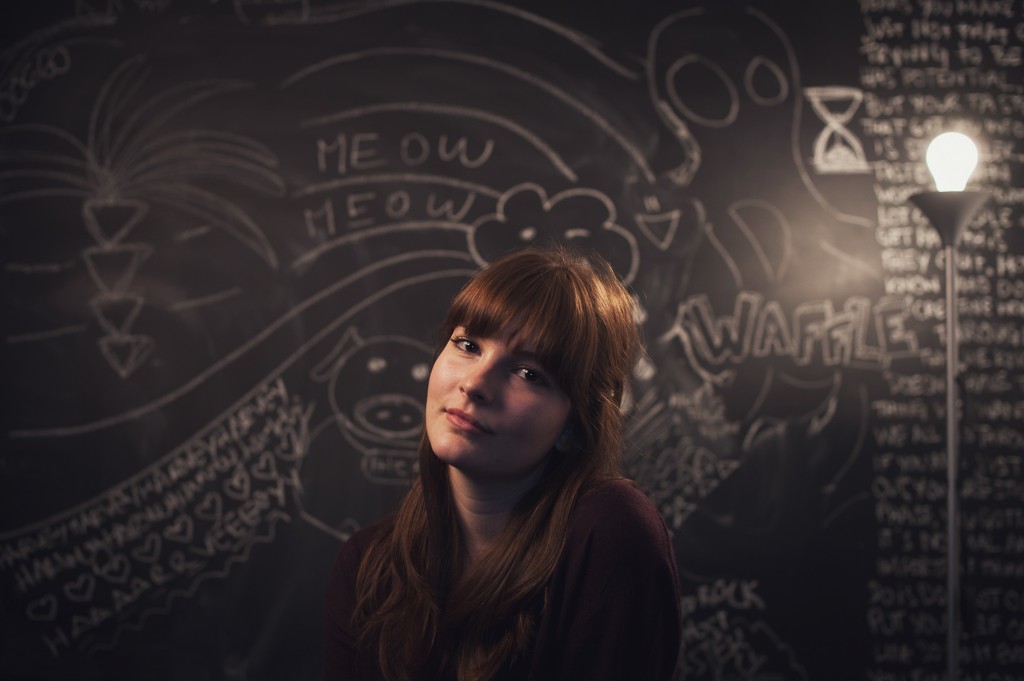
Claudia being cute. Nikon D7000 + 50mm 1.4, 1/160, f/2.0.
The setup was extremely simple. Although it’s my dream to get a studio, for headshots or tight portraits, all you really need is a few clean walls, and maybe a window. All shots were literally taken in a 2m squared corner of a room. You don’t need much more than that. For lighting, we had a window with a white diffusion layer.
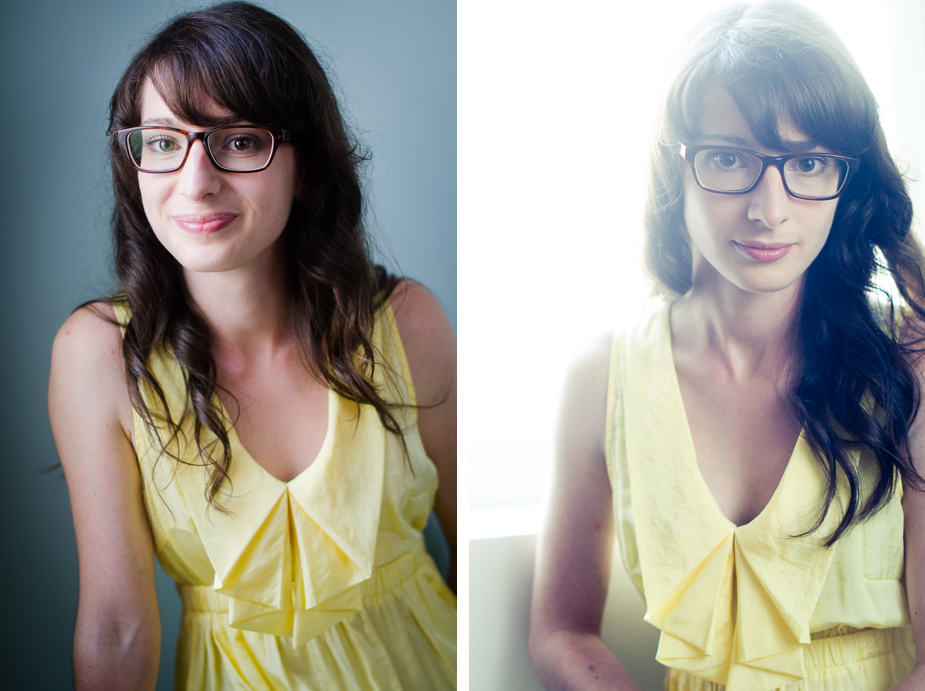
Nikon D7000 + 50mm 1.4, 1/100, f/2.0.
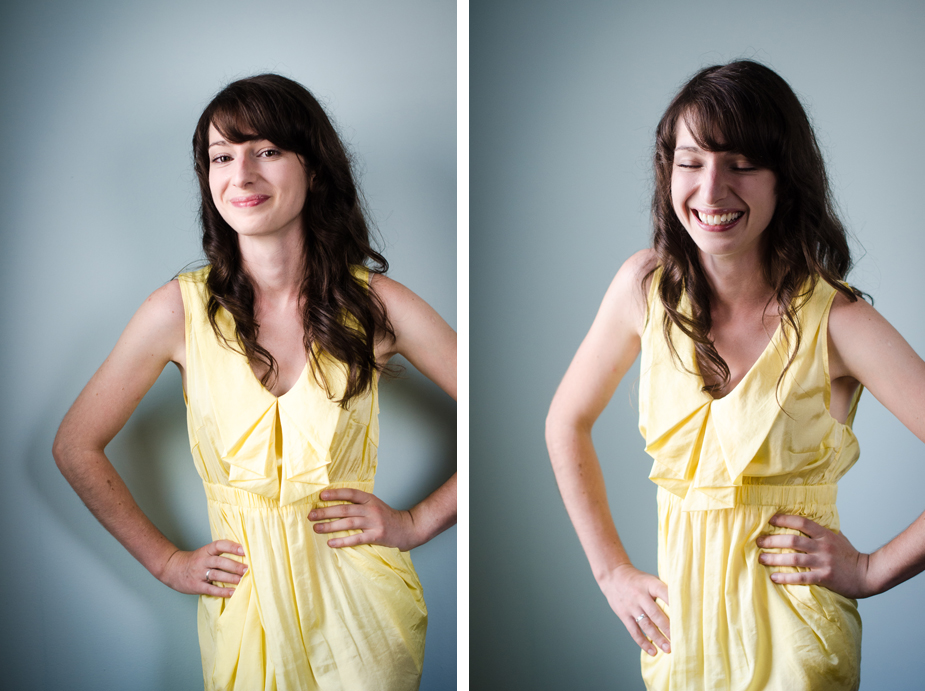
In the two portraits above, Claudia is sitting at the exact same spot. Same exact settings. I just moved to her right and it changes the mood of the picture right away. In the backlit shot, I just placed a reflector to light her, positioned close, right outside the frame. All of these next photographs were taken just 1m away on a bed, still using natural light.
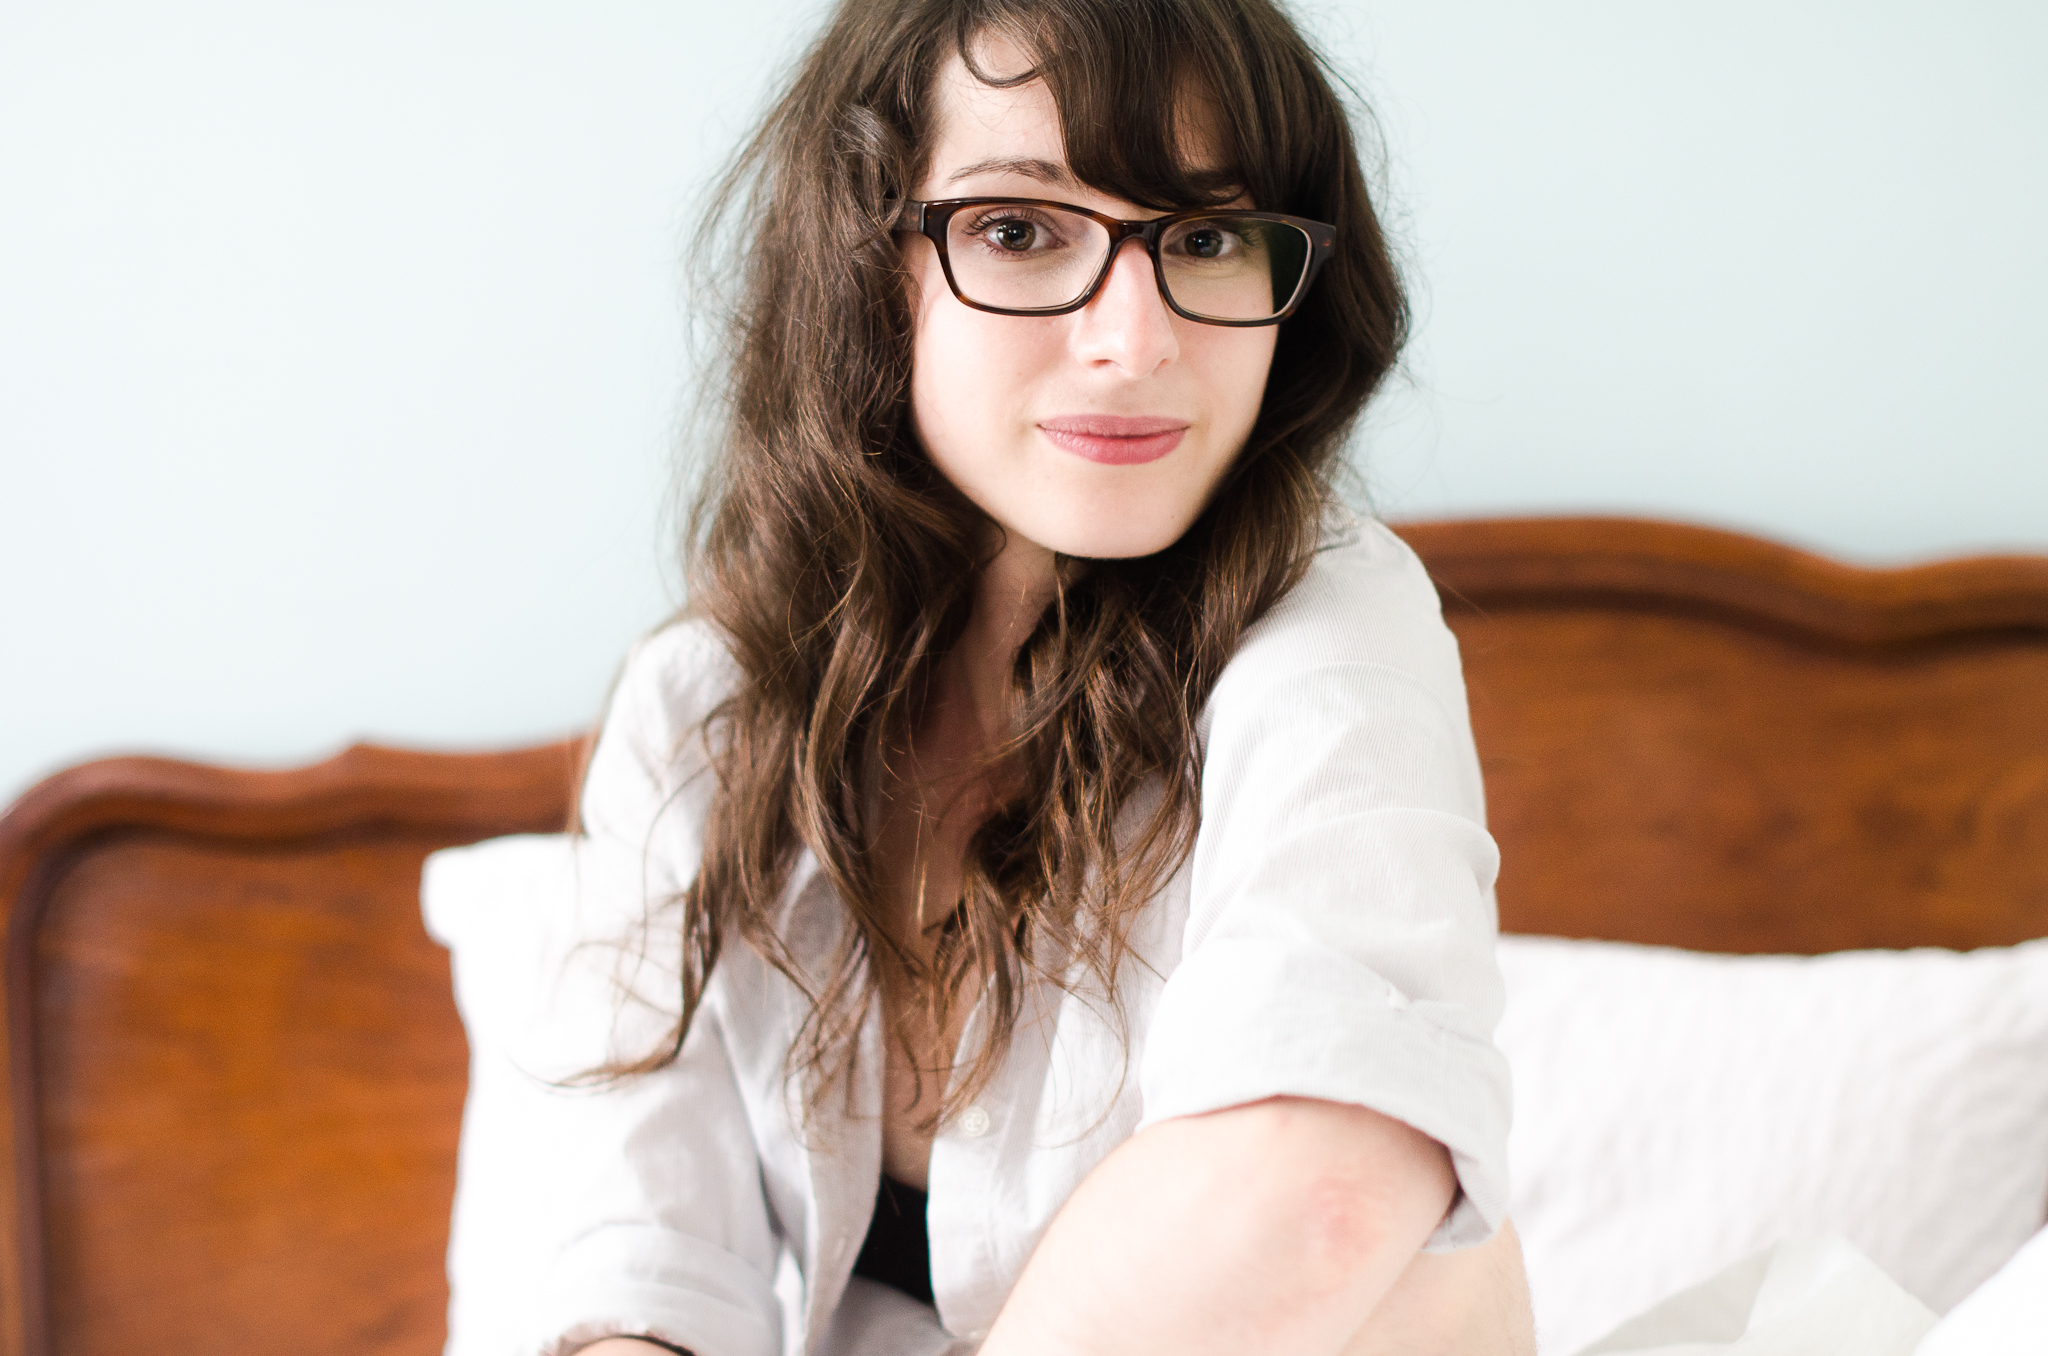
Nikon D7000 + 50mm 1.4, 1/80, f/2.0.
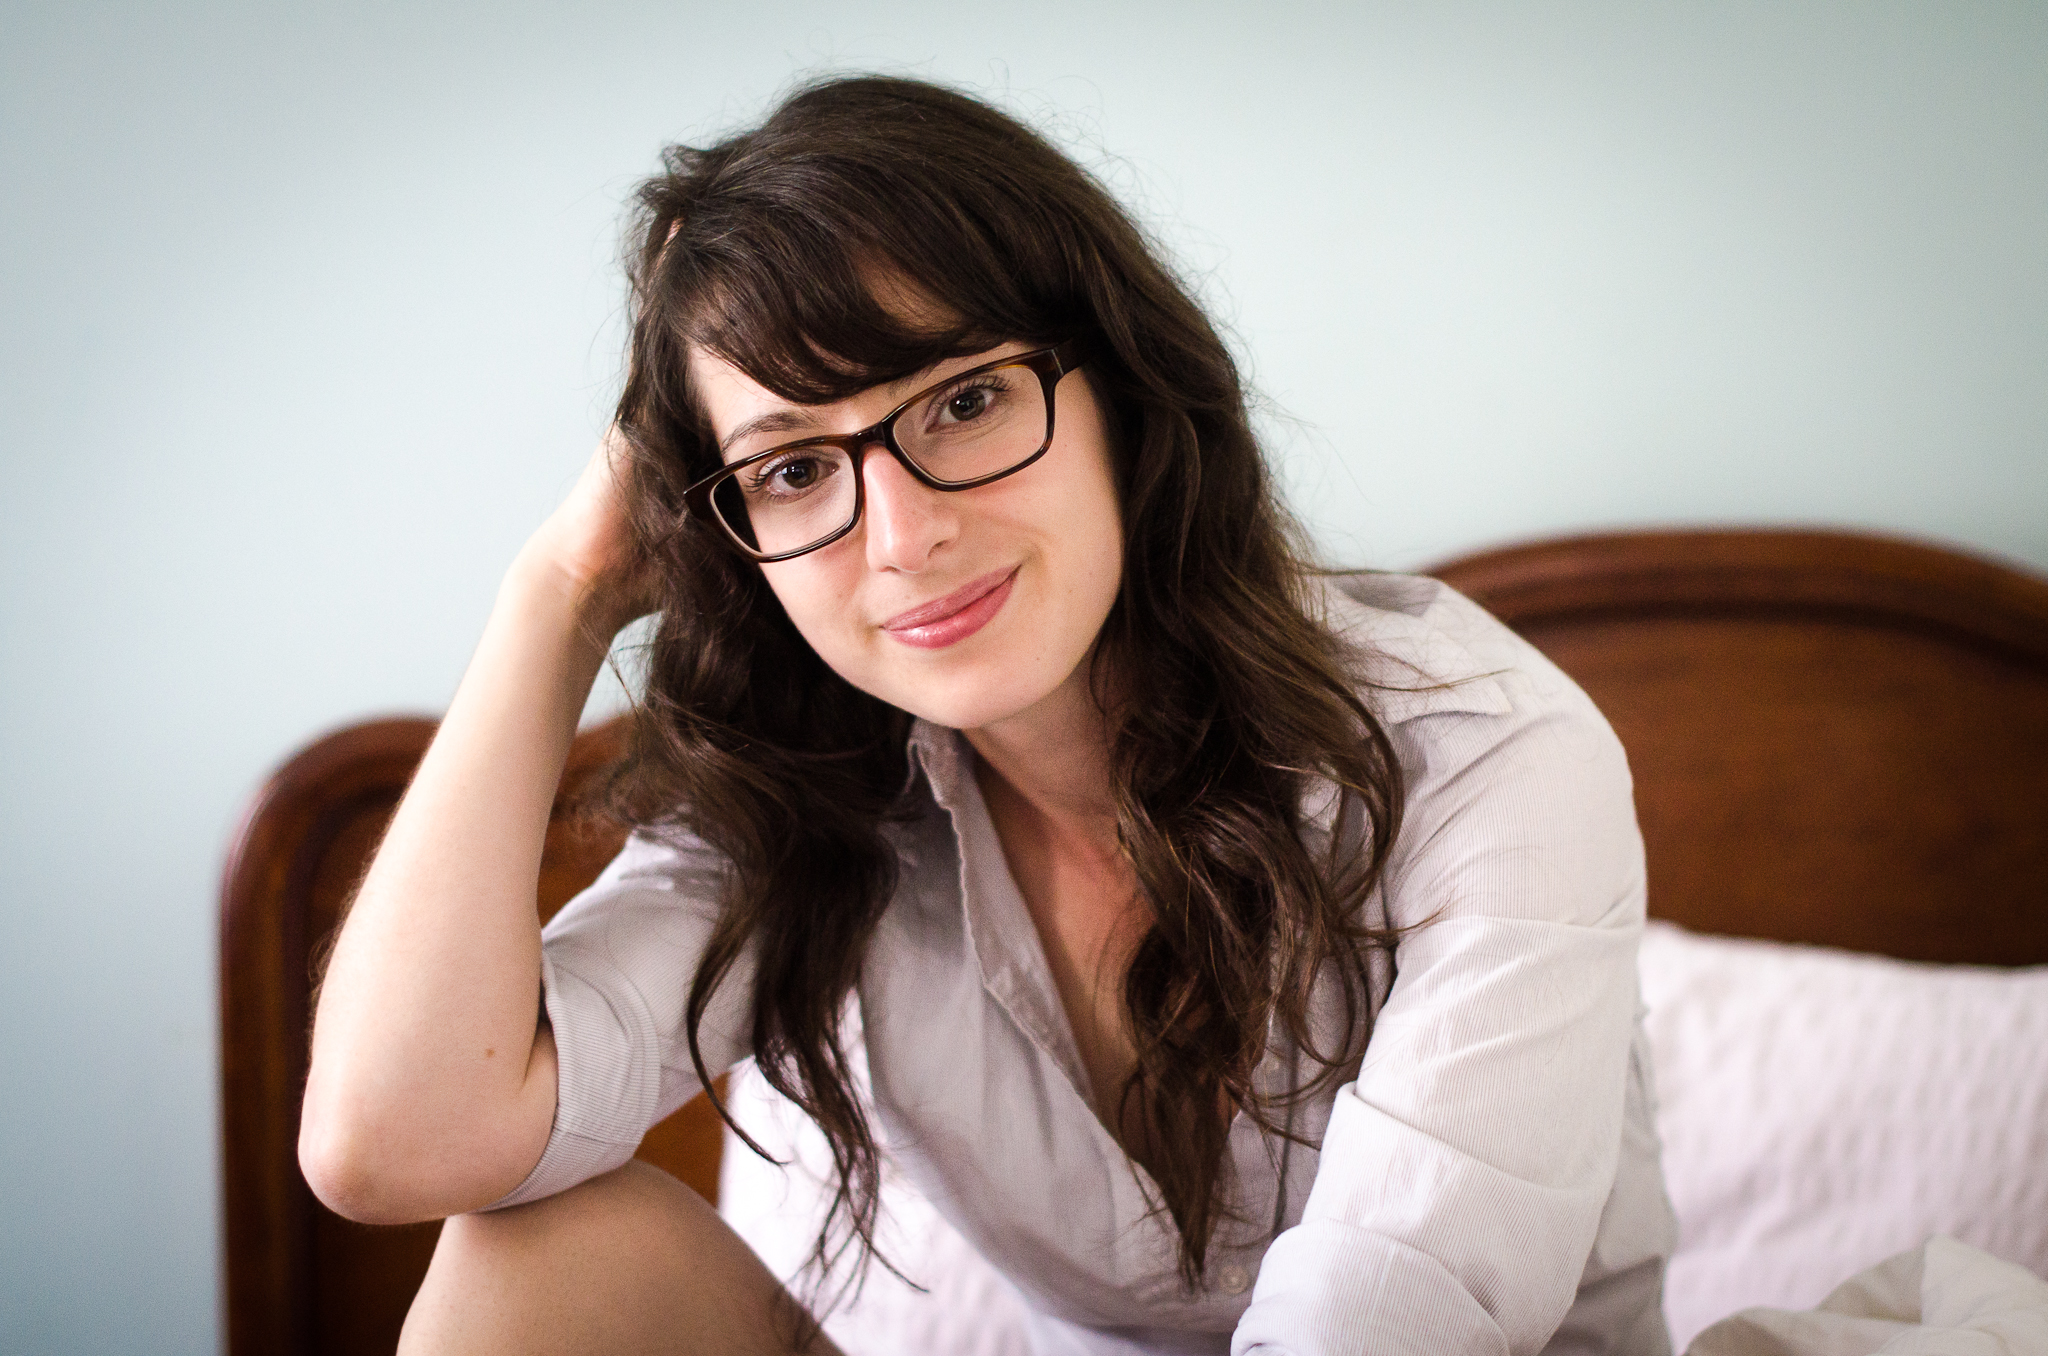
Nikon D7000 + 50mm 1.4, 1/80, f/2.0.
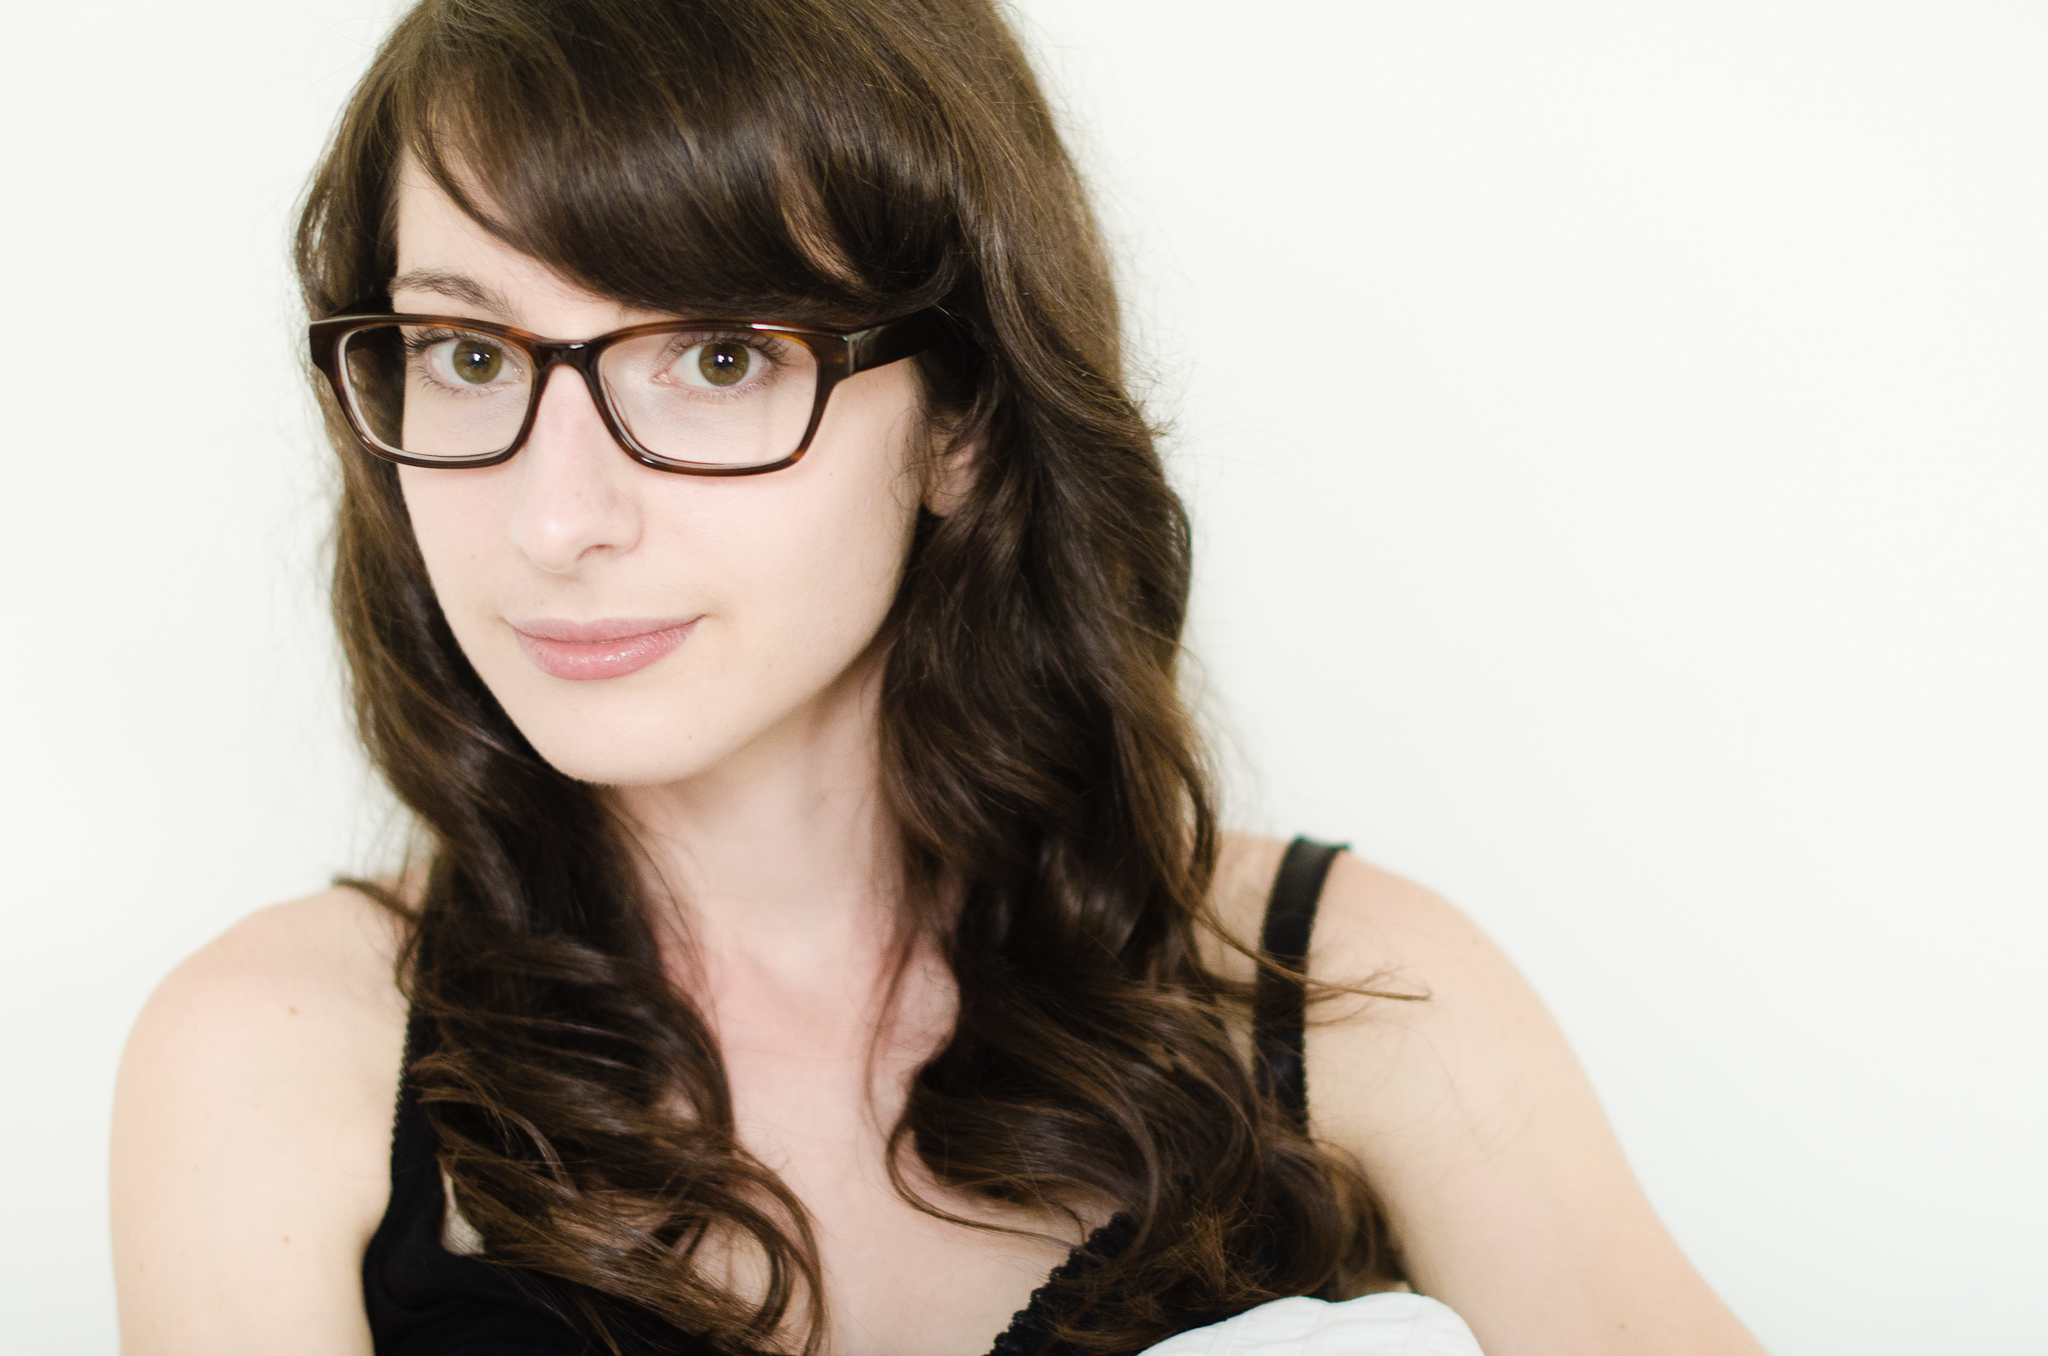
Nikon D7000 + 50mm 1.4, 1/50, f/2.0.
So you see? All you need is a little corner of a room and it can make reasonable backgrounds for portraits. If you’re lucky, you’ll find a white wall somewhere in your apartment. If you’re even more lucky, you’ll have a lot of space in front of the wall. By controlling the distance between the subject and the background, and just lighting your subject, you can get your background anywhere from white to black. Even throw in gels if you want. Of course in the end if I had a studio with a cyclorama wall, 12-foot ceiling and huge north-facing windows I’d take it. So if anyone has one of those just lying around up for grabs just send it my way thank you.
I’m buying a D700 tomorrow. Super excited. At this point I’ve been waiting for a year and a half, browsing Kijiji and Craigslist like a madman. A few months ago, they were going for over 2000$ for used ones, I almost went for it. Then I delayed my camera cravings just in time for the D600 release which shot the prices down. I’m getting one tomorrow for 1300$. Used from a Montreal photographer who is switching entirely to Fuji cameras. So why the old D700 and not the new shiny D600? I’m saving 1000$, I already have video on my D7000 and I don’t need 24MP (and my almost full hard drives certainly don’t want 24MP pictures). I’ve been waiting for full frame for a while now. I slowly eliminated all my crop-sensor lenses and now have all full-frame lenses. What I’m most excited about is the even shallower depth of field I’ll be able to get (okay okay, if you want to get technical it’s the same, but because of the wider frame there’s the impression of a shallower depth of field).
So I will definitely report back soon. We’ll see if knocking off a 0 in my camera improves anything!
My Camera Gear Path, Part 2.
So here is the second part of my gear path. Part 1 is here, in case you missed it. Just to remind you, this was a post to answer the numerous questions about what gear I shoot with. I'm just showing you a step-by-step process of what I bought/sold to eventually get where I am gear-wise. Okay so what did I buy next?
4. Nikon D90. I was probably tempted solely from Chase Jarvis’ video, making the camera look really badass. It was also the first DSLR with video, so that caught my eye right away. I was really happy with the low-light performance of the camera, and the ability to trigger my flashes wirelessly. Video was cool, but it was lacking fully manual controls that appeared in later cameras. To be honest I could’ve stayed with my D90 until now and I would’ve been just fine. Tons of them are going down in price rapidly, since they’ve been replaced by the D7000. You can probably find some good used ones for not too expensive too.
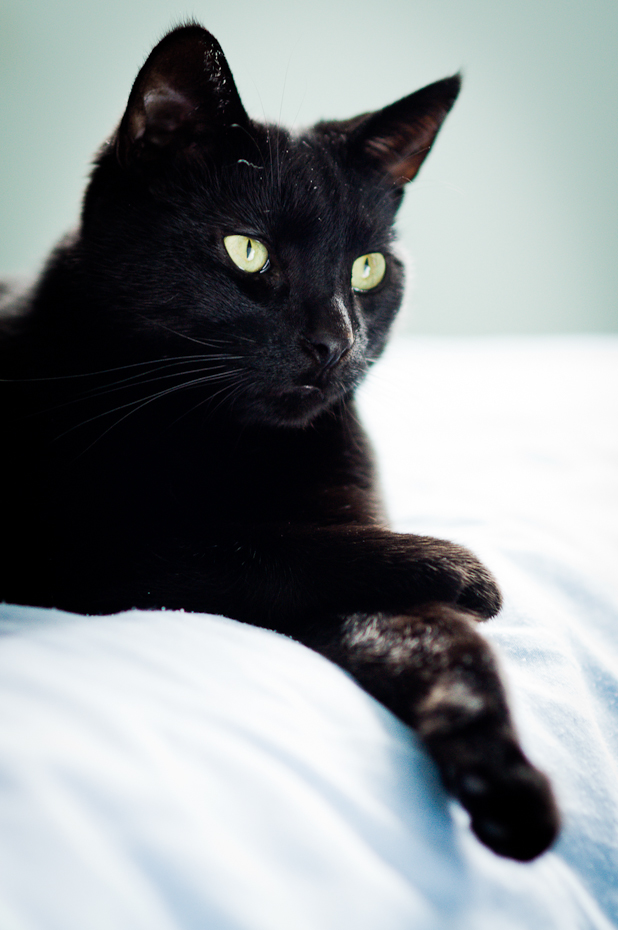
My sister's cat. Nikon D90 + Nikon 85mm f1.8.
5. Then came in the Tokina 12-24mm f4.0. I THOUGHT I needed something wider than 18mm, so I bought this off B&H. To this day I still use this lens a lot in every single wedding, and it’s often the lens that I bring if I can only bring one lens (say, for a weekend trip somewhere). But I hate this lens, I don’t know why. I feel that the focus is slow in low-light, there’s too much distortion, and while it does go to very wide, I find that often have to switch lenses, since the 12-24mm range is still very limited. It’s been very useful, but I feel it could be better still, and I’m looking to upgrade soon.
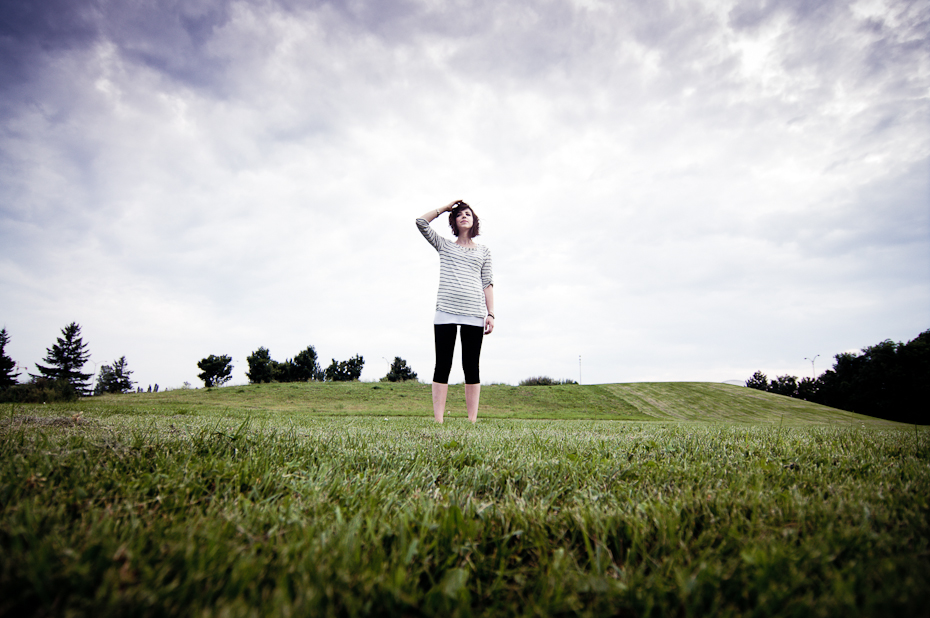
Elisabeth in a field. Nikon D90 + Tokina 12-24mm f4.0.
6. Next up is the #1 lens that I would recommend for anyone with a DSLR camera. Nikon 50mm 1.8. This is the cheapest lens you can get and one of the best. It’s tiny, weighs nothing, and has a maximum aperture of 1.8 to produce really great low-light photographs with shallow depth of field. The AF-D model is the one I had (although not fully compatible with Nikon cameras without a built-in motor), and it only cost about 120$. There’s something about these 50mm lenses that just create beautiful portraits, and if I lost all my lenses today a 50 would be my first purchase.
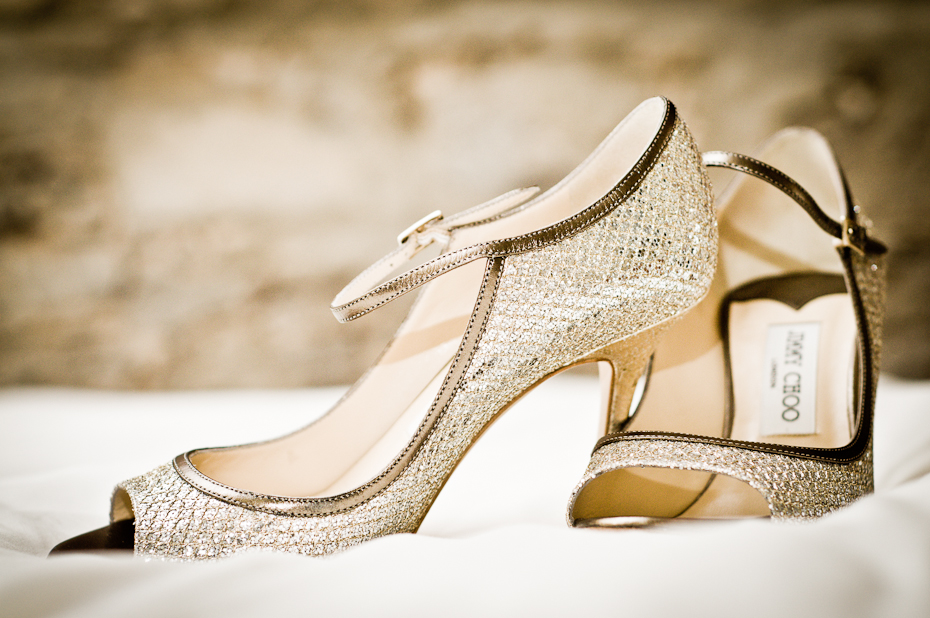
Bride's shoes, my first wedding. Nikon D90 + Nikon 50mm f1.8.
7. I then got a Nikon 85mm 1.8 since I was addicted with prime lenses at this point. I didn’t use it as often as the 50mm, as the focal length was a bit too long for my work, but I never had any problems with this one. It’s a sturdy compact lens that shot great portraits. I love using long lenses for landscapes.
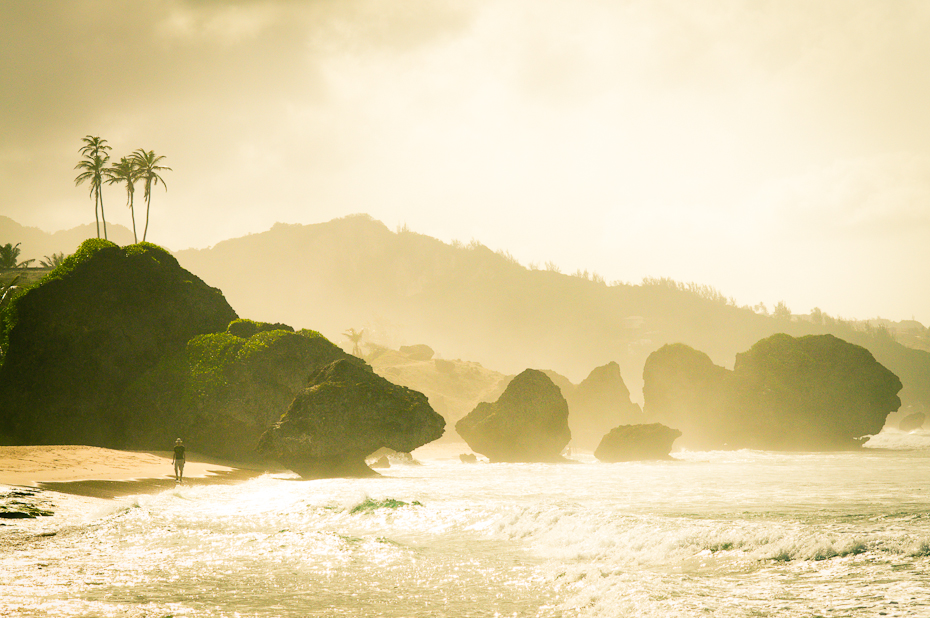
My bio prof in Barbados. Nikon D90 + Nikon 85mm f1.8.
8. And as a nature nerd, I obviously had to get a macro lens: Nikon 105mm 2.8 AF-S. This lens is often used for portraits as well, but I find it focuses a bit too slow for that. This is more of a specialty lens, I don’t use often but when I do use it it does a great job.
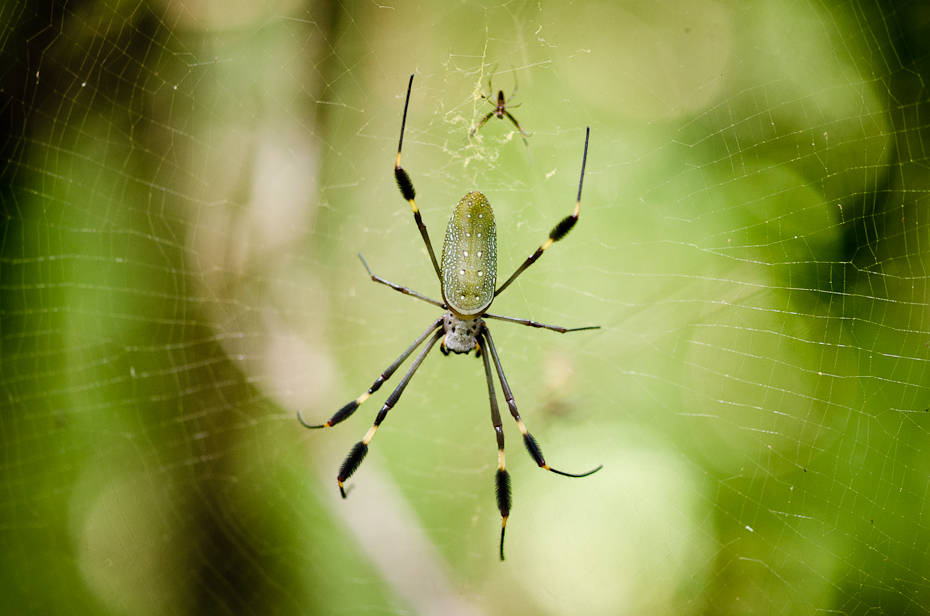
Golden silk orb-weaver, Panama. Nikon D7000 + Nikon 105mm f2.8.
This was my kit for about a year, and I loved it, but what became difficult for me was too much lens switching during weddings (I had a back-up camera at weddings, but I wasn’t using it as a dual camera, so I always had to switch lenses). Then, what changed my kit was just a great opportunity that popped up on Craigslist.
9. Finally, after all these years of lusting after it, I found a surprisingly cheap Nikon 70-200mm 2.8. The lens looked new and at 1200$ I would’ve bought it even if there was vomit on it. You hear everyone talking about this lens, and when you use it you understand why. The lens compression and the wide aperture blend backgrounds to a creamy blur. I often use this lens as a landscape lens as well, picking out details from vast scenes. The one downside of this lens is the size and weight. I had to buy new camera bags to accommodate this lens.
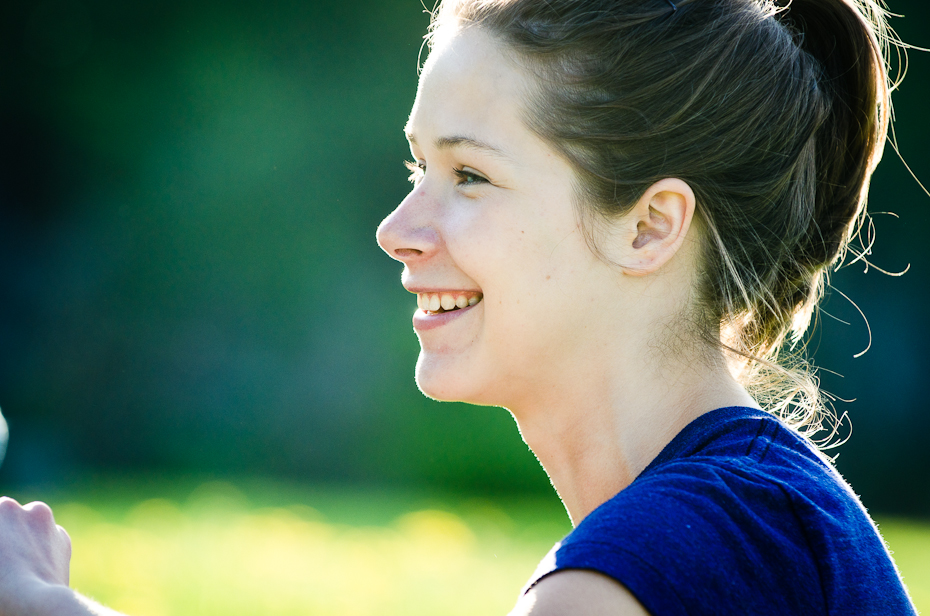
Happy Kirsten. Nikon D7000 + Nikon 70-200mm f2.8.
10. And last step to my kit today, I added a D7000, mainly for better video during my trip to Panama. I love this camera, I feel it's one of the best cameras you can get for the price. To be honest my upgrade from the D90 wasn't really justified, but I don't regret it either. I've shot most of my weddings with this camera, going to ISOs up to 1600-2000 without too many problems. I’m trying to go full-frame next, using this one as my back-up.
There you have it, you now know what's in my camera kit!
My Camera Gear Path, Part 1.
Today I’ll be talking about my camera gear path. I’ve had a few questions as to which cameras I recommend, what I started with, what I’m using, etc., so I figured this would answer a few of those questions. Kind of a technical blog post but it may help. By the way my truly first camera was an old Canon Powershot. I loved it. Then I went to Mexico, tripped on a rock, broke my toe nail, and smashed the camera. R.I.P. Eventually, I went ahead and bought my first DSLR.
1. Nikon D40 + 18-55 kit lens. I bought this new for about 500$. It was the least expensive DSLR model from Nikon at that time and I was super happy with it. (Any new Nikon DSLR you buy now will be superior to this one). The lens covered a nice range. I used it for general photography, taking pictures of friends and family. One thing that I thought was limiting for me after a few months was the low-light performance. I had to crank up the ISO a bit too high to my liking in order to get a fast enough shutter speed, and the camera didn't handle noise too well.
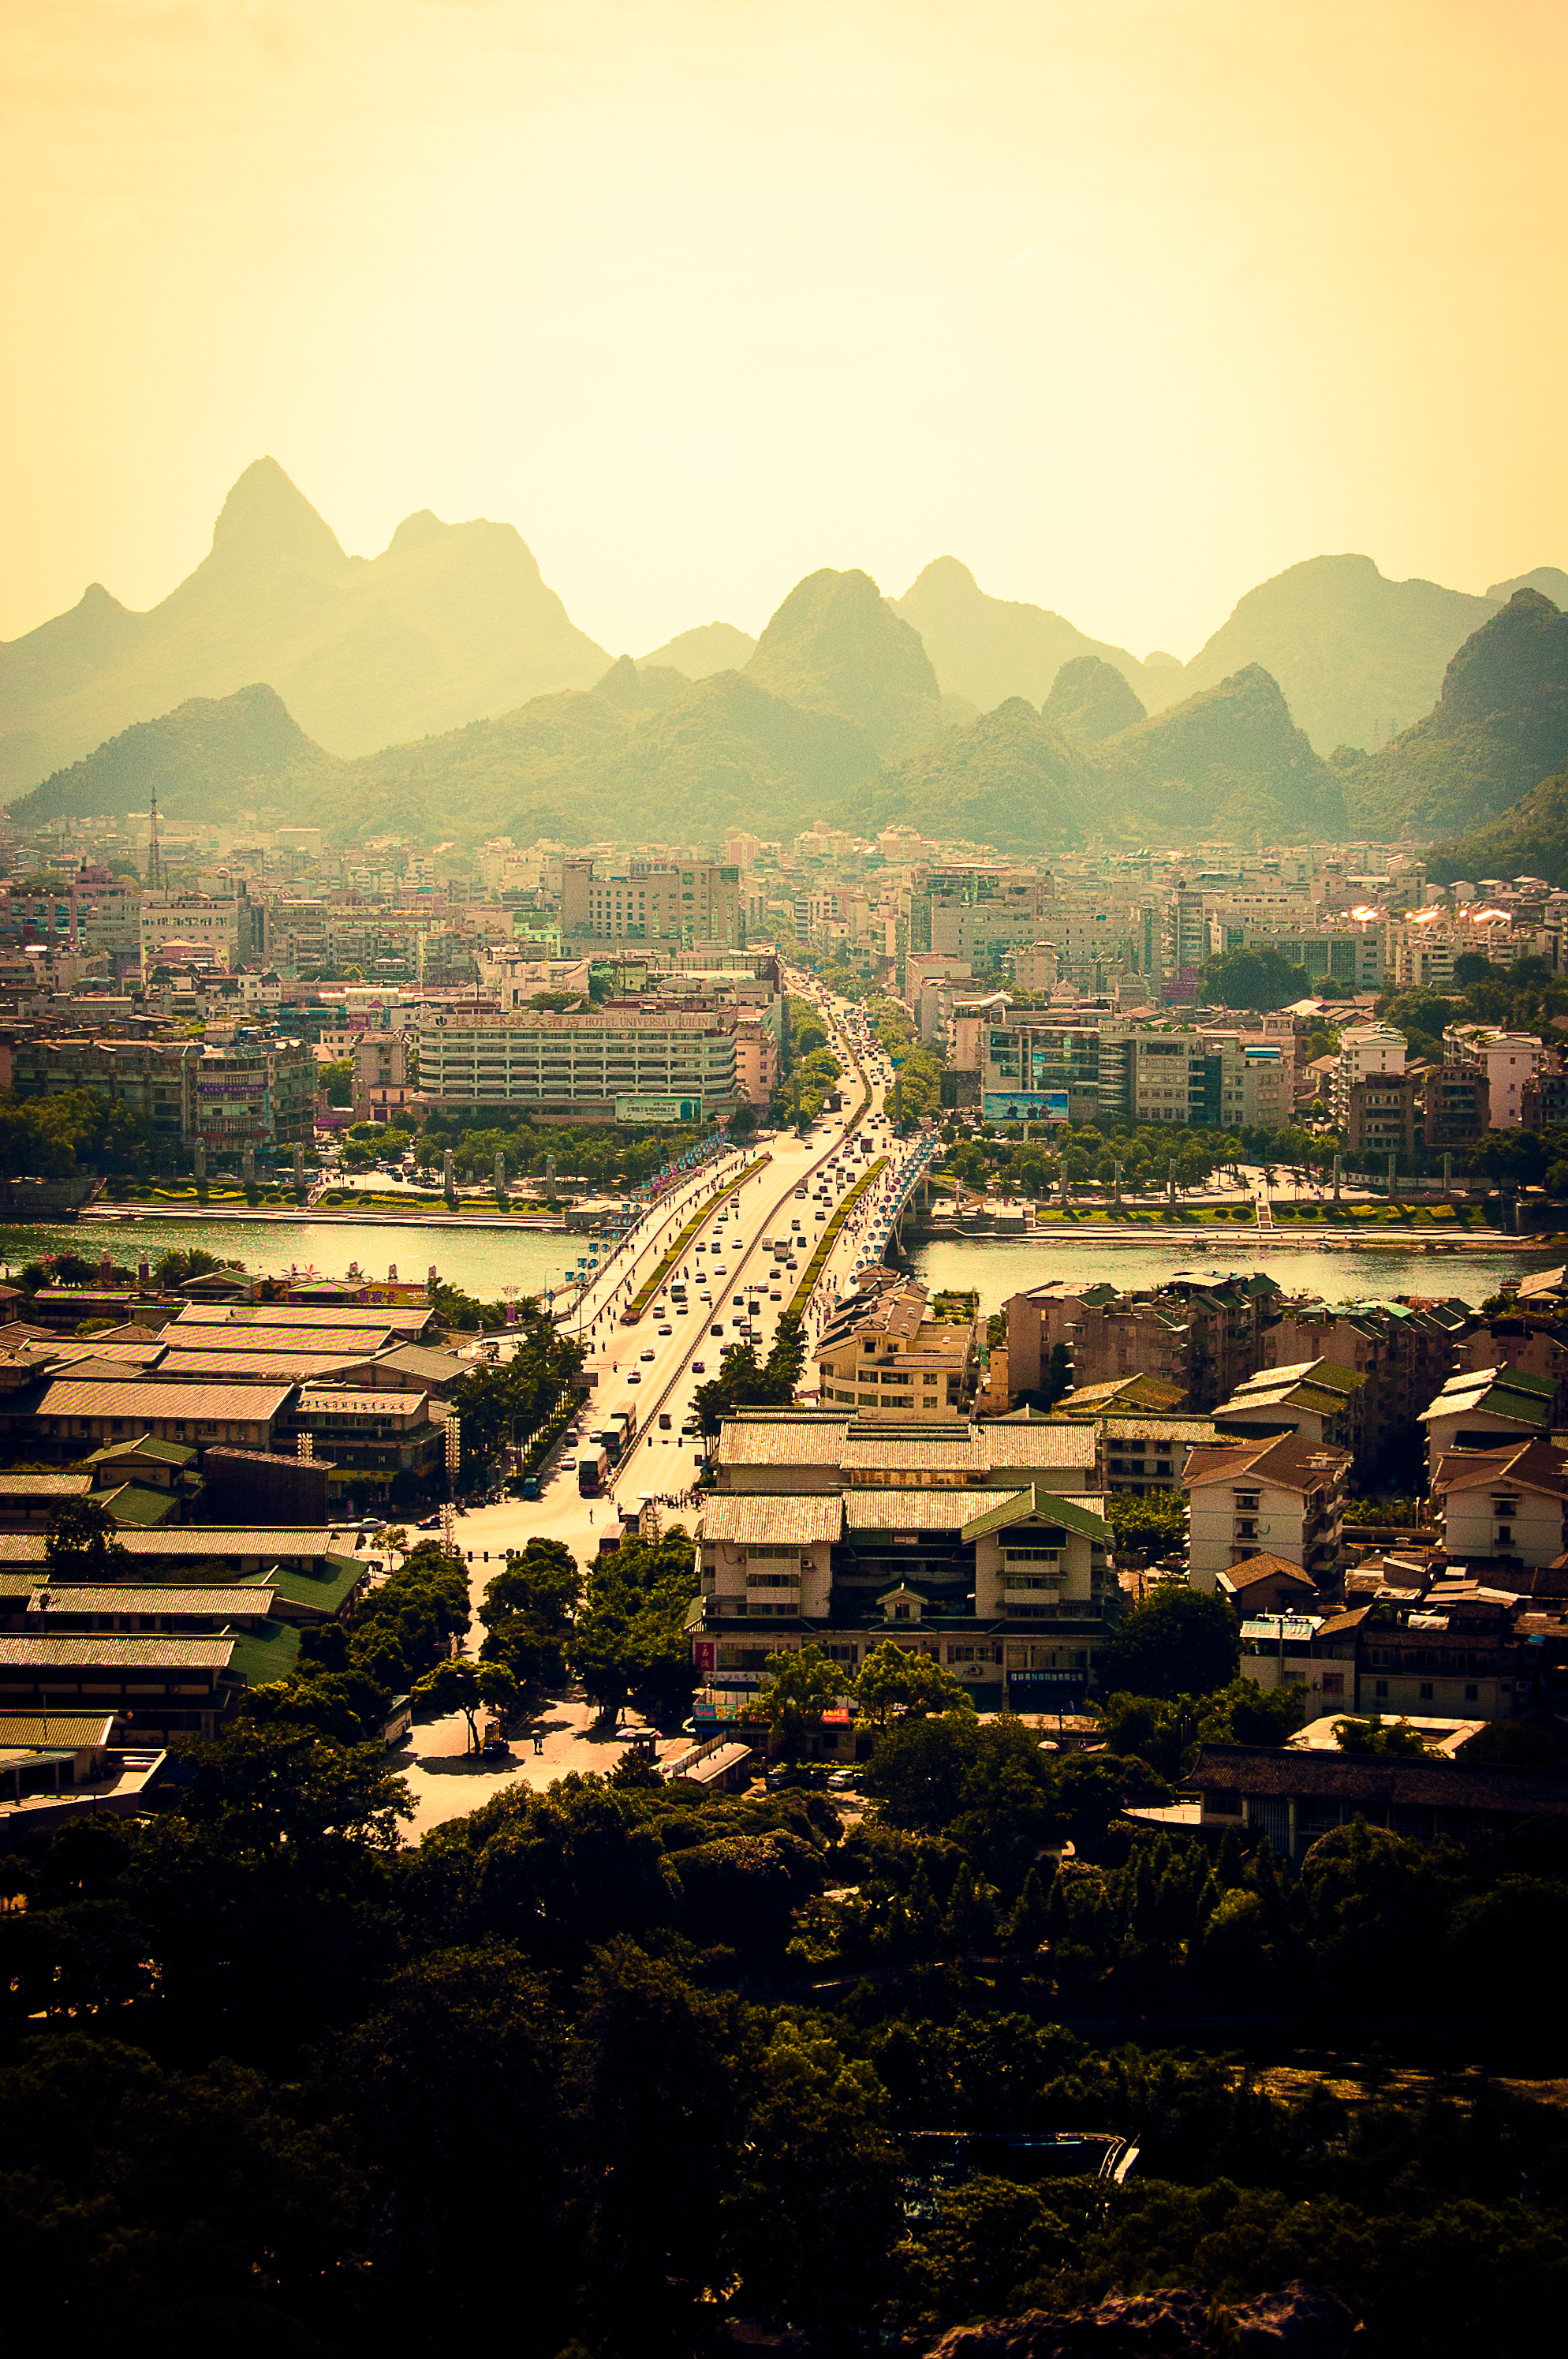
Guilin, China. Shot with the Nikon D40 + Nikon 18-55mm kit lens.
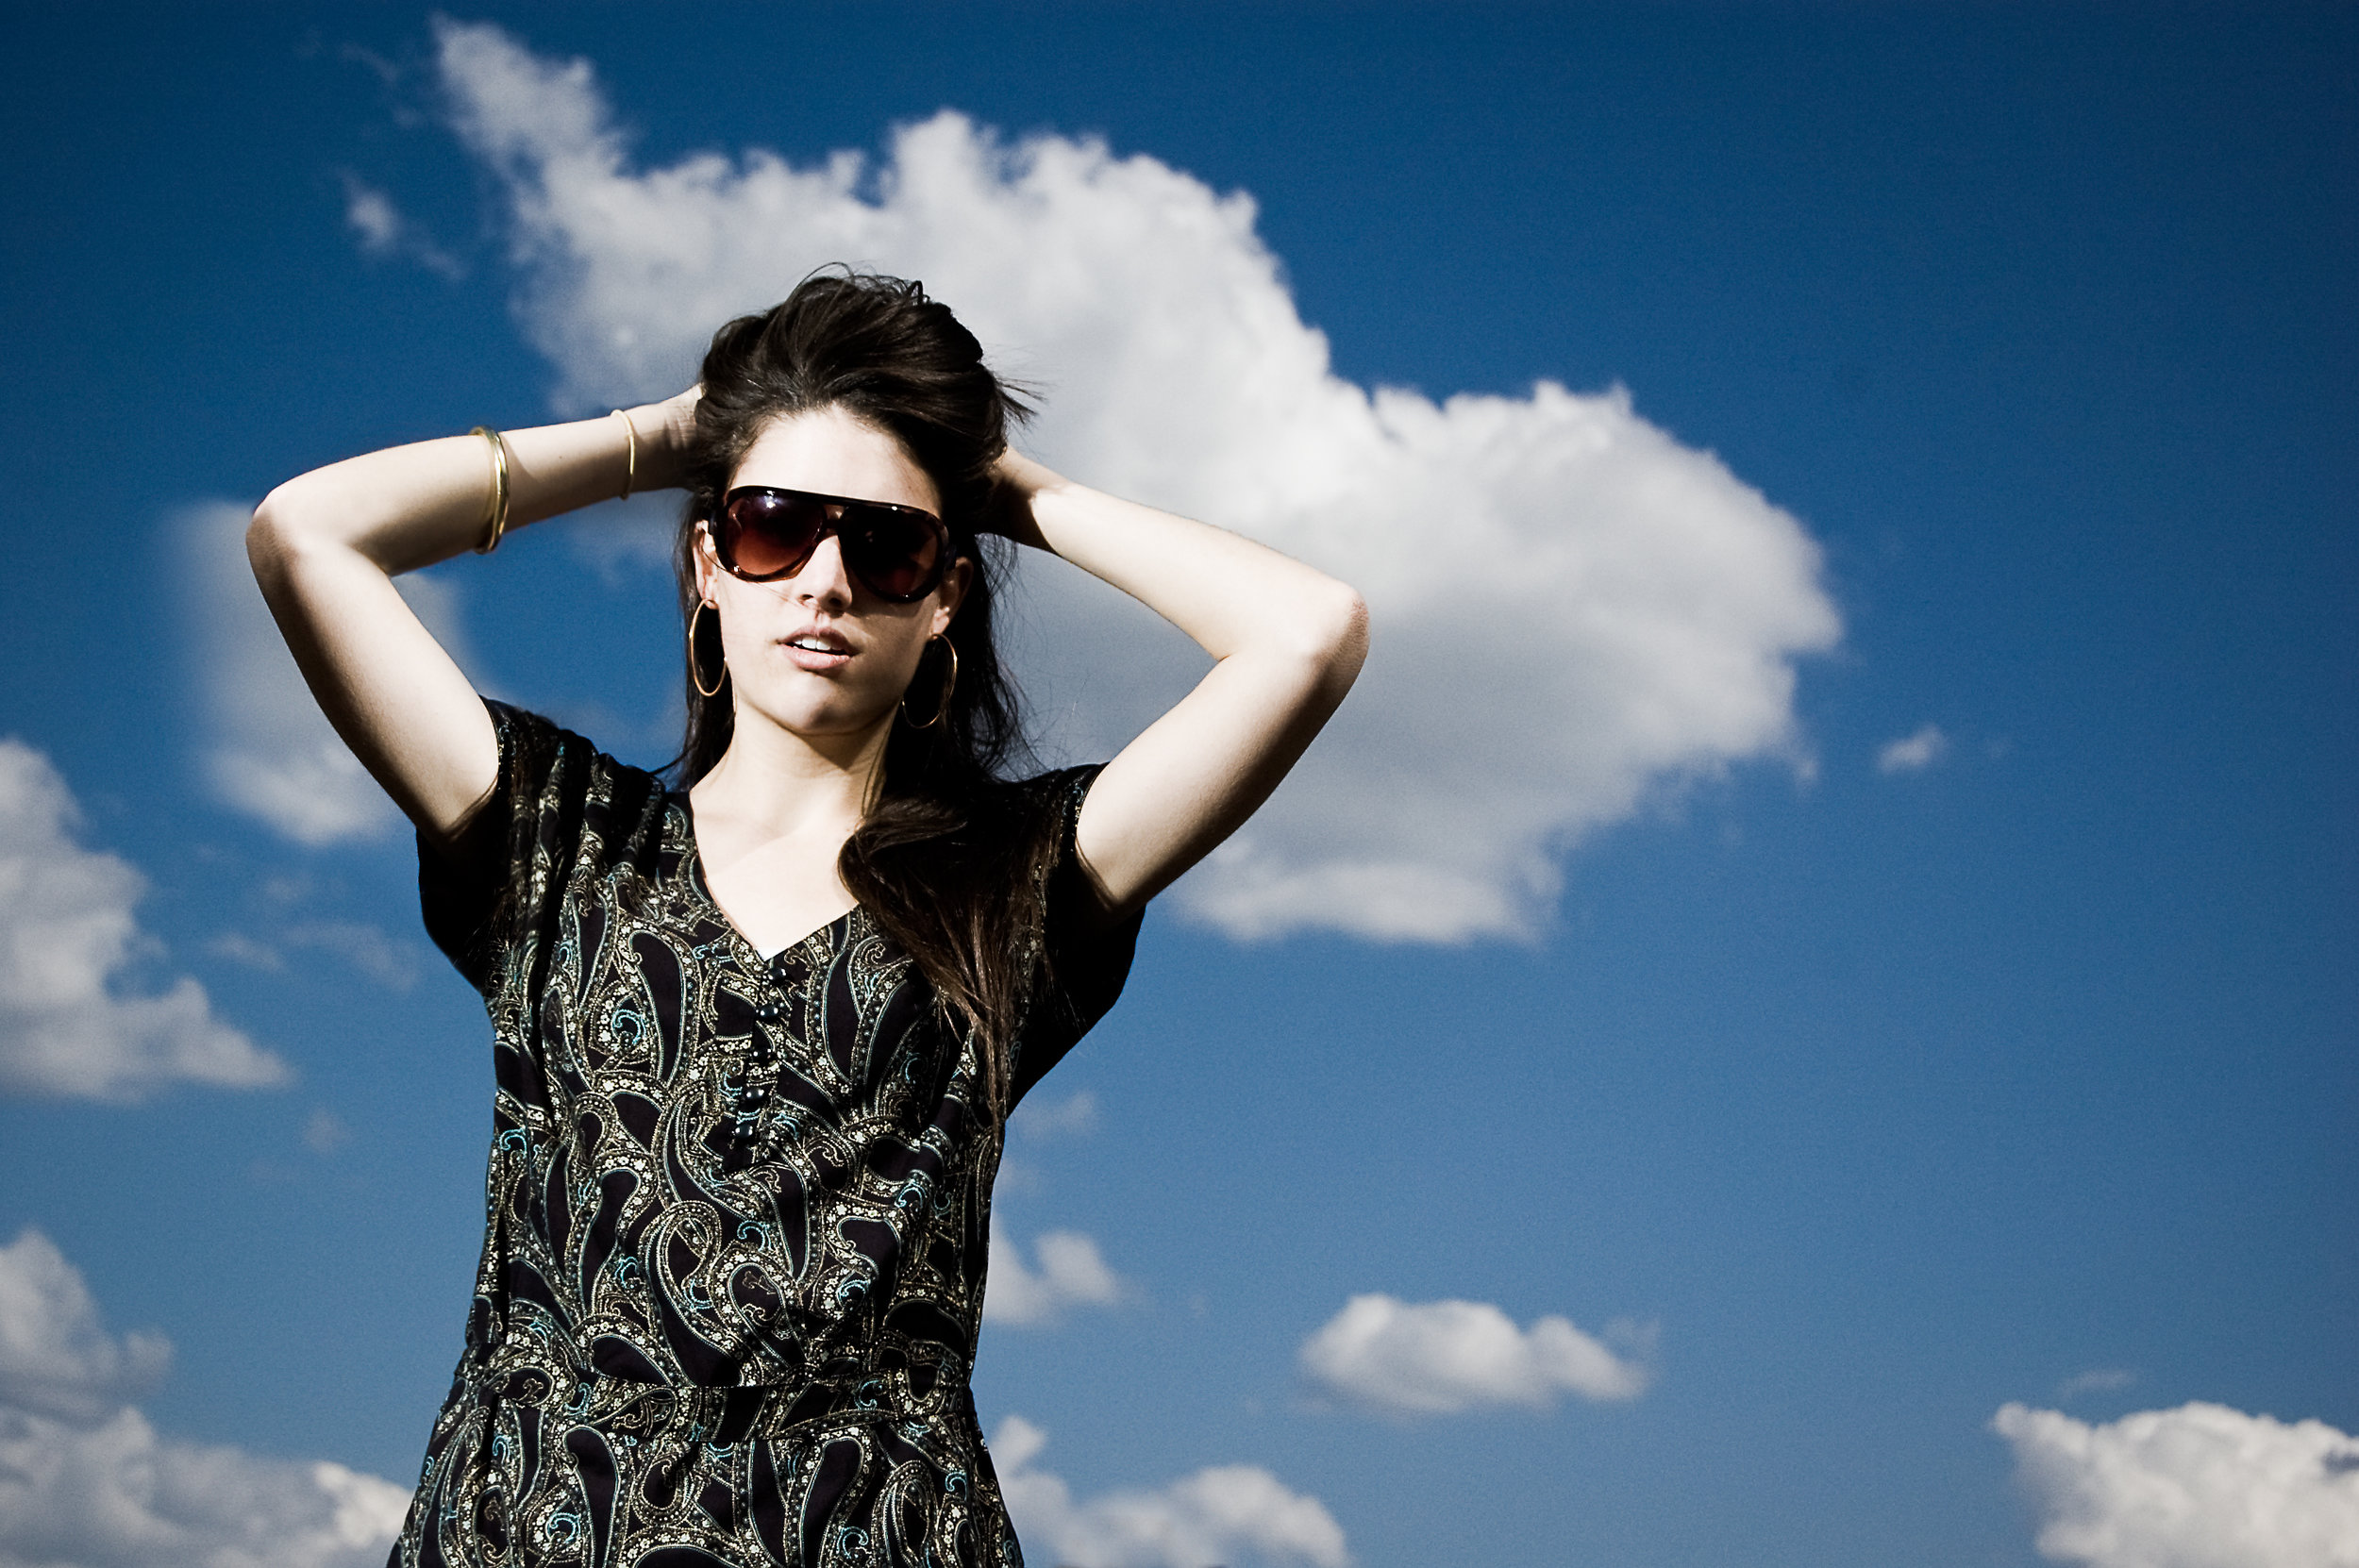
Lucia on a roof. Nikon D40 + Nikon 18-55mm kit lens.
2. Enter the Sigma 30mm f1.4. My favorite lens still to this day. Focus is super fast and quiet, and it’s a focal length that I really like. I love prime lenses and their wide aperture. One caveat for this one, and I don’t know if it was only my copy or not, is that the lens gets pretty soft at wider apertures. Despite this, it’s still a great lens.
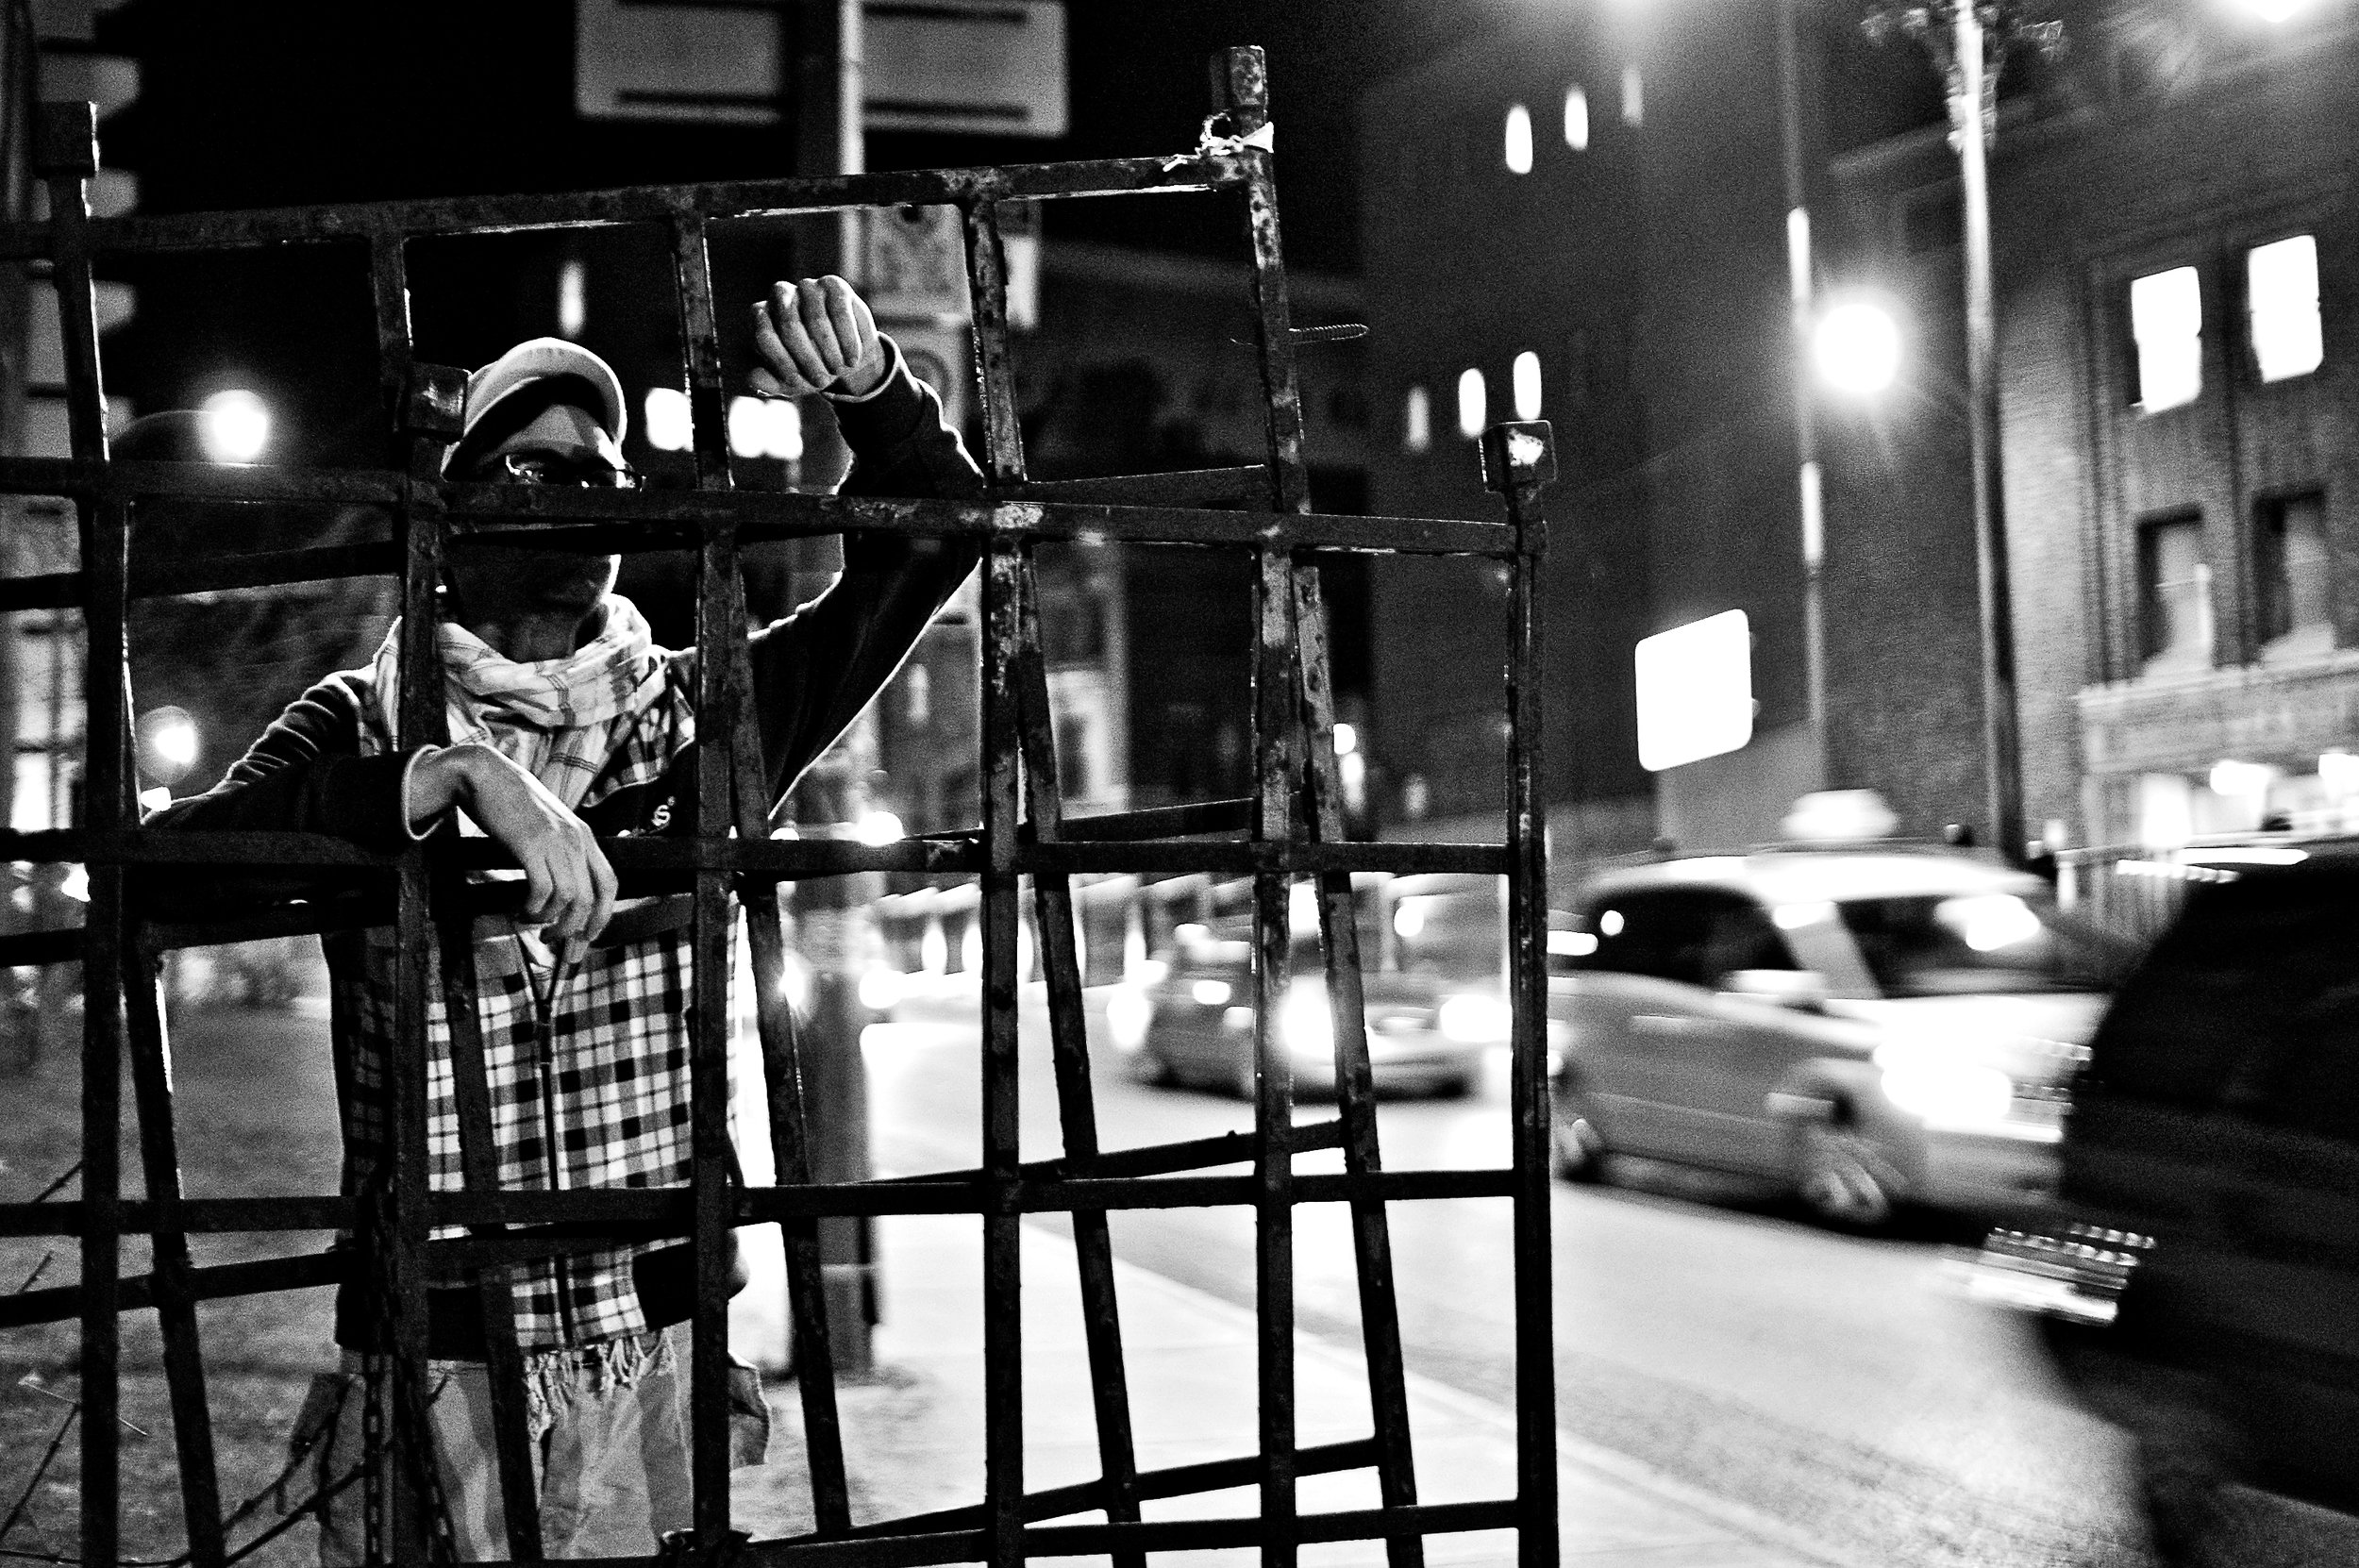
Marc, streetlights. Nikon D40 + Sigma 30mm f1.4.
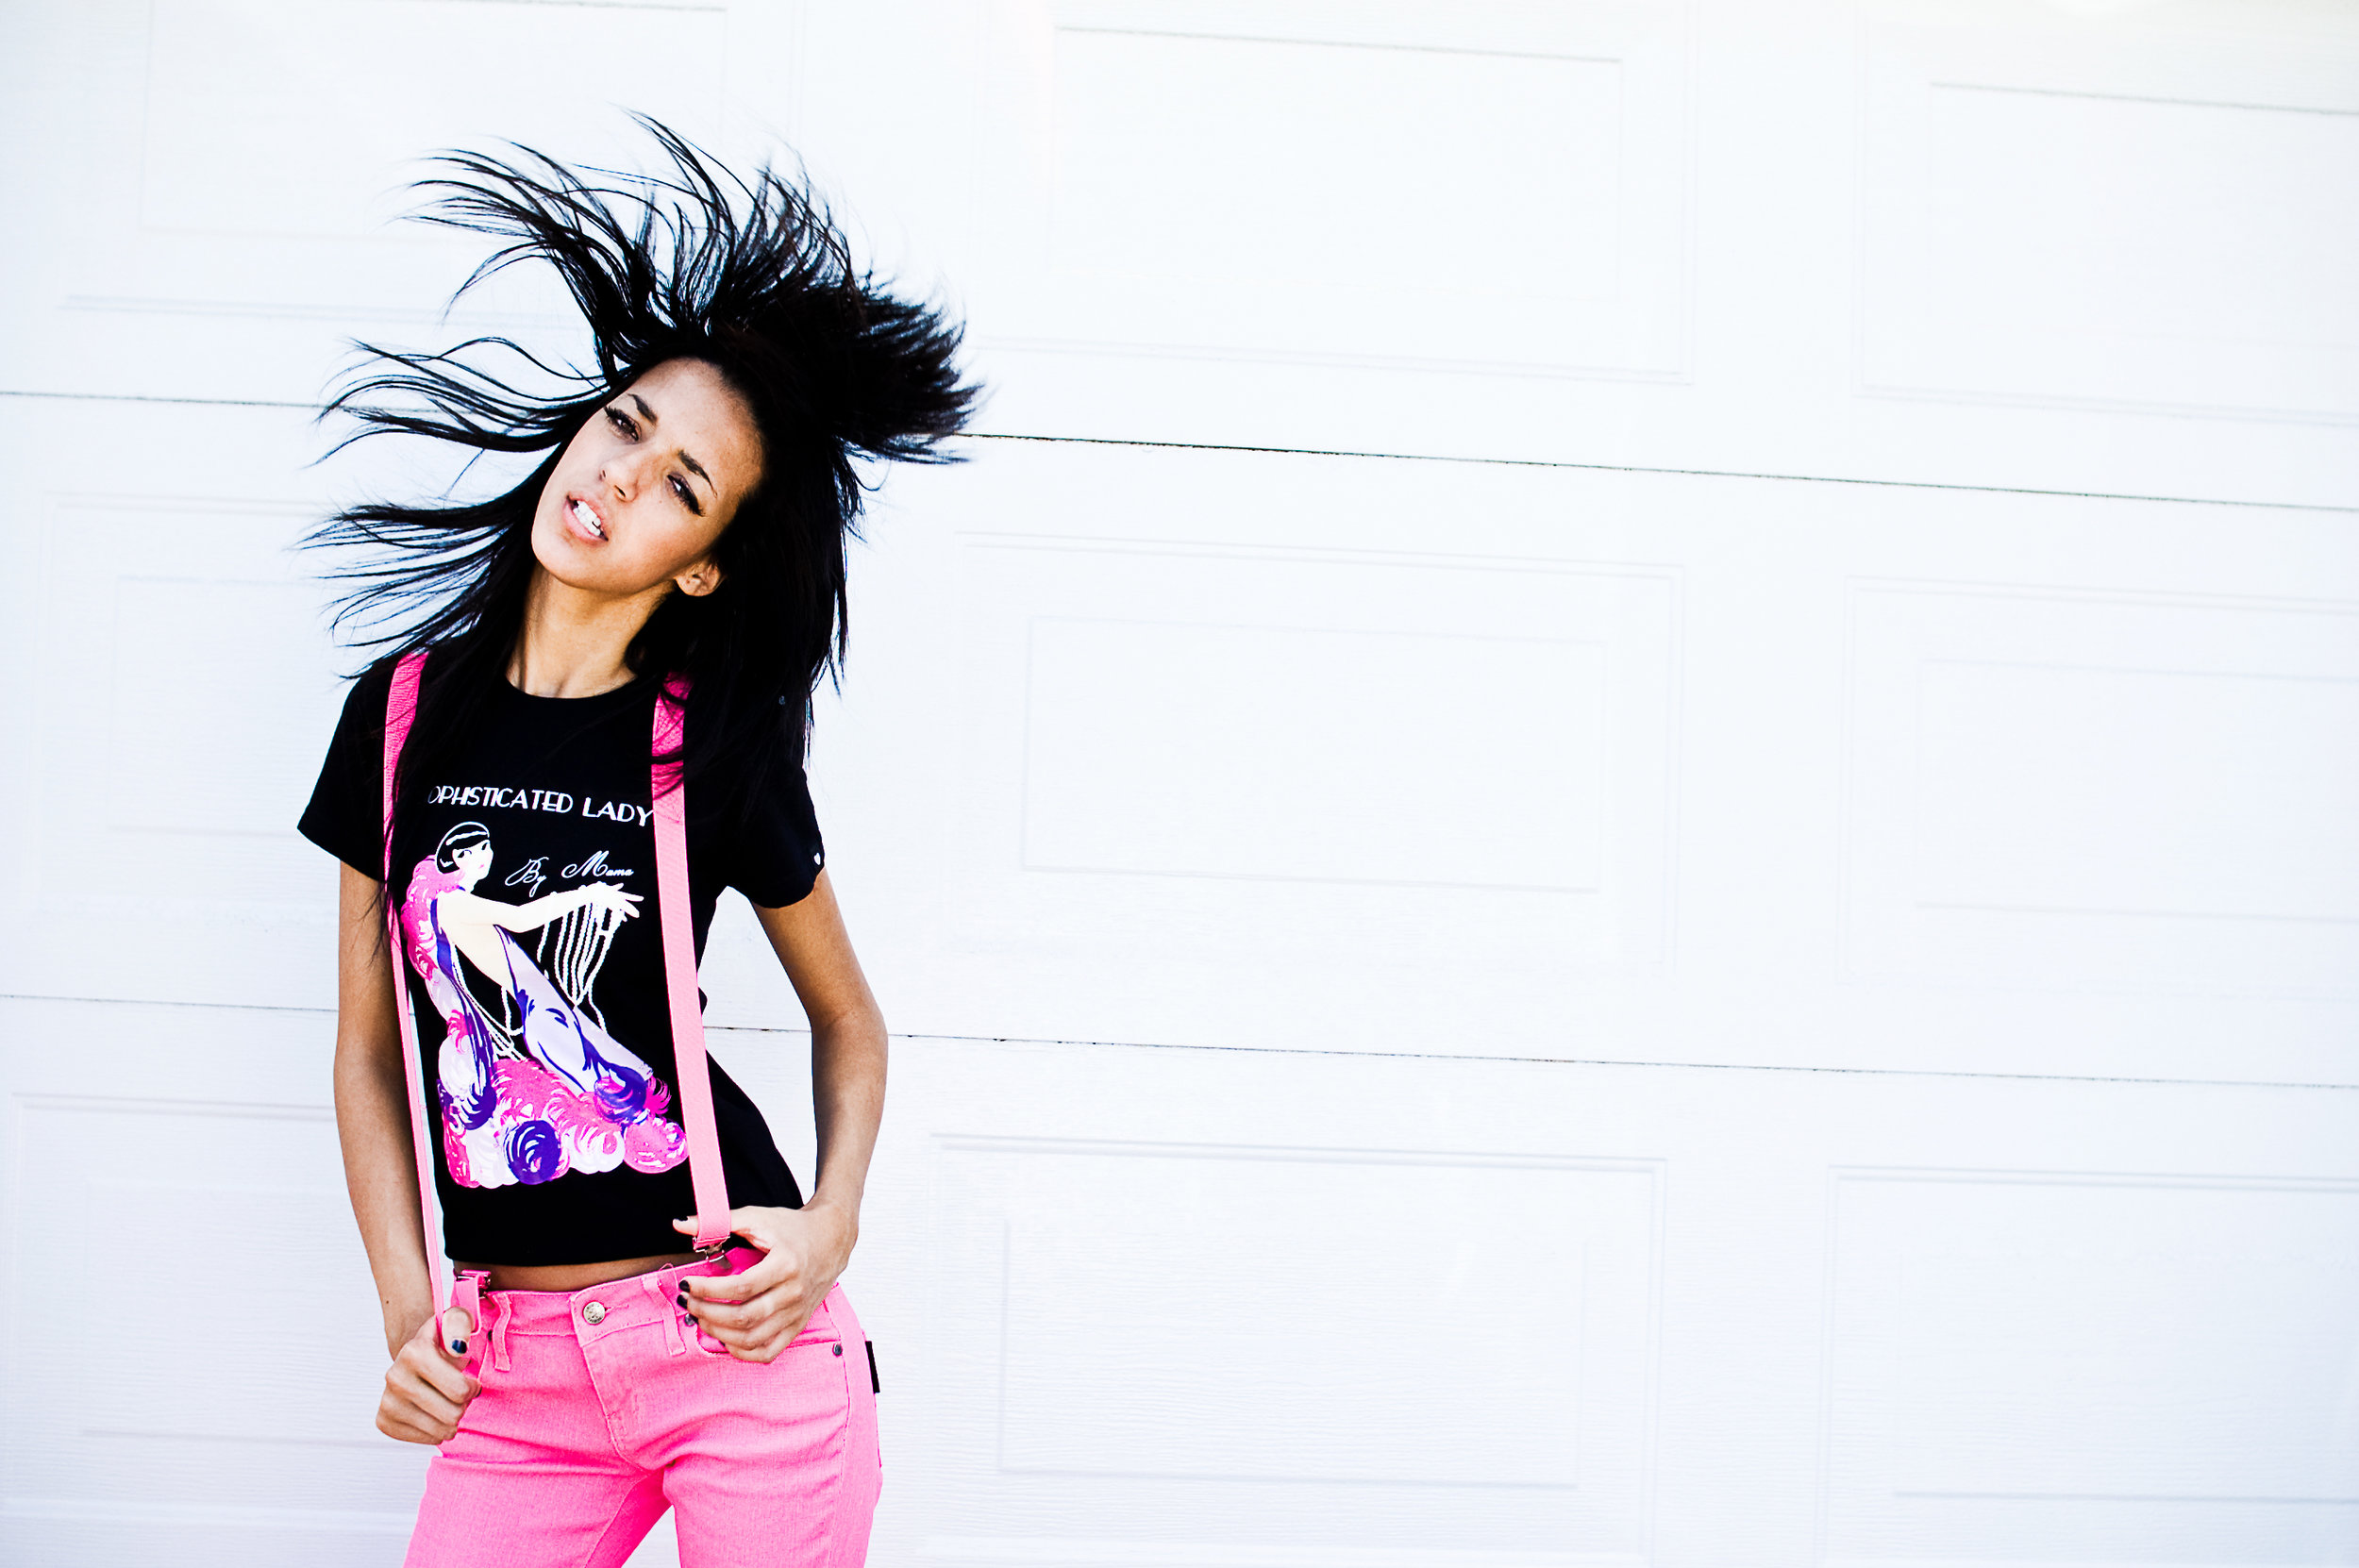
Asma flipping hair. Nikon D40 + Sigma 30mm f1.4.
3. Then I got a Nikon 55-200mm 4.0-5.6 VR to expand my focal length range. If you just have a kit lens and are thinking of buying a 55-200mm to expand, make sure you really do need it. Try testing the lens out at a camera store or borrowing from someone. I didn’t find too many uses for mine when I first got it and mostly bought it to be able to cover a wide focal range, but this was kind of an impulsive purchase.
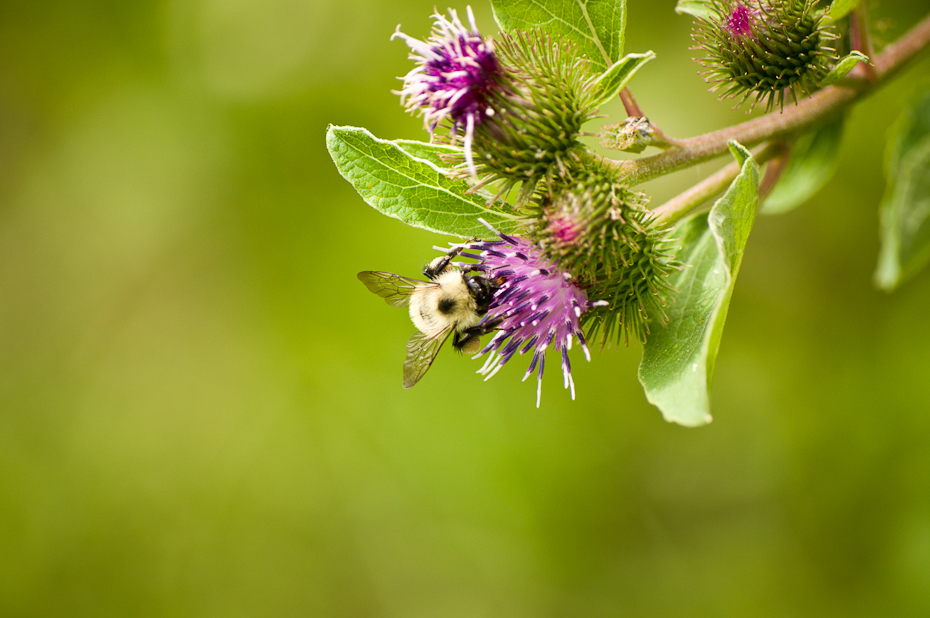
Bumblebee. Nikon D40 + Nikon 55-200 f4.0-5.6.

Mélissa is disappointed from my impulsive lens purchase. Nikon D40 + Nikon 55-200mm f4.0-5.6.
A year later, I was working (not weddings) and had a few clients from time to time so I felt the need to upgrade. I decided to upgrade my camera body for 3 main reasons. 1) Nikon D40 was not fully compatible with old AF-D lenses that I wanted. 2) I started getting into flash photography, and wanted to be able to have the commander CLS mode. 3) I wanted better noise control in higher ISOs.
So I decided to sell everything.
Part 2 here.
P.S. Make sure you have good reasons to upgrade your camera body. Don’t just buy a new one thinking it will get you better images. Also, note that megapixels were not a reason in the upgrade at all. And in 99% of the cases, it shouldn’t be. Unless you’re printing huge pictures, megapixels won’t matter.


