Like many other photographers, I love the Oliphant backdrops, but they cost a fortune to rent or buy, so I tried to create a DIY version. I wanted something with enough texture to keep things more interesting than a plain backdrop, but didn’t want “cloudy” mottled backgrounds. I didn’t want them to look like school portrait backdrops. I also knew I didn't want a painted vignette, since I can add my own "vignette" by controlling the lighting, or even on lightroom, and having it painted on seems to limit the backdrop's versatility. So here are the steps I used.
PART 1: Preparing the canvas
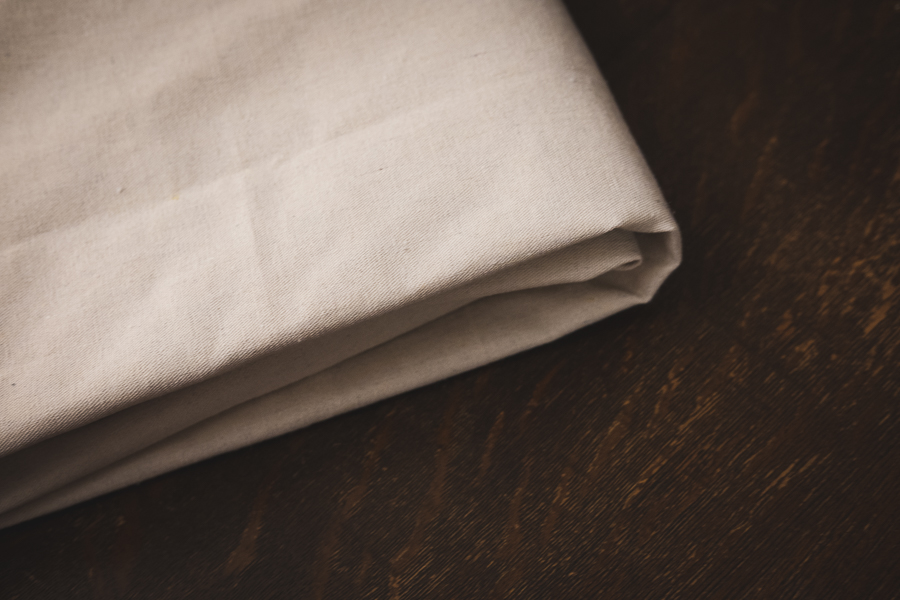
1) I bought “Drop cloth” or “Toile de peintre/peinture” here in Montreal. 2) I ironed the entire thing to get rid of wrinkles. You’ll probably need to iron it again after painting, but I would do it before as well to make sure that the paint application is smooth. 3) I covered my studio with plastic sheeting and transformed it into one of Dexter’s kill rooms, taped the plastic on the floor, then taped the canvas on the plastic. This guide had 2 different ways of securing the canvas, but I was happy with just duct tape. 4) Now’s the time to lint roll / vacuum the cloth. Fibers/hairs will be annoying, and when you remove them post-paint, they’ll leave a faint unpainted annoying line. So lint roll before paint roll.
What you need to be aware of about drop cloths:
- Even though the description might say 12 x 9”, the dimensions may not be exact (mine was a foot off).
- Some of these large cloths have a seam in the middle, since they are multiple smaller pieces sewn together.
- Some hardware store employees don’t know about 2). I was told that the canvas was going to be one single piece, but it wasn’t when I opened it up at home. (I could still work with the larger of the two pieces sewn together, so I just went with it instead of returning it.)
PART 2: Painting the canvas
I don’t have photos of the process. My hands (and feet) were way too messy for me to be holding a camera.
1) First, I painted one layer of primer with a roller. I don’t know if it was necessary. Sure, why not? Primer’s great. I waited a day for it to dry (make sure the bottom is dry as well). 2) Then came one layer of dark green paint. 3) I started working immediately with a second layer, since I knew that the colour mixing would have to happen while the paint was still wet. I’d paint about a third of the canvas with a second layer of green, then I’d brush in some white with a hand brush before moving on to the next third of the canvas. I tried to brush with long random strokes. It was fairly easy to undo a bad stroke by painting over it. When finished, I waited another day for it to dry. 4) Then I ironed it again to get rid of the wrinkles and warping from the painting. I’d sandwich the canvas between spare cloth, just so that your iron and ironing board don’t get paint on.
Here's a behind the scenes outtake where you see it in action.
BONUS TIP: PVC pipe
I bought a PVC pipe to roll the backdrop around it and store it relatively wrinkle-free. I made sure that it’s wide enough so that to secure it on my backdrop stand, I just need to slip the horizontal pole through the tube.
So that's it! Here are links that I found helpful: one, two, three. Have fun!


